
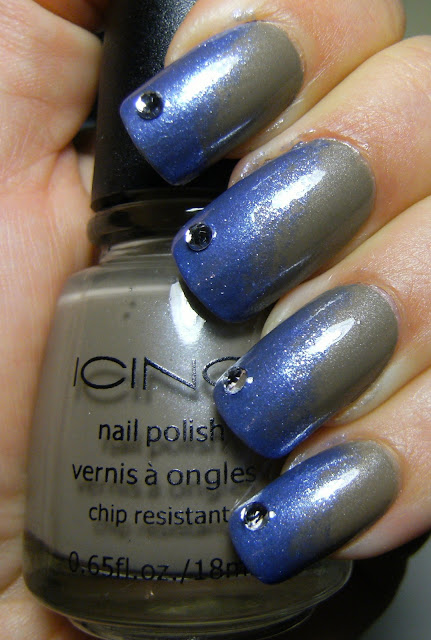
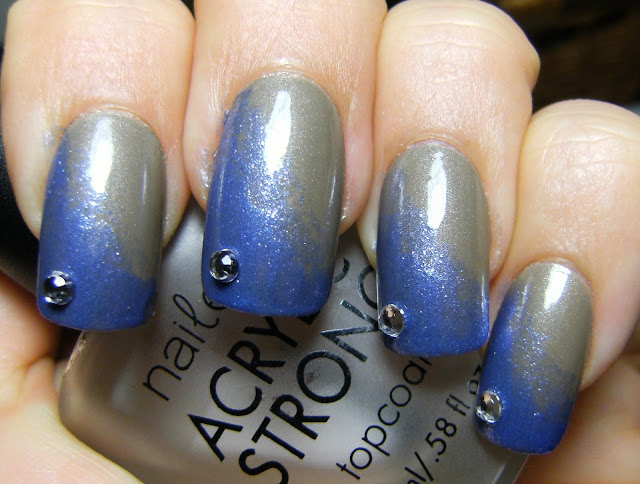
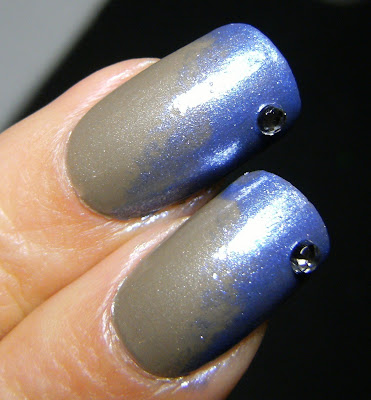
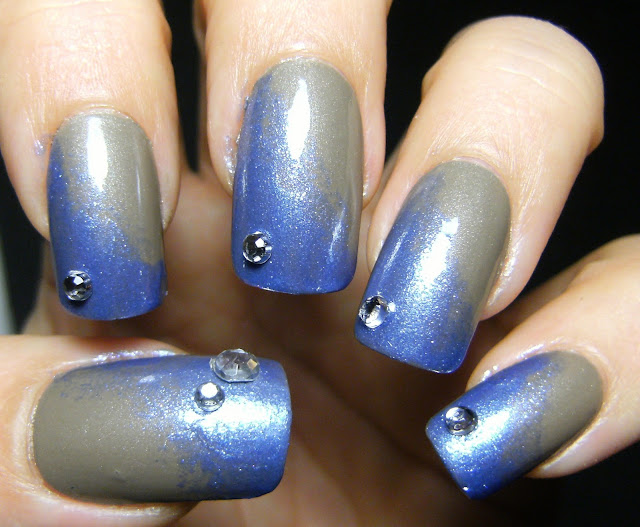
3 coats of Icing by Claire's Putty Concrete, followed by a hap-hazard 2 coats of Pure Ice In The Mood, then a final light sponging of Pure Ice In The Mood. When it was dry I topped it off with a coat of Nailene Acrylic Strong Top Coat, and added a medium sized Nailene Nail Crystal to the corner of my nails, on my thumbs I added a large and med. sized crystal.
It's not my best work at sponging, but that is the beauty of sponging.... it always looks good!
My new way to sponge is to polish up to 2/3 of the area I want to have the sponged look, then sponge over that area and fade it into the base colour..... this way it doesn't take alot of repetitions of sponging to get the look I want.... I will have to do a tutorial in photos of that soon, becuase a sheer-ish colour like Pure Ice In The Mood, needs alot of coats for opacity, so I can only imagine how many times I would have to go over my nails sponging with it.
I had planned on sponging a white glass flecked polish over this taupe base, but I looooooooove this blue glass-flecked polish; Pure Ice In The Mood. We are in the middle of a blizzard at the moment, so no sunshine pics. I did include a little more info ( with pic's ) about applying moisturizer carefully around your cuticles before paining - helping to prevent an acetone clean-up.... thats further in this post.

Also; why in the frigg is this showing up as my leading photos in other people blog rolls! grrrrrrrr...............


..... a little fuzzy but a good pic of these future pine-cones
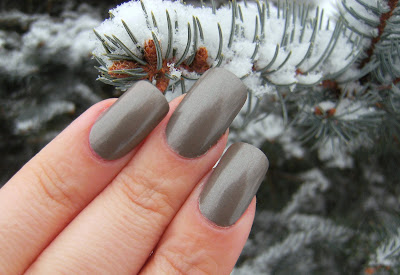
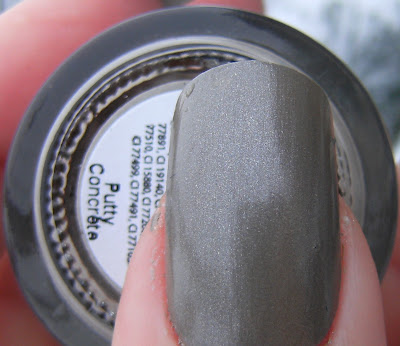
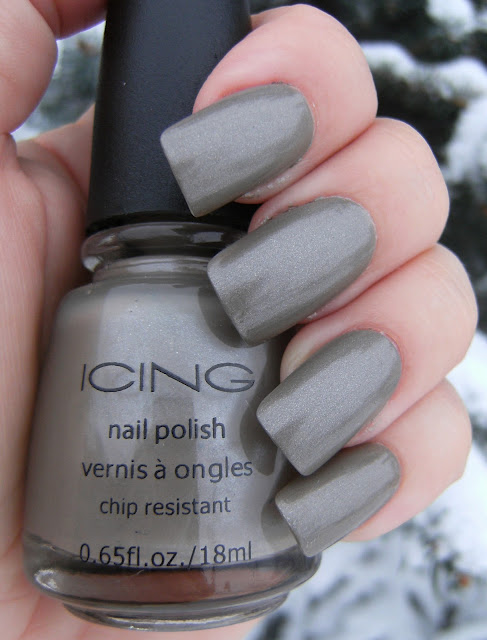
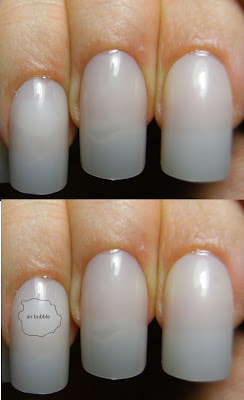
Icing Putty Concrete 3 coats ~ NO top coat
outdoors during a BLIZZARD!!!!
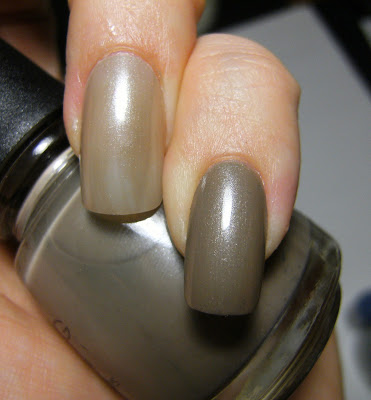
3 coats with no top coat ~ indoor fluorescent

R @1 coat - left 3 coats with Nailene TC
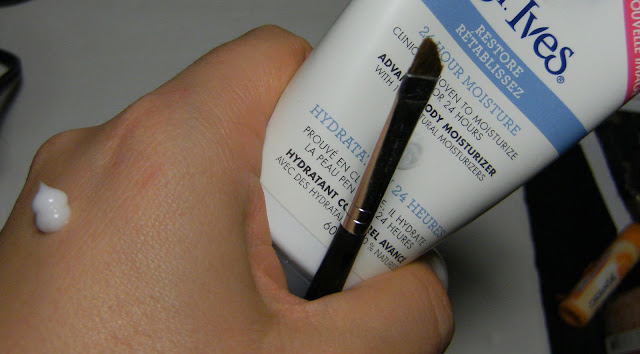
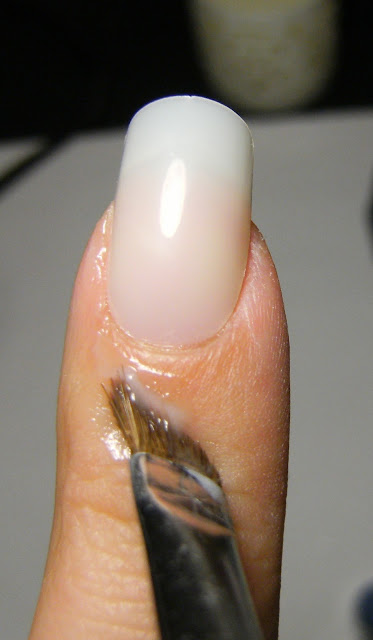
LOVE 4 YOUR CUTICLES! In my last blog post I wrote about how I apply moisturizer to my cuticles around my nail bed....any type of moisturizer will do! I used to use Vaseline, but I find that using any good moisturizer that sinks in and doesn't leave any residue when it is time to take photos.... I just peel off the offending cured polish ( LOL) and take my photos!!! I wouldn't worry too much about the brand or quality as long as your skin absorbs the moisturizer it forms a protective barrier over your skin = which polish will not adhere to.
You just need a light layer - in my photos I really blobbed it on so the camera would pick it up
Unfortunately when I painted my nails today - I did not make many mistakes, but the next time I paint my nails I will make sure to do a messy job so that I can get more photos of this in action! It works - it's awesome..... save your cuticles!
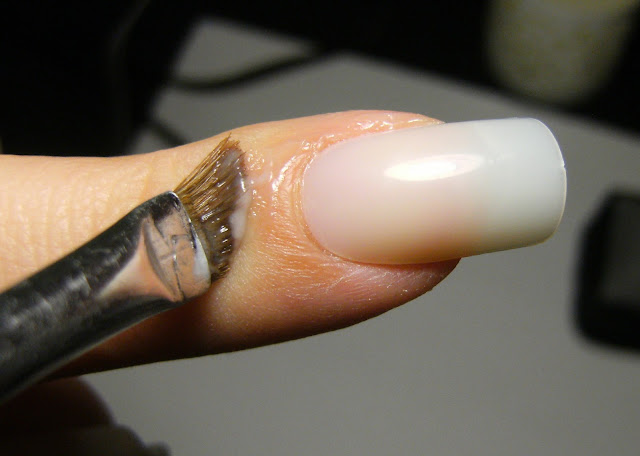
Here are two photos of me applying the lotion with a angled brush.....
-check out how dry my skin is~ thats from latex gloves -
Another AWESOME tip; about 10 minutes before I use polish remover to take off my polish, I apply moisturizer to my hands, cuticle's and under my nails, I make sure it sinks in and then I use nail polish remover to remove my polish..... I truly feel that these two steps have escalated me into the stratosphere of hand modeling and made me Canada's most fabulous hand model.
Also just for funz......Here is a pic of Fing'rs discontinued 'trophy wife length' nails that I love so much. I love the shape, thickness and length of these nails = not exactly practical as I am doing tonnes of Christmas crafts in the evenings. I always get a big bubble on my right hand ring finger - but other than that these fit my nails perfectly. I wish that these were still commercially available, they do show up in discount stores in Canada and the USA
The glue at my cuticles, above, is easy to file away.
... and two more
... and two more


12 comments:
Thx for the tip!
I love what you did with the gradient. But I really love that Grey Icing polish.
I love the gradation!
i love the color combo and want that icing puddy. I like how you did the gradient. I hope you do a post on it. Thanks for the tips too :)
This is a STUNNING manicure, as usual! You're polish skills are astounding :D
I LOVE wearing fake nails too - except when I swatch a lot. They break down and/or get polish underneath them - ugh. Do you have a solution to that? (You're more of a fake nail expert than I am). I have been SO SO CAREFUL with my left hand because my nails have been long on that hand for more than a month now (so no fake nails)... but my right hand nails are all broken and pathetic looking though, lol. I should really put fake nails on my poor right hand nails.
loved the lotion tip, read that from your last posting and tried it before my last mani and it worked like a charm...thank you. love the silver polish
very pretty, love this look :) also, thanks for the tips
it is so preeeetttyyy~*o*
thanks for the tips
i will be looking forward to your tutorial. teehee
Your sponging always looks great. When I try it, it always looks...puffy? It's never smooth. Would you know any reason why?
very pretty! love the blue and the rhinestones :) and i really like those nails! i'm never very good at making fake nails look natural on my hands, though.
This deserves a tutorial in pictures. Love the look of the two polishes together! Fantastic idea with the hand creme. I must try it!
LadyLuck27 - welcome- awesome e/s!!!♥
Let them have Polish! - Thanks I thought that grey polish would be very sheer but it was good to go in 3 thin coats
Rachel Marie - Thanks its easy to do.
rmcandlelight (nailsbeautiqued) - Thanks, I love this combo as well, its perfect for the type of weather in my region...
Brooke - WOW! thank-you! I the you should treat your right hand to fake nails.... a good way to not get polish underneath the false nail is to surround all edges with a small amount of glue, hen you first apply the false nail, apply a small amount of glue where your natural nail meets the false nail.... on the sides as well....
I will add more supplementary info in a further post
alikat789 - that's awesome! its such a simple preventive measure that saves the skin around your nails..... it really has made a huge difference in my cuticles.
Danielle - Thanks - the lotion thing helps alot!
Buy WoW Rogue - Thanks, I will add better sponging step-by-steps very soon!
aki! - I th8nk it looks puffy becuase you may be adding to many coats. Next time you try a sponged look, try applying polish normally to the area you want to sponge, then when its dry, go over that area, as well as a small area on the edge with the sponge & polish ( I will add some photos of this soon ♥♥♥)
Kaitlyn - Thanks, I looooove fake nails, my real nails are thin and break all the time a.ther people!
I always tell people my nails are fake. On my side bar is a few links to previous posts I have done on artificial nail application
Lucy - Thanks Lucy - you are always so sweet! I did post a tut, but i will be adding another one with better photo's soon!
Post a Comment