Pages

Showing posts with label Polish Finish = Creme-shimmer. Show all posts

Wednesday, June 22, 2011

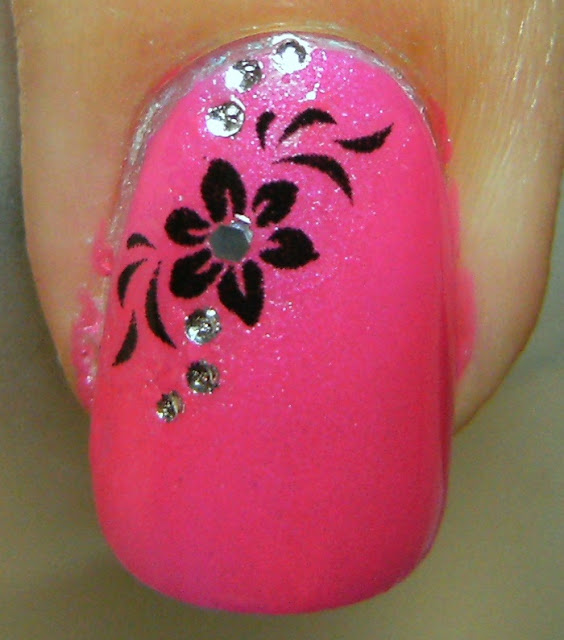
Pink shimmery mani with nail stickers from the dollar store


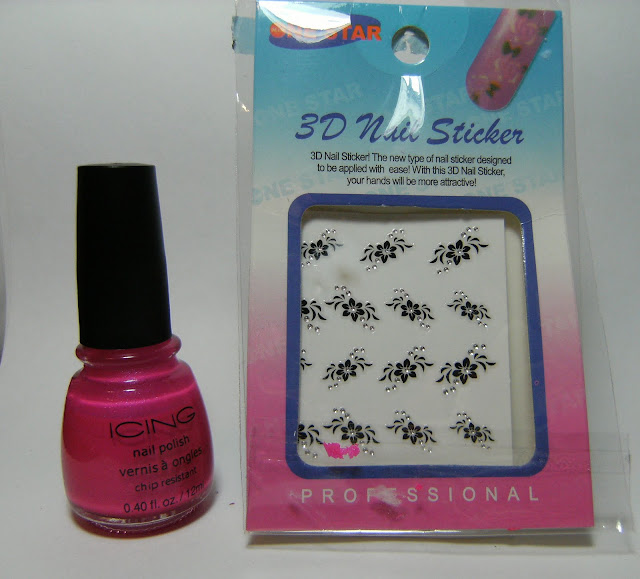
2 thin coats of Icing no-name bright pink shimmer form an older 5 set of polish's with beautiful nail stickers from a dollar store in my town. I found these stickers at Looney Twoons( lol) dollar store in my town, there are very dainty and pretty. I applied them to my ring nails, added a single holographic hex glitter to the center of the flower and added a coat of Nailene top Coat.


lol-  my polish from my right hand is all over this package. It was hard to open! I thought I could be stealthy with wet nails and get the stickers out. So after I post this I will be redoing most of the nails on my right hand.


" Your hands will be more attractive "

.... and a few more photos


Sunday, March 27, 2011

Mani Stretch with another shimmery franken


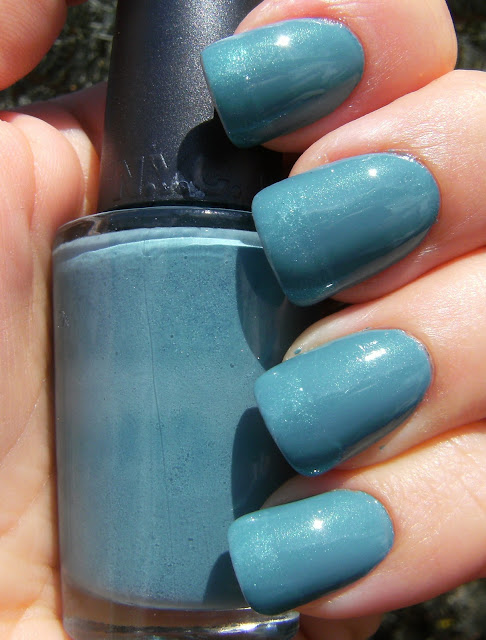
I really did not want to take my previous mani off, so I added french tips with a shimmery franken I also made with NYC East Village and an older Wet n' Wild Rock Solid polish called Pink Sapphire, which is a sheer buff shade with multi-coloured shimmer bits. I thought there would be more of a contrast between these two polish's, but they are a very similar shade.

My base polish that I posted earlier today, that I  called 'Welcome to the Jungle' is a grayed-out teal that I made with NYC East Village ( a sheer shimmery teal that needs 5 or more coats to be opaque ) and white and black...... I painted on the shimmery franken straight from the brush, I know I have brand new tip guides around here somewhere but cannot find them at the moment.


 ♥

Tuesday, June 29, 2010

♥ Claire's Yellow Brick Road & Franken plus $1 store nail gems ♥

Claire's Yellow Brick Road with Yellow Brick Road Franken

Here is an easy and cute way to stretch a mani - I always end up doing some diagonal design, and this time I wanted to use patterned scissors. I also experimented with blue tape, I had to apply it to a the backing from a mailing label to cut it. The scissors I used were not that great and it was difficult to cut through both materials. Both the blue tape and the mailing labels had the same result. There was very little gooey residue and very little seepage.

The base of this mani is 3 coats of a franken I made using Claire's Yellow Brick Road and Billie French White. The chicks at Claire's gave me the side eye when I bough 4 bottles of this....  I have whipped up so many cool frankens with this polish = I wish I bought more!!!!! I actually wore this plain for a whole 24 hours before I decided to jazz it up. I applied the patterned nail guides I made then swiped on 3 thin coats of Claire's Yellow Brick Road which pooled substantially at the nail guides, but is only noticable up close..... very, very close.

  Because Yellow Brick Road is a neon it dried super duper fast and super duper dull.... when I was sure it was dry I removed the nail guides, and applied a coat of clear polish before I applied 2 coats of Nailene Acrylic Strong Top Coat. Viola! This was a perfect mani for the gloomy morning we had - thankfully we got some sun so I am not gonna complain

Also I found some awesome nail gems from Dollar-rama...... These were the last two unfortunately otherwise I would have grabbed a few extra - BLACK nail gems = yeah!  THESE WERE IN THE CRAFT SECTION ♥


Below; these cute crystal wheels were only $1.00 CA each! they were the last two ( grrrrrrrrr ) I love all the neat clear ones below - the squares and rectangles are different . They are low profile too, which means less snagging on clothes and other things I was totally psyched to see BLACK crystals but there is way, way less of those than the other colours..... I will have to start stalking DollarRama again, I am trying to avoid it but I really really want to find some more of these.
 
$1 CAD @ DollarRama -

$1 CAD @ DollarRama -

And an E.L.F. eyeshadow brush.....

Sun

Shade

L - Claire's Yellow Brick Road R- Franken made with Billie White and Claire's Yellow Brick Road

Because these scissors are not so great, I removed 1/2 of a mailing label and stuck the tape on this area to cut it. Trying to cut this blue tape on it's own was impossible with these wavy scissors. This was my first try using blue tape......its the same result as the mailing labels.


I like this kind of nail art.... I can easily do it on my RIGHT hand♥

Franken I made using Claire's Yellow Brick Road and Billie French White. This is 3 coats, and there is a little streaky-ness. This dried soooooo fast, almost as I was applying it. Because the two polish's I used were both satin/matte it needed 2 coats of T.C. But first I applied a coat of CLEAR polish, this Billie White often gets picked up in my T.C., so I am taking preventative measures now......

Sun

Shade

Shade with Flash

Thursday, April 15, 2010

♥ S.H. - Teal Takeoff & Billie - 'Hot toTrot' ♥


I am NOT buying anymore of these S.H Insta dri's I have used it 4 times... to really test it out and I will definitely not be acquiring anymore. I like almost every color they have released but the bottle, formula, and brush drive me nuts.

below is a fix up i did with some Nailene French tip guides and a sheer Billie polish 'hot to trot'


Sunday, March 28, 2010

♥ Franken - ' Frosty Caribbean ' ♥


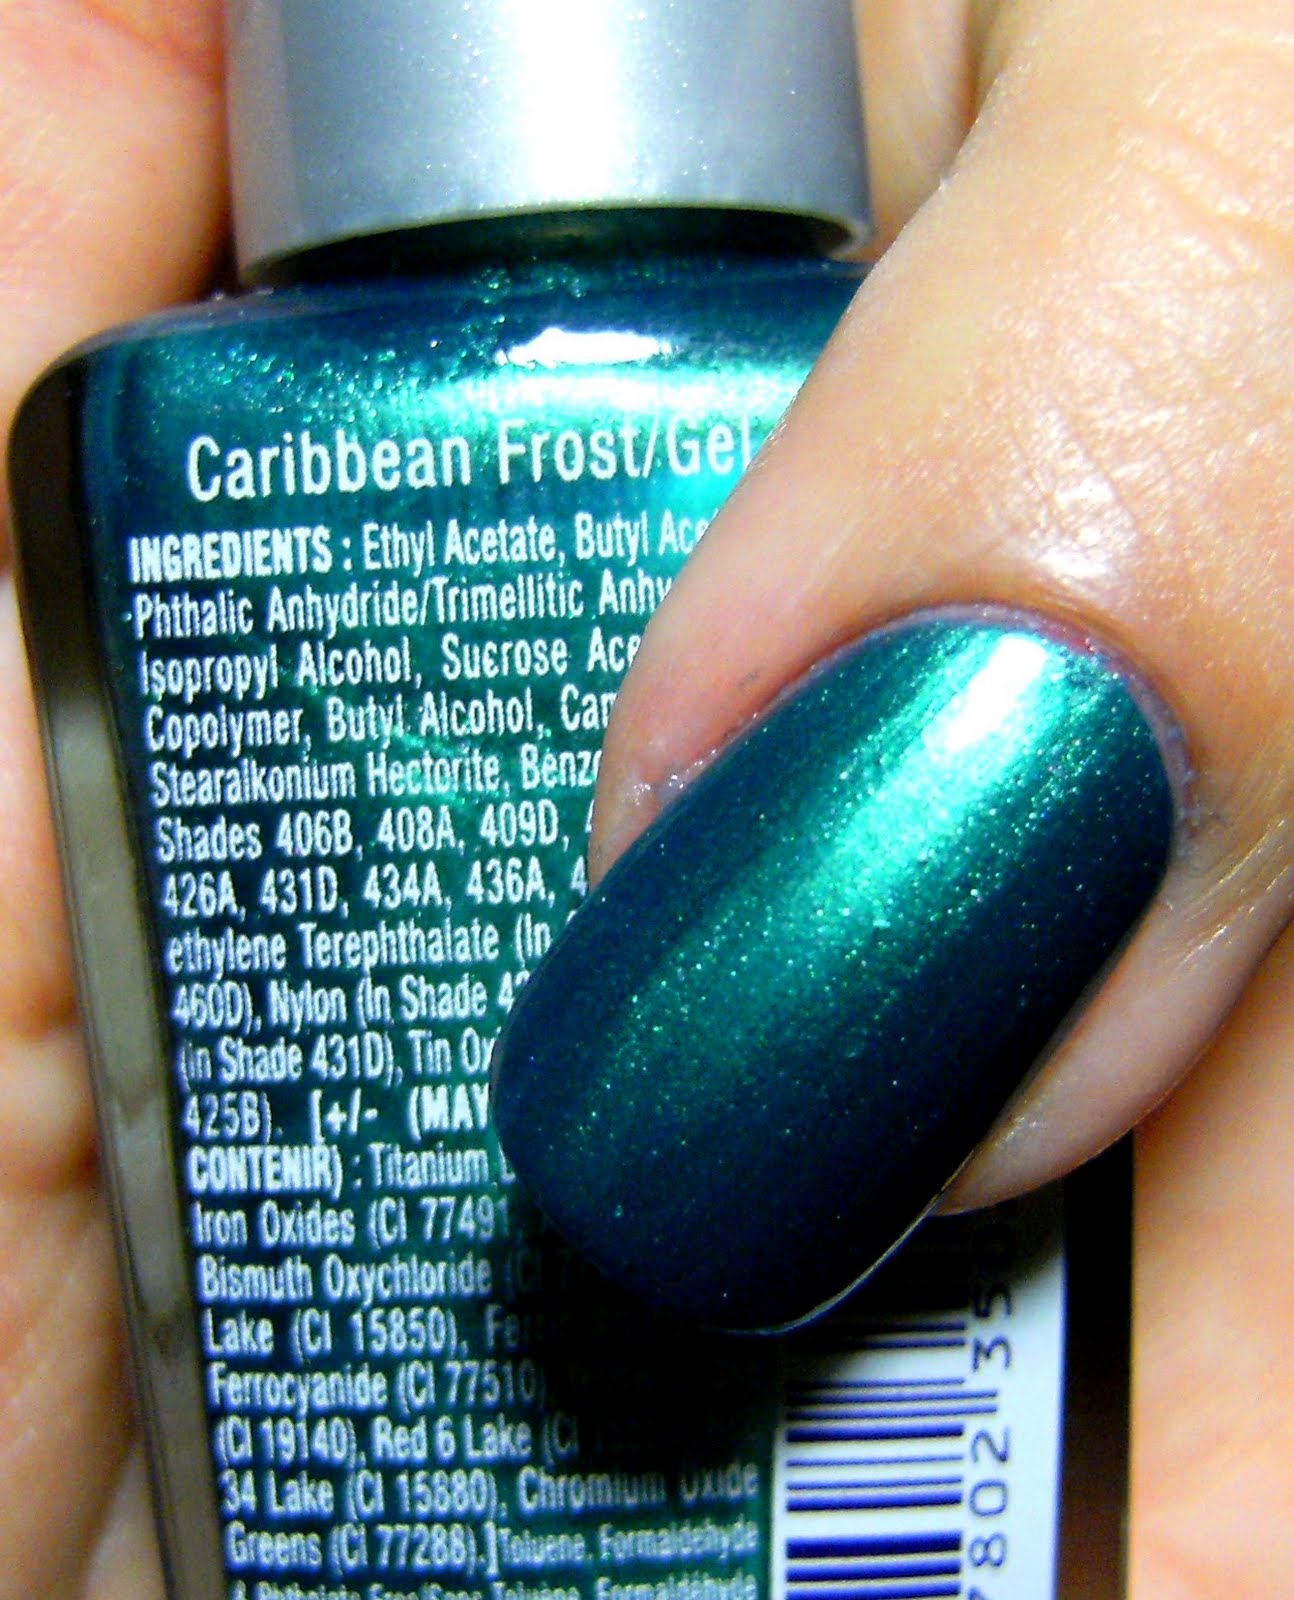
Franken - 'Frosty Caribbean' 2 coats & 2 coats f Nailene Acrylic Strong T.C.

I did add some pretty simple nail art to this by applying a straight nail tip guide and using the Nailene skinny french tip pen in white, but I totally trashed it when making jewelery on Friday night, so all I have is some plain, but still lovely photos.  This color turned out lovely and when I made these Wet n' Wild franknes mid January, I planned on doing a funky french themed nail art week..... mid January, but it took two months to get around to it!


I mixed this with a pure white polish and got this beautiful light, bright robin's egg blue.


Indoor Fluorescent

Indoor Fluorescent


Friday, March 12, 2010

♥ Franken - 'Fir' ♥


Franken Polish 'Fir'  - Made with Nat Robbins 'Greed' & a white body shimmer - 2 coats


I had a hankering to whip up some franken polish and had the perfect base to use; Nat Robbing 'Greed' a very flashy green polish I picked up for $1.50 CAD at an awesome bargain store in my town. I used 6 empty mini nail polish bottles and added 'Greed'  till they looked half full and went to town. Don't worry - the mini 'Icing' polish's that I disposed of were not very pretty - ( I poured them into other bottles )

EDIT: I forgot to add that this green polish by Nat Robins was soooooooo thin & runny. It was perfect base to use for frankens. HERE is a full post with a mani for this polish.

For this Franken Polish I mixed in 1/4 teaspoon off white body shimmer, and a few drops of a rich black to get this color..... which sort of looks like Balsam Fir needles, and so I am naming it 'Fir'. I whipped up some awesome frankens and am looking forward to wearing them all soon! Any time I mix pigments, shimmers or e/s into franknes I always add 4 ballz = its a must!

For some interest on this suede finish franken I applied Nailene tip guides diagonally across my nail and used 2 coats of Nailene Top Coat. This suede looking finish drank up the topcoat, and I totally could have used another coat of T.C. I don't think I will embellish this any further because I am in a swatching mood......

Have an awesome weekend!


below - my latest franken & a quickie *swatch* of the new green frankens I have recently made


dim, mysterious lighting


sun/shade with Body Fantasies cotton candy body spray -YUM -