Pages

Showing posts with label DOTS. Show all posts

Wednesday, March 2, 2016

Easy Dotted Mani


This is a quick and easy mani --- the base is Claire's Matte green, with a bunch of other Claire's polish's I am too lazy to name.  There is so many things around the house that can be used as dotting tools. All 10 of my nails, including this fast drying Matte green base took less than 10 minutes.


                Stuff I used......names? hello?


weird shadow pic


Is there a latex barrier in stores? I am hoping something shows up in Canada soon, but for now this stuff is great! I found this in the Hair section of Sally beauty -- it dried fast on my cuticles and was easy to peel off . I am never going to do a sponged mani or any other messy nail art without it. I am not allowed to order stuff online right now so this will have to do. There was several different sized bottles of this stuff but I grabbed the big one, just in case. ( it was $6 CAD) I
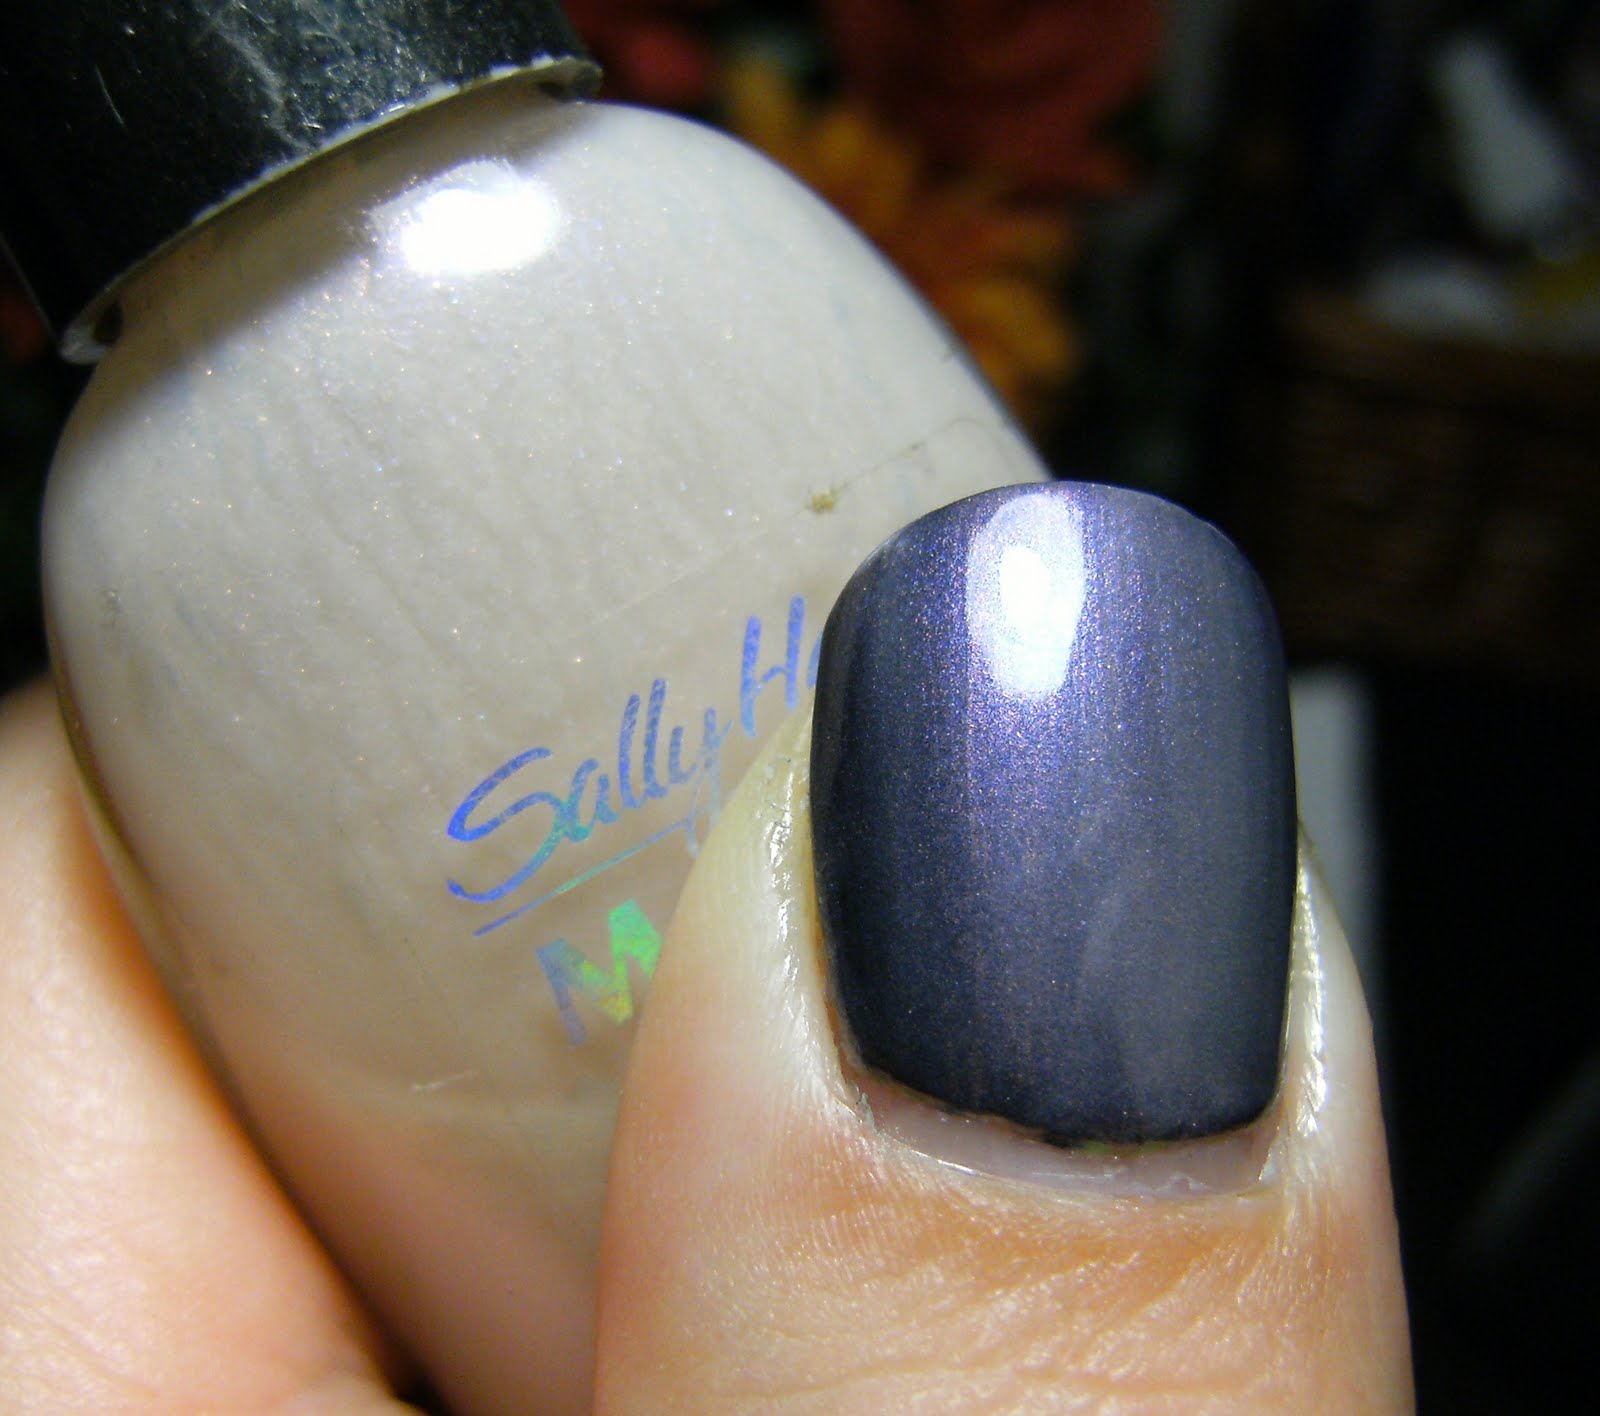

I found out about this stuff from someone on Instagram, or maybe YouTube. I'll try and do a mini tutorial in the future, but here is Youtube link of someone using it. I poured some into an empty nail polish bottle.

o

Monday, March 31, 2014

Red Dotti-Cure


wow ---that Witchcraft red glitter is something else..... it really glows! This mani is a base of Icing Sandy Beach, multi-sized dots made with Kozmic Colours reds, Sally Hansen Red Comet, and Witchcraft Red Glitter. I used a matte Top Coat from N.Y.C. The bland base polish really made this dotti-cure extra special.


before TC


o

Monday, July 29, 2013

Pink dots with Sinful Colors


 Dang! I was doing so good with posting, then I fell off the blogg'in wagon for 5 days - Oh well here I am now with a lovely and easy to do dotty mani. I started with a base of Wet n Wild White, I used a dressmaking pin to make the lighter and bigger dots, then used a regular sized dotting tool to add the other two pink colours.

No TC in these photos - - I find it is way easier to take pictures indoors without top coat I also find that my camera  will not take crisp macro photos of bright pink and orange colours indoors if I wear top coat = weird!

 Sinful Colors Boom Boom, 24/7 and Cream Pink


O


Wednesday, August 1, 2012

Sally Hansen Generations


 Here is a Dotti-cure I planned out a few weeks ago using 4 different sally Hansen polishes from different collections which I call; Generations. Has anyone sat down and figured out how many different polish collections Sally Hanson has cranked out over the decades? Or even how many polish colours? I wonder if they keep statistics at the Sally Hansen HQ = I am curious.

For today's mani I started with 3 coats of  Sally Hansen X-treme wear in Lacey Lilac, then dotted on Sally Hansen New Lengths in Diva, Sally Hansen Salon in Trouble Maker and Sally Hansen Hard as Nails in Applause.

The SH New Lengths line and SH Hard as Nails ( in that bottle shape ) are long discontinued. In my photos I do not have TC -  when there is a hazy overcast outside my photos look weird if my mani is too shiny.


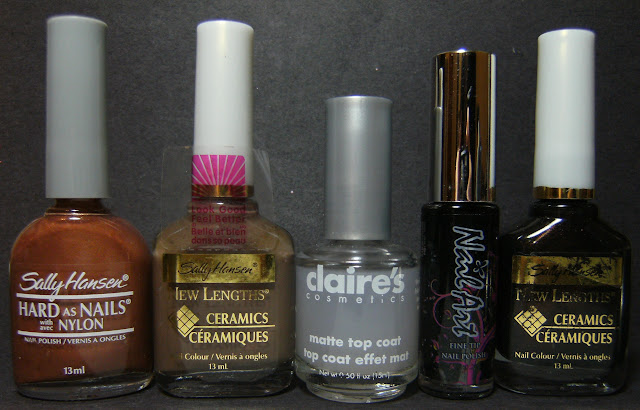
 L-R Sally Hansen New Lengths in Diva,Sally Hansen XW Lacey Lilac, Sally Hansen Salon Trouble Maker Sally Hansen Hard as Nails Applause.


o


Monday, July 2, 2012

Summer dots


This was my mani before the Sally Hansen Mint Sprint staining fiasco yesterday. I started with a base of Billie French White, then dotted on 4 different bright flourescent polish's with a dotting tool and slapped on a coat of TC ( when my dots were sorta dry ).

I visited the big city this weekend ( Weinerpeg Manitoba ) and spotted these at the Dollar Tree on St James ( next door to Hooters, lol ). These are super duper bright polish's - they dry fast but these specific ones are on the sheer side, so your looking at 3 or more coats to get to the bottle shade...... but for $1.25 CAD I AM NOT COMPLAINING.


stuff I used, Billie Cosmetics Elesctric yellow, Electric Pink, White, Electric Coral and Electric Blue


o


Friday, November 25, 2011

DOTS!


Hmmmmm, the last time I tried this type of dotting it didn't turn out as nice. The base is 2 coats of Icing Putty Concrete, and dots made with Icing Sandy Beach, Hazelnut and Bordeaux and 1 coat of TC.

I made the dots with a dotting tool and tried to have various sized dots. The colours I chose are a nice reflection of the gloomy weather and dingy scenery outside today. I will be painting my nails in bright cheerful colours this evening - Happy Friday everyone!


Icing Putty Concrete, Sandy Beach, Hazelnut, Bordeaux

o


Friday, May 13, 2011

Peas-in-a-Pod? copper nail art


This is me practicing making various sized dots. I really had no plan for this mani and it just sorta happened. I want to be able to make dots of different sizes, and placed symmetrically on my nails when I do nail art in the future - so I just started dotting and this is what I came up with.

I wore this for my N.O.T.D. - I really like the design. It s definitely not symmetrical, and my dots are a tad wonky, but with some more practice I am certain I will be able to perfect using dotting tools in the future.

practice, practice, practice...........

also these last 2 days have been bummy without blogger working properly - I love blogging and I love reading everyone's blogs! I hope it is fixed for good♥


base polish is Rewarding Decadence layered over Nail Fetish artificial nails that are similar in colour, I sponged on SH cappuccino on the last 1/2 of my nails, and added the matte top coat

I made the leaves or whatever these are supposed to be

then added the dots of varying size using a dotting tool

stuff I used; Sally Hansen HAN Rewarding Decadence, Sally Hansen NL Cappuccino, Matte TC, Nail art black, Sally Hansen NL Mocha Madness


this is my right hand, I seldom add photos of this hand as it is waaaaaaay harder to take photos of this hand. I knew  I could not do as good of a job on my non dominant nails, especially something where  needed to be precise, but I did try...................... i did not do the sponging on my right hand....

lol - I normally wouldn't attempt something intricate like this on my right hand


and a few more photos......


Thursday, September 23, 2010

♥ DOTS! and some booooooring sheer polish's.... or are they? ♥

DOTS! with Icing Bordeaux and Wet n Wild Disturbia& 1 coat Nailene TC


Here I stretched my previous mani, Icing Bordeaux, using a dotting tool and Wet n' Wild Disturbia. Dots are super - duper easy to do. I first did a diagonal mani by applying Nailene French Tip Guides diagonally across my nails then added 2 coats of Wet n' Wild Disturbia to the tip portion of my nails.

When that was sorta dry I removed the French Tip Guides and started dotting. I found this dotting tool in the scrap-booking section at my favirote dollar store in my town. It is not sold as a dotting tool, it is a ' Embossing Stylus Tool, below is the package it came in and a (small) photo of the actual dotting tool.


 I think that you could use anything with a small round end on it, this thing makes perfect little circles. When i was hunting around for actual dotting tools, none of the beauty supply places had any! I have read that the end of a bobby pin worked well for making dots, too.


Towards the end of this post is some quick skittlez I did using some sheer Sally Hansen polish's. I am mesmerized by some layering I do and have seen..... some of the combos of polish turn out so beautiful.


 ....... and the layering. ALL 1 COAT LAYERED OVER WET N' WILD BLACK {oops!}


Below L - R;

a franken I made with Sally Hansen Opal Truth and an unknown sheer buff shade
SH Xtreme Wear Strawberry Icing
SH Xtreme Wear Lavender Envy
SH Xtreme Wear Lime Lights
SH Xtreme Cotton Candy


Clockwise - Franken, Strawberry Icing, Lavender Envy, Lime Lights and Cotton Candy


1 coat towards the left & 2 coats for the rest of my thumb nail..... this needs a little more clear. Layered over black.

I made this using SH Opal Truth, the same polish I made these 3 frankens with{ 1, 2, 3 }

I think this is a little too milky, but looks okay at 1 coat.... I will be adding alot more clear to this, I couldn't get a great photo of it, but there is alot of multi coloured micro shimmer in there.


Sally Hansen Xtreme wear Strawberry Icing. 1 coat Layered over black

I have tried layering this over girly colours but I think it looks best layered over blues, greens and black. I will have to look for this at the store as I am not sure if it is still available.

It does not have any opalescence, or flash. It is just straight up pinkish glass fleck.


I have worn Strawberry Icing before HERE, and here it is alone at 3 coats


Sally Hansen Xtreme Wear in Lavender Envy is a gorgeous polish. It is not available in the core line of Xtreme Wear anymore... It should be though. I think when the Xtreme Wear line first came out there was alot of these sheer iridescent & opalescent colours.


This is 1 coat layered over black. This polish looks good layered over everything. HERE is a post layered over Sally Hansen Flirt on my TOES.


Sally Hansen Lime Lights. 1 coat layered over black


I layered this over a dark burgundy polish HERE and it is sooooo pretty. I think that this polish can go a long way in frankening.... So if I get an urge to do some frankening I will be picking up a few bottles of this. The green shimmer is STRONG, and the iridescent flash is super duper strong, too.


Sally Hansen Xtreme Wear Cotton Candy, 1 coat layered over Black

I think this is a little too 'milky' to be  a layering polish, but it still looks neat over a darker shade. Kinda like the eyeballs of Zombies in Zombie movies.


... And thats that. Lavender Envy is in my top 10 favirote polish's... with Lime Lights closely following. I am planning on franken-ing with it to see what I can come up with. I missed out of Maybelline Vanishing Venus but think I got a pretty close dupe layering it over burgundy and deep purple shades. Are there any frankens out the with Lime Lights?


 What are your favirote layering polish's? I love to learn about different layering combos........