Pages

Showing posts with label Polish Finish = Creme. Show all posts

Thursday, July 25, 2013

Matte neon dollar store sprinkles and Sinful Colors Timbleberry


For some reason I didn't take an actual, whole 5 nail manicure photo ---- how did i pull that off? I guess I was excited about these neat matte neon glitters that I found at The Dollar Tree. Instead of mixing these into a clear base, I opted to do a glitter sprinkle.  The ratio of glitter here is 3 parts orange, 1 part purple and 1 part blue.

I started with a base of Claire's Matte Grey, when it dried I applied a coat of Pro FX Top Coat, then stuck a fluffy brush into my glitter mix and sprinkled it onto my nail. I applied a coat of TC to seal it all in. I wanted to see what I kind of glitter density I could achieve, so I went buck wild and sprinkled on copious amounts of matte neon glitter to my pinky and ring nail.

 I made a franken with this matte glitter but I prefer the glitter sprinkle method as opposed to an actual franken. dipping a fluffy dry brush into a container of glitter, then sprinkling it onto wet polish seems faster, I am able to achieve more glitter coverage and I can fill in sparse areas just as easily with sprinkling it on.

here is a photo of the package of glitter from The Dollar Tree


 .............. and now there is matte neon glitter all over my nail polishing area, those tiny little baggies of glitter below were not sealed properly, so the glitter leaked everywhere. I thought that I taped them up well but some glitter escaped.

stuff I used

 R- with 1 coat of TC          --         L; immediately after sprinkling

I laid on a seriously thick coat of TC here and so I got the bubbles!


ummmm what's a Timbleberry? I know that there are Thimbleberrys, but I don think that timbleberry's are a real berry ---- anyhoo -- Sinful Colors Timbleberry is a lovely bright reddish coral. 3 coats w/ TC even though this dried extremely shiny on it's own. I forgot about these photo's so I am tacking them along with this matte glitter post.


indoor fluorescent                                                       sunshine

 ..... and now I have to get the vacuum out to suck up all that glitter

 o


Monday, July 15, 2013

Icing Love-It and Wet N Wild Candy-Licious


I love all sorts of glitter but this polish wasn't glittery enough for me. I  recently visited an Icing Store and picked up quite a few of these Icing polishes. We used to have one in the nearest big city but they closed down, it was one of the only reasons I even went to the mall in that town. Anyways, this is a blue/gold/magenta/black glitter that I found too sparse for my glitter neeeds - but I love black glitter right now so  I suppose I will hang onto it.

The base is 3 coats of a light pink creme from Wet N Wild Megalast. I am loving these Megalast polishes from Wet n Wild. I probably could have added another coat as I had a few sparse areas but it was a nice day and I wanted to hang out outside.


WnW Mega Last Candy-Licious on its own... 3 coats


 ......... and here is another pretty WnW Mega Last mani; I heard it Through the Grapevine.  2 coats.


I used this L.A. Colors top/base for this mani and I don't think it dried fast enough..... next time I will give it more time to dry as a base coat. The smudge was not due to the polish but to clumsiness on my part; I really should try to sit still for at least 3 minutes immediately after I paint my nails lol. To disguise the smudge I dabbed on a little more WnW Heard it Through the Grapevine then added a coat of Wet n Wild Fast Dry Hannah Pinktanna.

This polish bottle magically opened by itself and leaked all over the place. I dont recall many blog posts about this basecoat/topcoat, maybe there is a good reason why? Or I need to let it dry a little bit longer before applying my nail polish.

stuff I used Wet n Wild Mega Last I Heard it Through the Grapevine, Fast Dry Hannah Pinktanna & L.A. Colors Base coat/Topcoat.

Hanna Pink Tanna and Blue Wants to be a millionaire are pretty holographic glitter polish's that have saved so many manicure crisis's, the brush's are a little stiff but these are great to have around for nail polish snafu's.
o


Friday, May 20, 2011

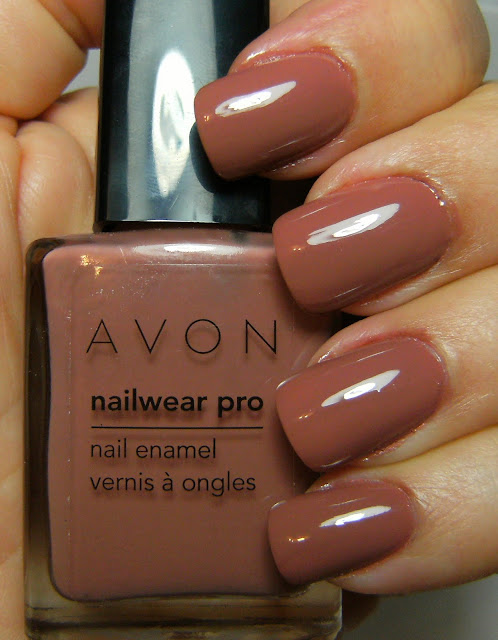
AVON Bare Necessity and Midnight Plum


Hi everyone - here is a quickie post = I am experiencing some OMFG computer problems and it has killed my desire to be on the internet or even the computer all together ( all dramatic lol )

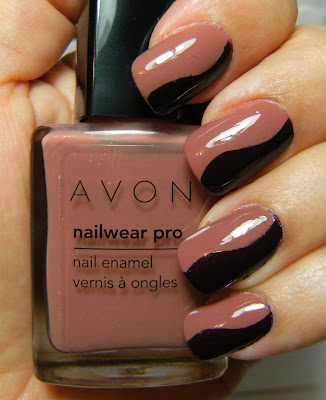
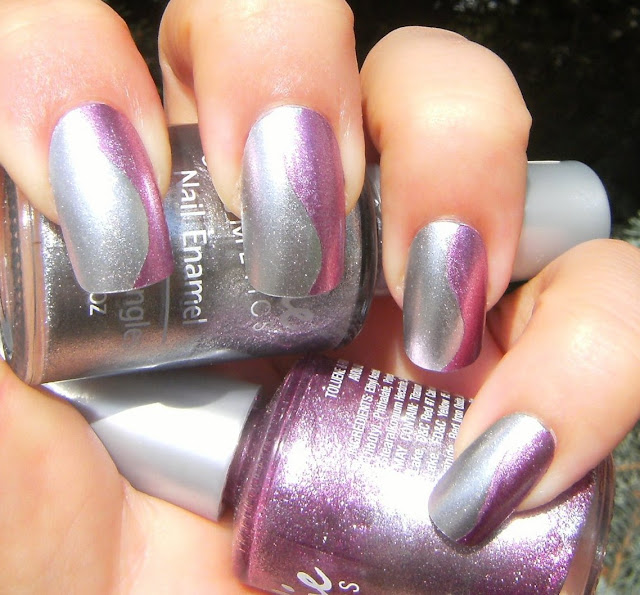
But ~  here are two lovely Avon Polished paired up in a gentle S-curve manicure.

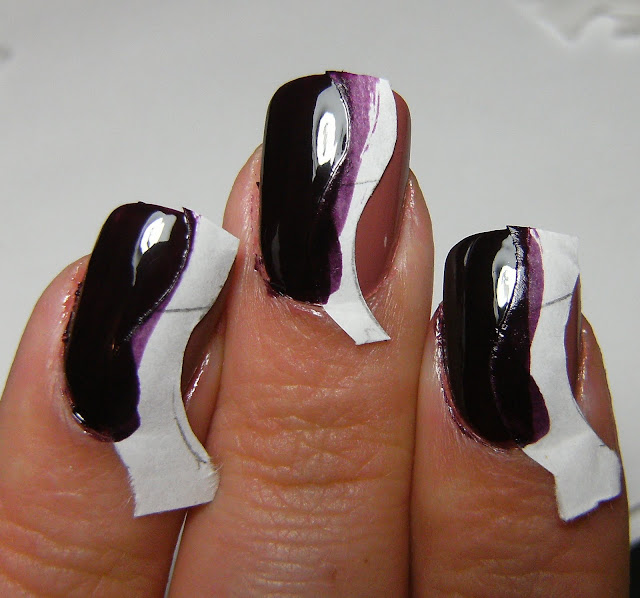
I cut out the design template from mailing labels these seem to leave the least residue. I have tried to cut out shapes for designs from painters tape using scissors with little success, and using a utility knife is dangerous, so this is the way to go for me.

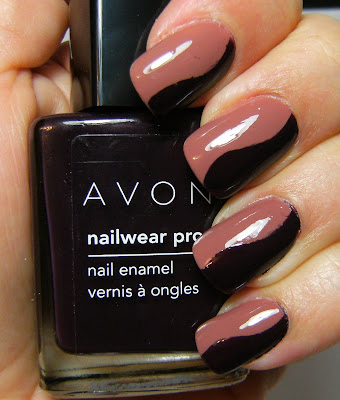
Both of these Avon Polish's are creme finishes. The apply wonderfully, dry fast and are richly pigmented.  I have recently acquired a few Avon polish's and can say with certainty that this line of Nail Wear Pro Polish is awesome.

3 thin coats of Avon Bare Necessity

when the base polish was dry I applied the 'S' shaped stickers that I cut out from mailing labels

and added 2 coats of Avon Midnight Plum

I removed the stickers and added a coat of Top Coat


.... and here are a few other 'S-Curve' manicures I have posted in the past


Monday, April 4, 2011

new blogs & a fun summery funky french


This is a simple easy nail look using one of my recent frankens- I Ain't Missing You, China Glaze For Audrey and Art Deco Teal/Green Glitter stripe polish. I applied 2 coats of my base colour, then free-hand added the chevron french tip with China Glaze for Audrey, then traced over the line where the two polish's meet with the Art Deco glitter stripe polish - doesn't get much easier than this!


 ........and a few new blogs

liquid jelly

nikkis nail files

dutch-diana

forever the ugly duckling

makeup 4 my age
 
the it color

oh what fun

libbys pink vanity

Did someone say Nail polish

superintendency


kaylas nails


Blanca 1018

Karma Polish 

lalica nail art

nails wanted

cherishs cup of tea


laquer Addict

im obsessed with nails


and a few more photos....

L-R; Franken I Aint Missing You, China Glaze For Audrey, Art Deco Teal/Green Glitter stripe polish


The label on this bottle is falling off.... what up with that?

Thursday, March 31, 2011

I Ain't Missing You Franken


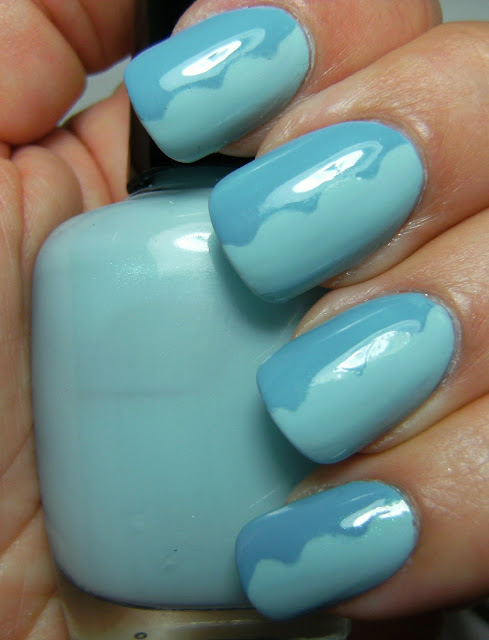
Here is a new franken I made with NYC East Village and a plain white creme.... this is paired with another franken that is made with the same polish's, just different quantities.

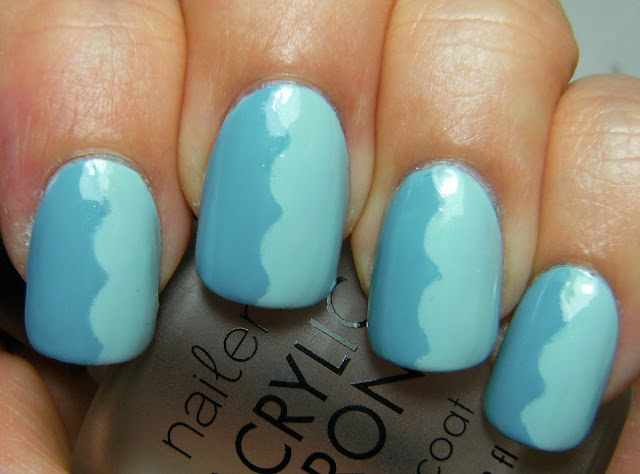
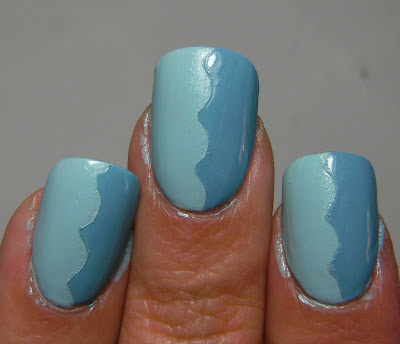
These are both cremes with subtle shimmer. The darker franken needs 2 coats for full coverage, while the lighter franken needs 3 or more..... it is sheer but they both dried fast because both polish's that I used to make these have a great fast drying formula.


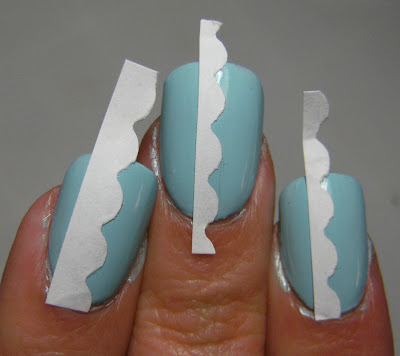
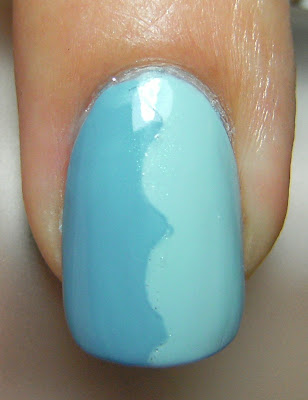
I used my nifty pattern scissors to make this scalloped design, I cut them out of mailing labels


see the gooey bits left over.... that's because it is very humid inside right now.


with a coat of TC


with Is This Love franken

with I Ain't Missing You franken


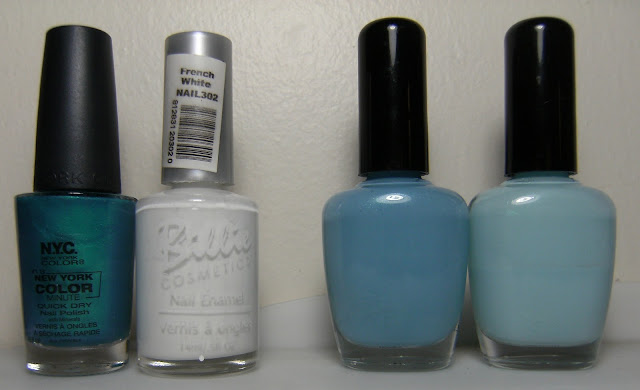
I made these two frankens with NYC East Village and Billie French White
above |L-R NYC East Village, Billie White, I Ain't Missing You and Is This Love Franken

♥ close-up ♥


Tuesday, March 1, 2011

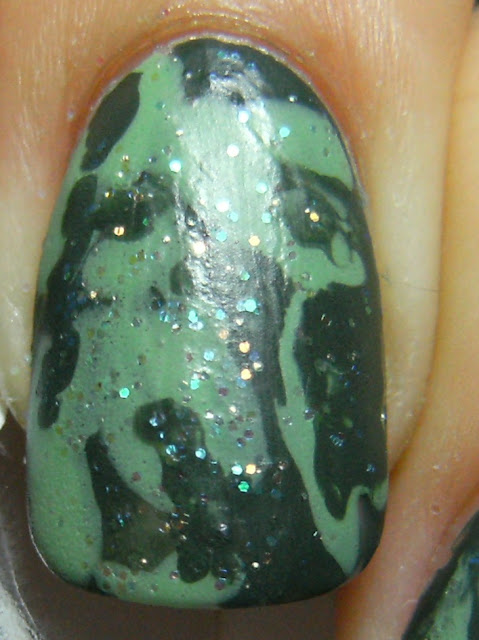
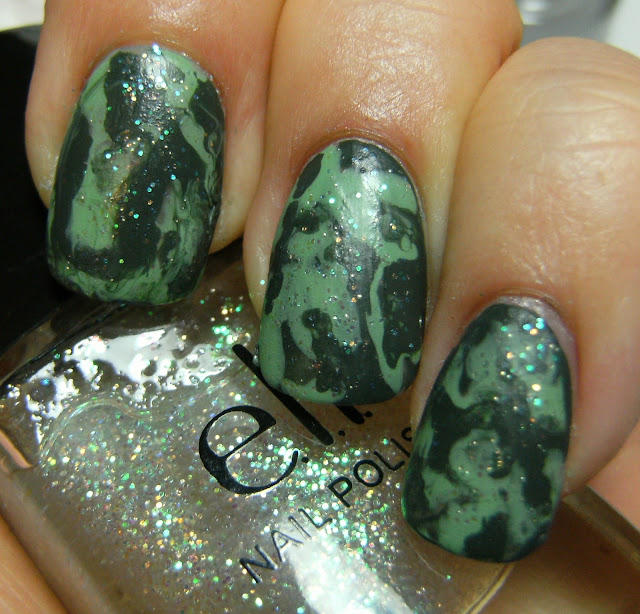
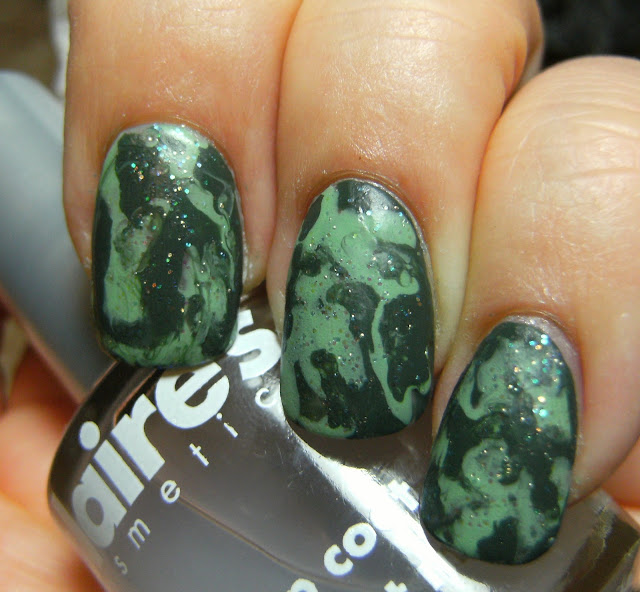
Avon Jade and Olive Green camo mani


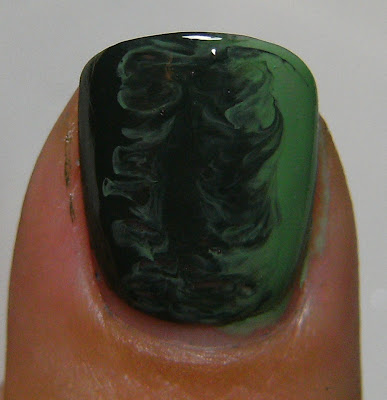
For this mani, I applied blobs of polish straight from the brush randomly over my nails and swirled then around with a dotting tool. When it was dry I applied a coat of ELF Twinkle Twinkle over my nails. Instead of a shiny finish I opted for a matte top coat, which I think suits this much better.

ELF Twinkle Twinkle has a weird chunky formula, and not in the good way -  it's like hair gel.....and it dries matte with alot of textured brush strokes and grainy-ness. It dries fast and has a pretty glitter finish, so those odd characteristics are forgivable.

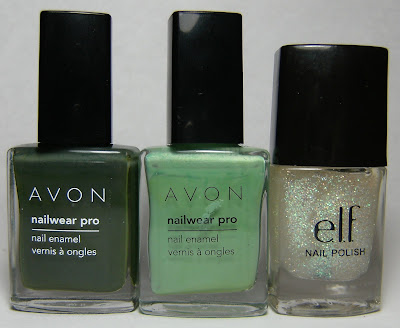
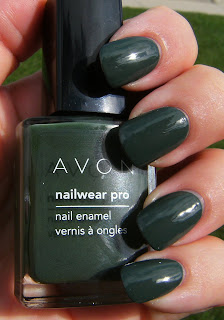
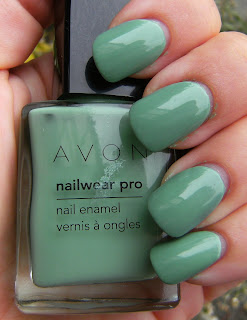
Avon Jade and Avon Green Olive are the only 2 modern Avon polish's I have. They are fabulously opaque creme finish's and dependable 2 coaters. These are the American versions, the formula is awesome and they dry fast and VERY shiny.


w/ Claire's Matte Top Coat


Products used -  Avon Olive Green, Avon Jade and ELF Twinkle Twinkle.


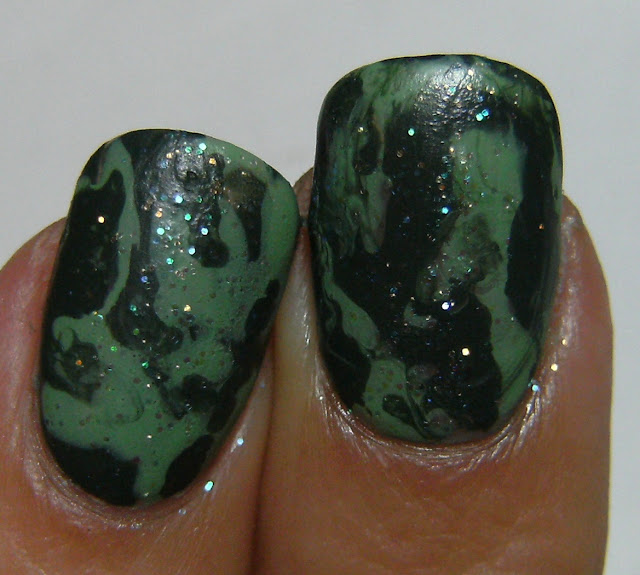
Below; this close-up is not flattering..... you can really see the weird grainy/texturized finish of ELF Twinkle Twinkle.... I think that it needs a nice shiny top coat to mask that, other than that the glitter in it is very pretty, it's sparse enough that it can be layered over another polish without eclipsing whatever it is being layered over.


For my thumbs, I applied a thick-ish stripe of polish to each side of my nails, and dragged a dotting tool in between the colours. This is called 'Day to Night' Technique, ( that's what I call it now ) which I fist saw on You Tube by You Tuber May Paris. When it was dry  I applied Nailene TC to this, but I think that I was a little heavy-handed with the green as it took alot longer to dry and I got bubbles!

I have tried this a few times and I still have not perfected it, I sometimes have some bare spots -  these are visible towards the base of my nail.


Below' Avon Green Olive & Avon Jade ( USA Versions )


Monday, February 21, 2011

China Glaze purple diagional mani


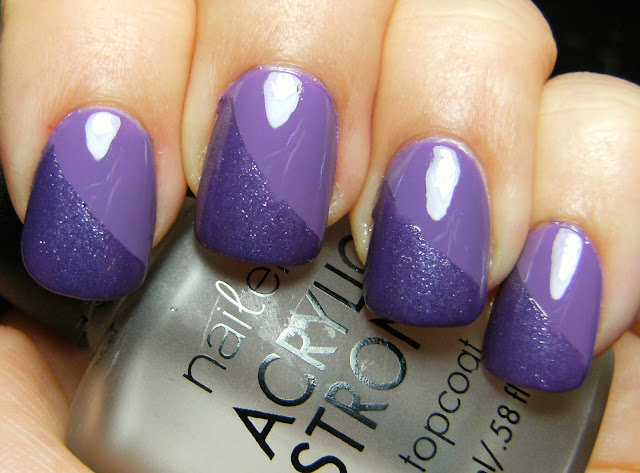
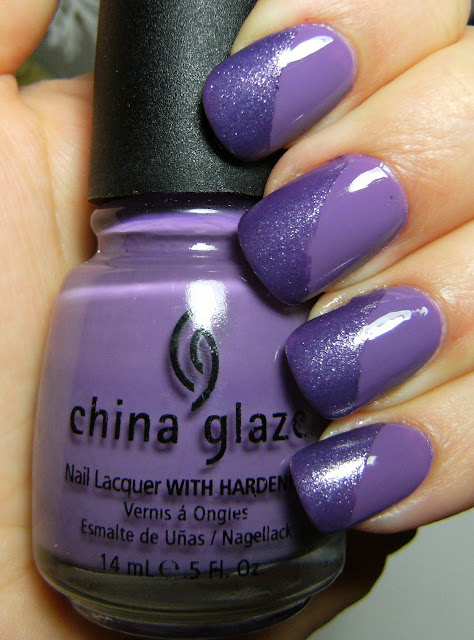
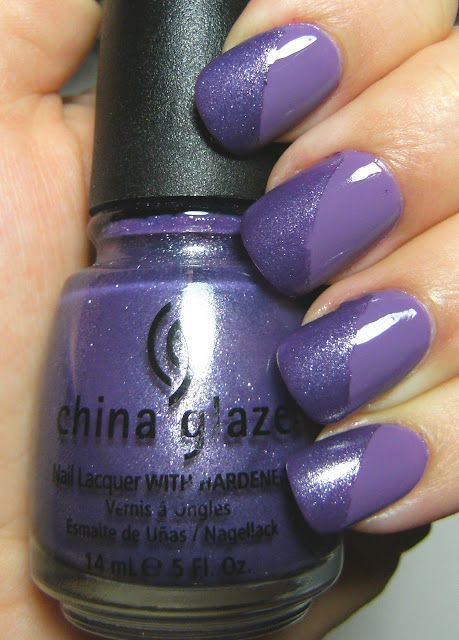
This is 3 thin coats of China Glaze Spontaneous with China Glaze Grape Juice. I applied a curved french mani tip-guide across my nails diagonally and added 2 coats of Grape Juice, when it was dry I applied a coat of Nailene Top Coat.


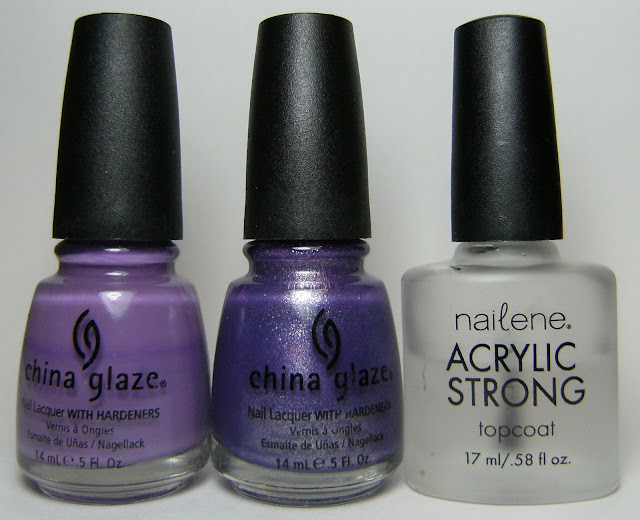
China Glaze Spontaneous, China Glaze Grape Juice and Nailene Acrylic Strong Top Coat


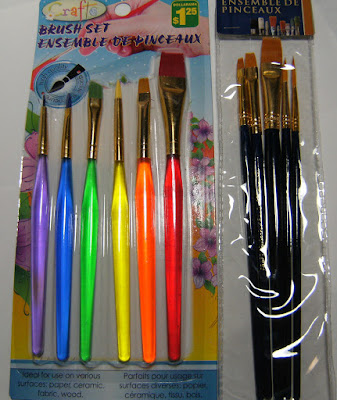
Below; I found these brushes at the dollar store.... The bright colours ones are for acetone clean-ups and applying moisturizer around my cuticles before painting my nails as I keep misplacing my black brushes.....  I haven't tried any nail art with these, If I do I will be using acrylic water based paint, there decent for a dollar store paint brush.
 
♥