Pages

Thursday, March 21, 2013

STARBURST NAILS


Here is a fun and easy way to use nail art stripe polishes. I started with a  base of Sally Hansen Complete Salon in Plum Luck, a rich purple creme..... I added wispy strokes of LA Colors metallic pink and Kiss nail art in pink glitter...... I gave that a few minutes to settle up before sparsely applying a Sally Hansen X-treme wear in Strobe light which is a silver and pink multi-sized holographic glitter then lightly sprinkled on some magenta holo glitter ( from summer 2010 ).

I like this nail art and have done it many times with different colours over the years......


 stuff I used; SH CSM Plum Luck Art Deco Metallic Pink, Kiss Pink Glitter, SH X-treme Stobe Light

#1 pink metallic

#2 pink glitter stripe,  silver/pink holo, sprinkle of loose magenta holo glitter

#3 TC and pink rhinestone

2 more glamour shots. I can't complain about my camera but I will mention that trying to take photos of hot pink or magenta coloured objects does not turn out well most of the time.


please don't eat me lol
o


Wednesday, March 20, 2013

Diagional Mani w/ Revlon polish


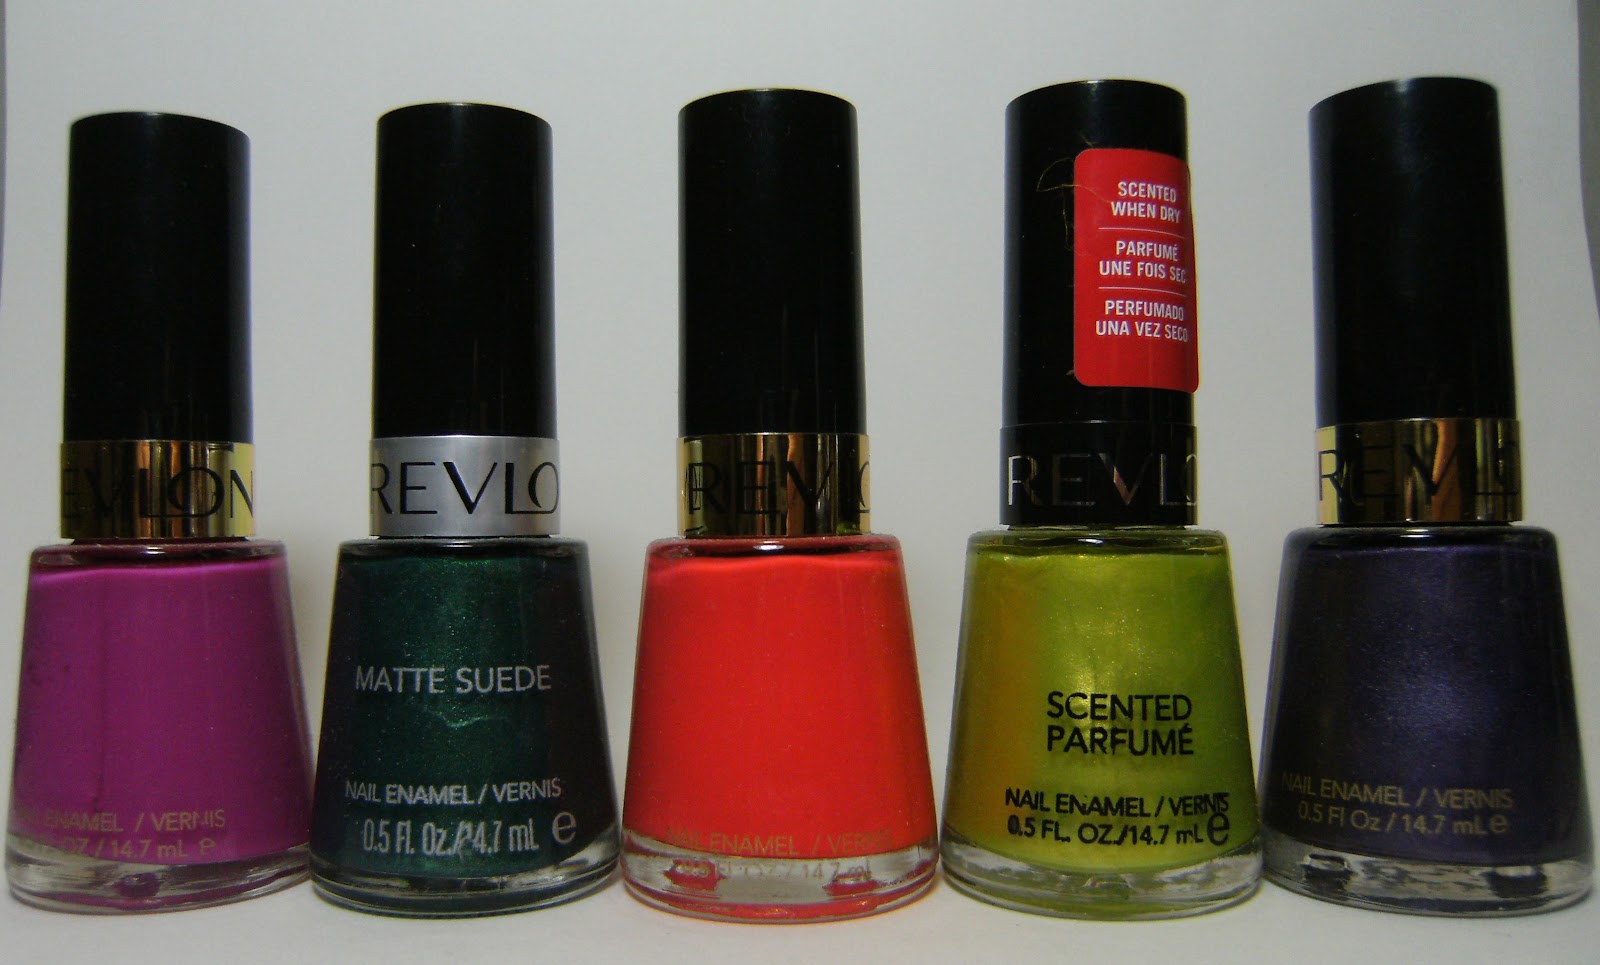
 Here is a simple diagional mani with Revlon polish. I picked up one of those 5 sets of Revlon polish's at a discount store for 10 bucks. Like almost every Revlon polish I have they were sheer and needed 3 to 4 coats to opacity and to hide any bare spots. Plum Seduction and Emerald City were the exception, but the other three below, No Shrinking Violet, Craving Coral and Beach need 3 or more coats to opacity. I do love all 5 shades, and @ 2 bucks each I cant really complain that much.


I have noticed Revlon Polish as well as Sally Hansen Complete Salon Manicures polish showing up at DollarRama stores in Canada with some pretty colours, I try to snap up th Sally hansen's but am skipping the Revlons due to their track record of rediculouly sheer and slow drying. (  I'm so mean !!! )


L-R=No Shrinking Violet, Emerald City, Craving Coral, Beach, Plum Seduction


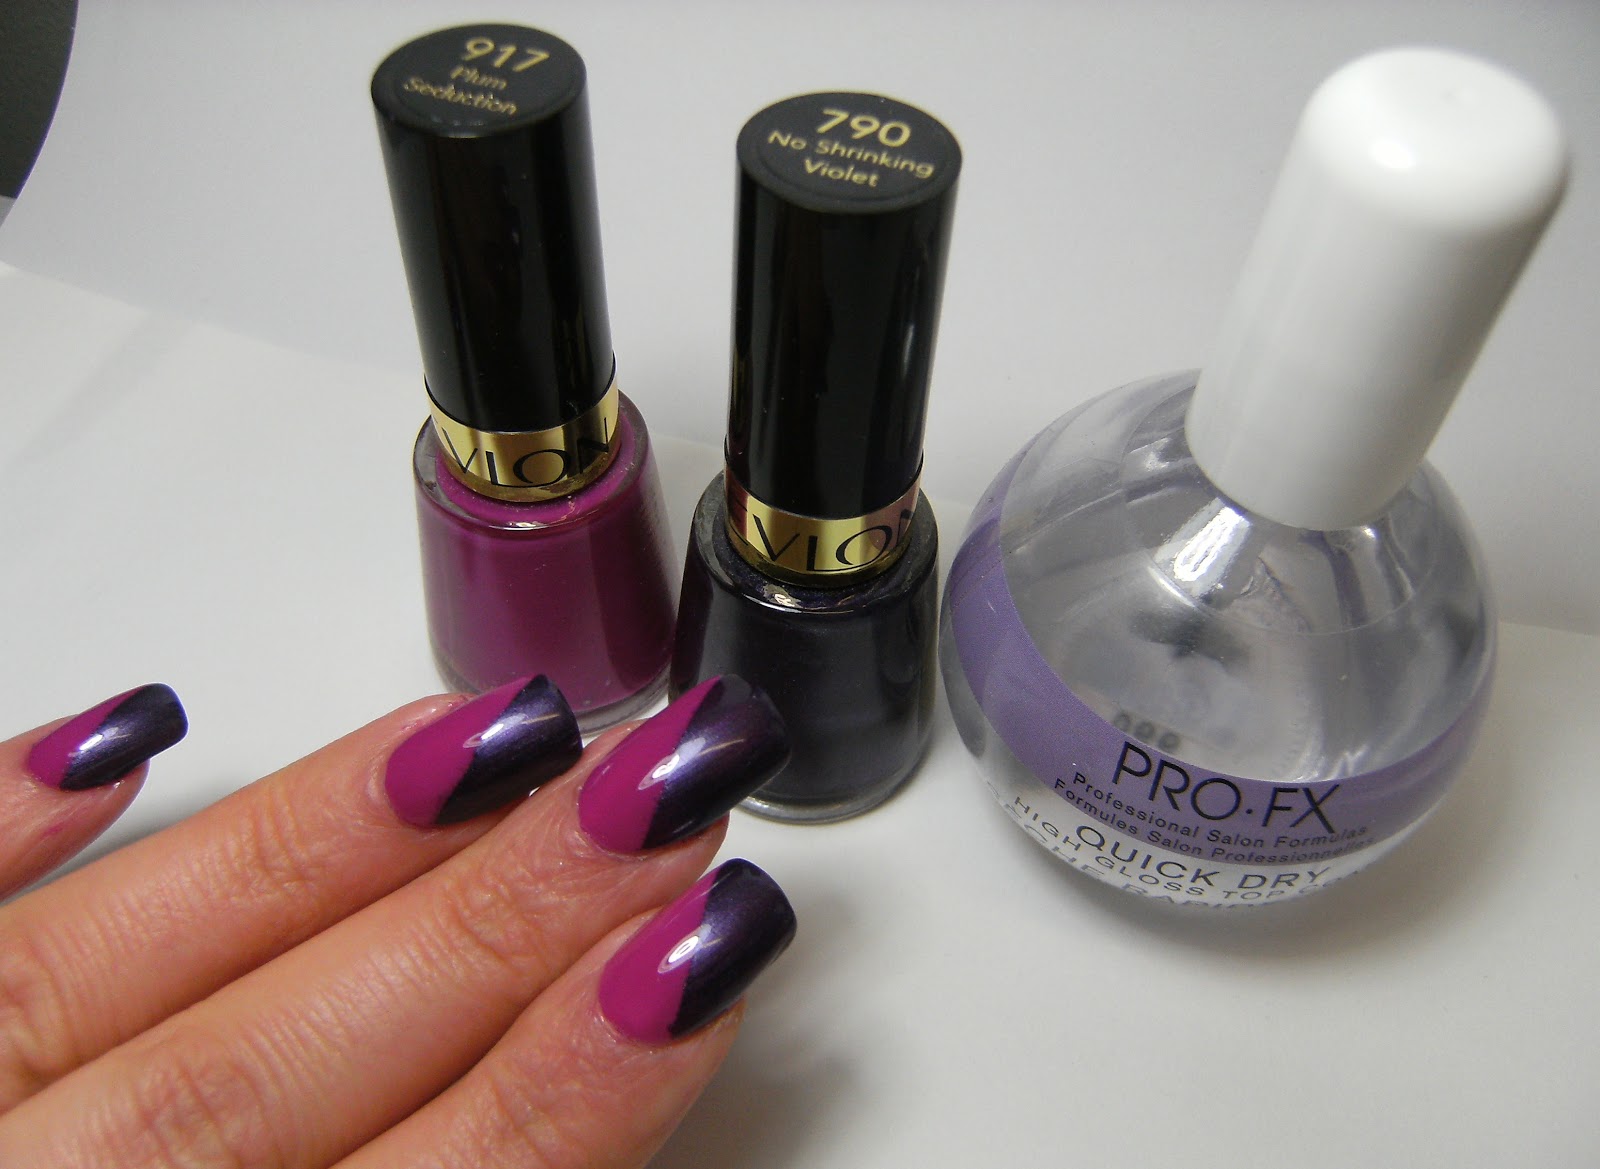
For this mani I started with 2 coats of No Shrinking Violet, waited for it to dry, then applied the tape diagioanlly across my nails, then added 1 coat of Plum Seduction ( I needed 2 but I was lazy ) I gave it a few minutes and removed the tape and added 1 coat of TC. I did have some polish bleed under the tape:(


2 coats of No Shrinking Violet. This is a pretty colour but very sheer and I DEMAND 2 coats to opacity for all my nail polish's.

 I found this tape at the office supply store - it is used for taping off sections of  a white-board to create charts and schedules etc... it works on dry nails just like scotch tape.....


 stuff I used for this Mani


 Plum Seduction is a beautiful dark purple metallic - needs 2 thick-ish coats though......
o


Tuesday, March 19, 2013

Pink Sponge with new Dollar Tree Polish's


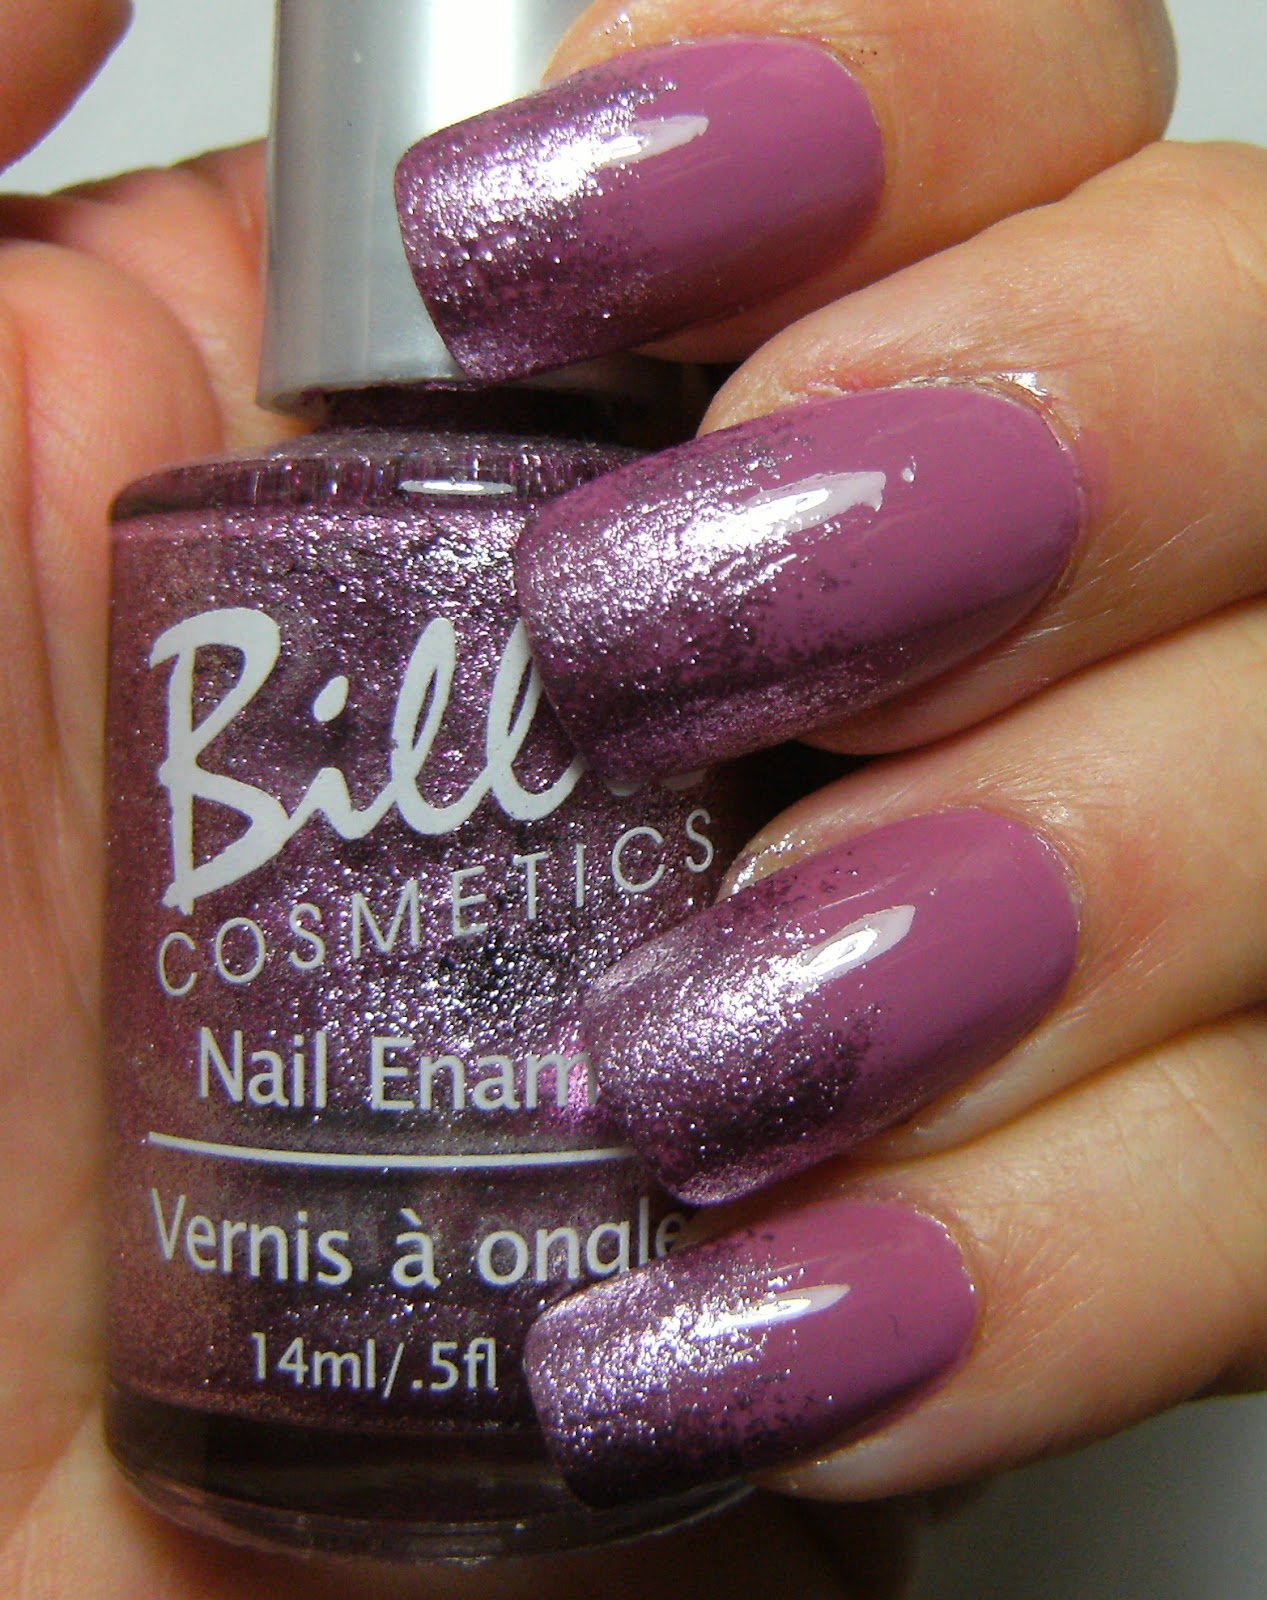
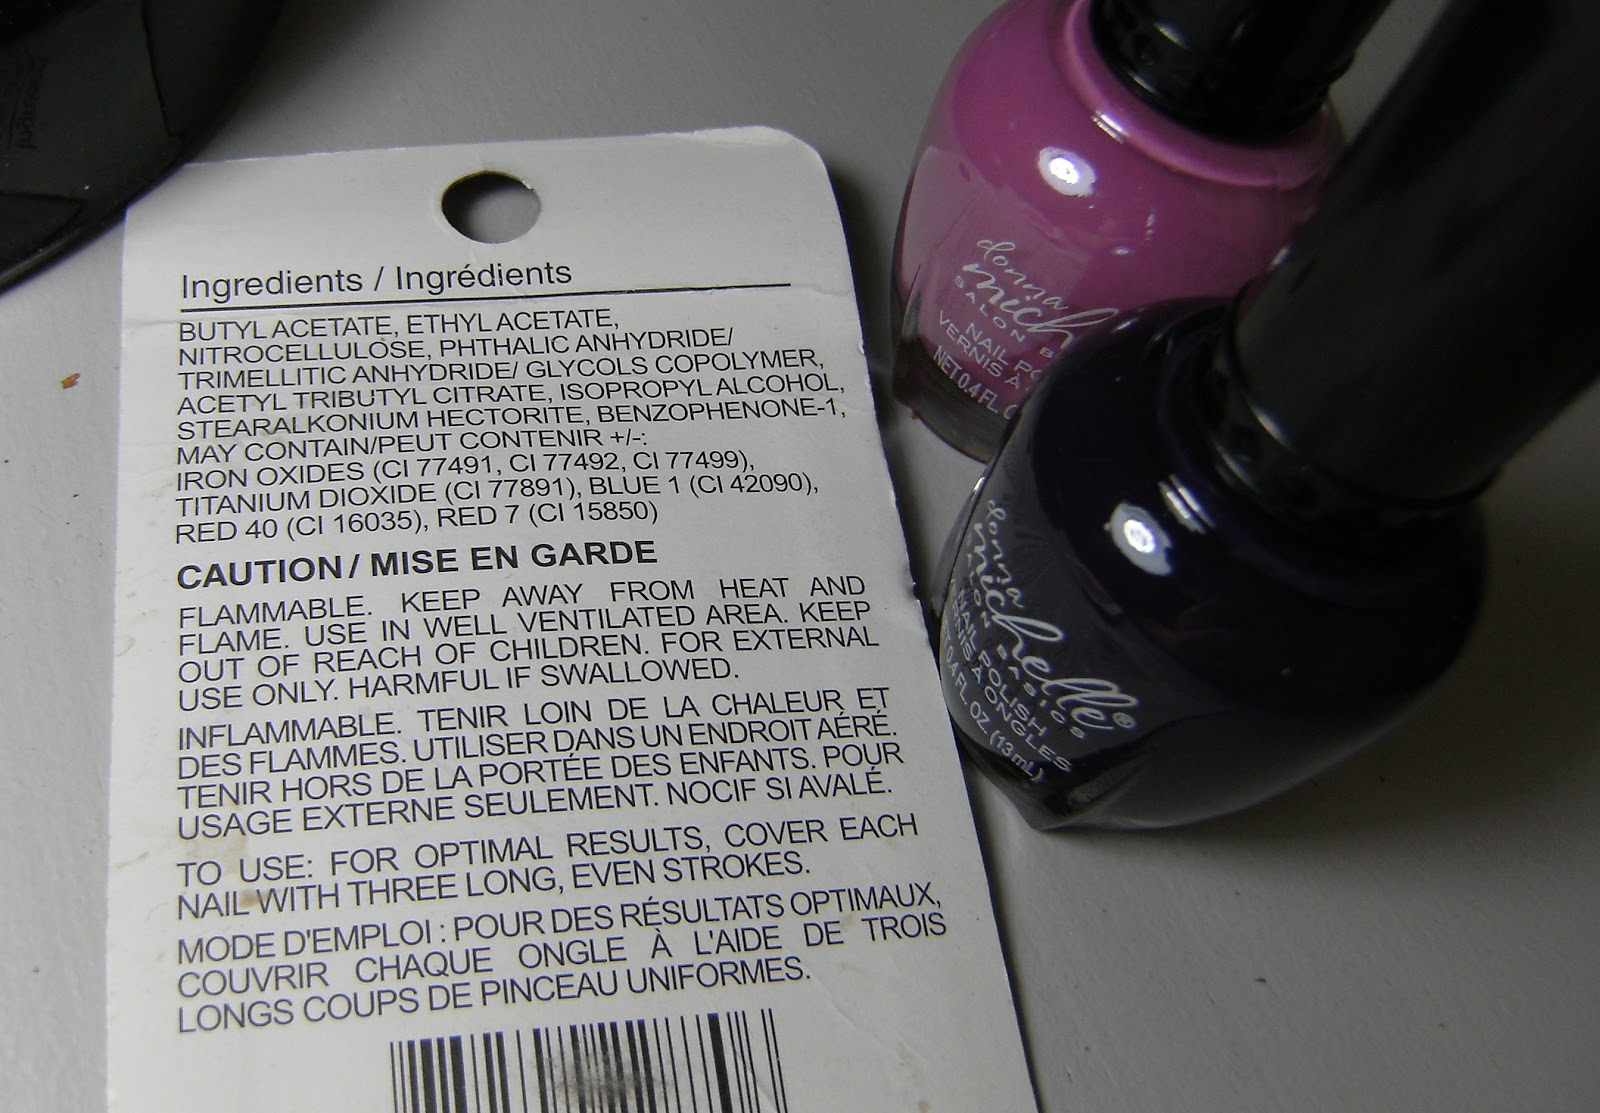
This Mani was 3 coats of a no name Donna Michelle nail polish that I found at The Dollar Tree in Canada. I googled the name of this polish = but they don't have real names! So I am calling this Pink while the other polish shown below will be Dark Purple..... I thought for sure they would be one of those ultra stinky polishes from overseas but it wasn't that bad.

These Donna Michelle nail polish's appear to be in similar bottles to Klean Color nail polish's...... they also smell somewhat similar. Has anyone else tried these?

On it's own I fell like this took longer to dry then say..... Sally Hansen X-treme Wear polish or Wet n Wild - Wild Shine. It is a beautiful colour and for 1 dollar I can't complain. It looked like most of the polishes available at The Dollar Tree at the time were already taken in the display, so if I head to the big city again anytime soon I hope to pick up a few more of these.

After wearing this pink polish alone for the morning I had to I add a beautiful pink foil nail polish to the tips of my nails ..... I sponged on Billie Alloy, which is a light pink foil nail polish. Billie Cosmetics are another brand of polish that is available at the Dollar Tree. Check out this photo from summer - - ( from WPG, MB, by Hooters on St. James lol )


sunshine

indoor flo


 Donna Michelle polish : Pink & Dark Purple..... if these have real names let me know!
 o


Monday, March 18, 2013

Janky Stripes & snow day!


I usually do alright when it comes to stripes like this - however this time, I placed my tape all wonky and I did not even notice till I painted my nails and took the tape off.---- boo! Once again Pure Ice Busted saved the day - just like in real life, a coat of Pure Ice Busted solves everything.

Because I am a rich millionaire with gold and diamond encrusted nail buffers and platinum cuticle sticks, I purchased these Sally Hansen CSM's full price for 8.99 at Shoppers Drug Mart..... Ha ha - just kidding! I found these at the DollarRama for 2 bucks, these Sally Hansen's are not that amazing that they should be 9 bucks! Come on Sally Hansen! Seriously who set the price point on these.  I am definitely waiting for them to be on sale if I pick up any more of these CSM's.

Ok that was mean - Sally Hansen CSM's have good formulas, good dry time and a vast choice of colours..... just a  tad pricy when NYC's In a New York Minute and Sinful Colors are just as good. Actually, every Sinful Colors polish dried faster then the Sally Hansen Complete Salon Manicures that I have tried...... hmmmmmm......

Anyhoo - for this mani I started with a base of Sally Hansen CSM in Greige Gardens TM ( LOL).  I placed my tape diagonally across my nails then added 2 coats of Sally Hansen CSM Plum Luck. When I began removing the tape I was pretty peeved that my placement was so off, and that some of the darker polish bled under the tape  So I added a coat of Pure Ice Busted..... and went on with my day. From far away it's not that bad - but I noticed it.


stuff I used- Sally Hansen CSM in Greige Gardens TM, Plum Luck and Pure Ice Busted

I didnt notice how 'off' my tape was before I applied the second colour to my nails.

LOL @ my middle nail
o

Sunday, March 17, 2013

fan brush nail art


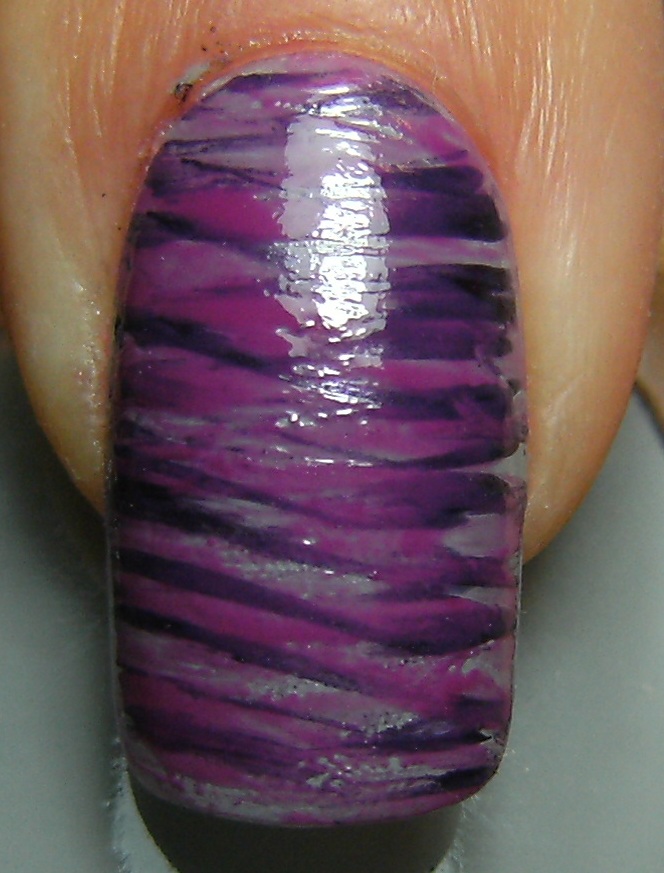
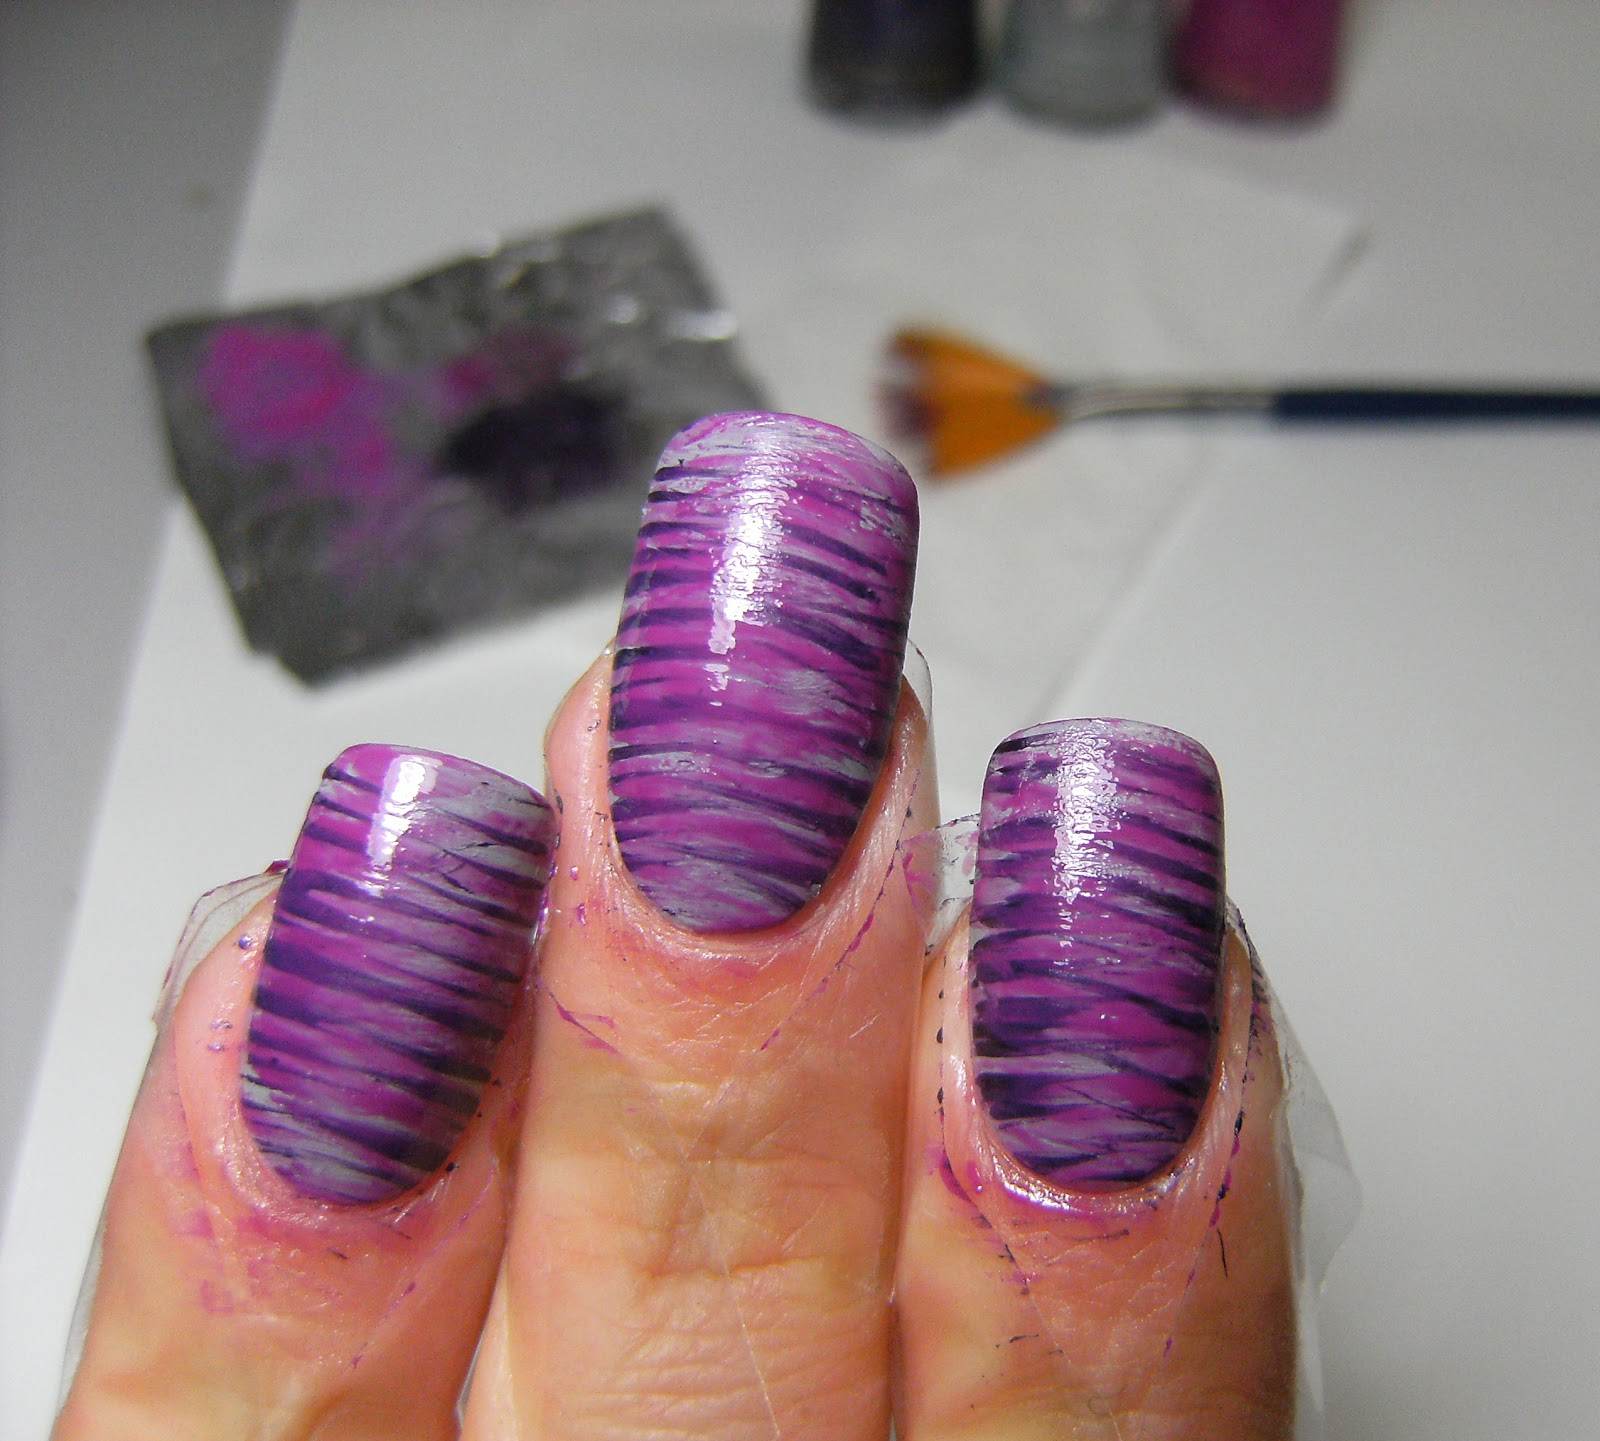
 I have seen this fan brush nail art a few times and it always looks great! I am not sold on it yet as this was my first try - - I think adding Pure Ice Busted made me like it alot more then just the 2 Revlon polishes alone.

For this Mani I started with a base of Revlon Hazy, a grey creme, then used the fan brush to make these interesting whispy stripes. Some people are getting super duper thin whispy stripes and they look amazing - I'll be striving for that next time I try this.

fan brush nail art                      ----                       w/ Pure Ice Busted

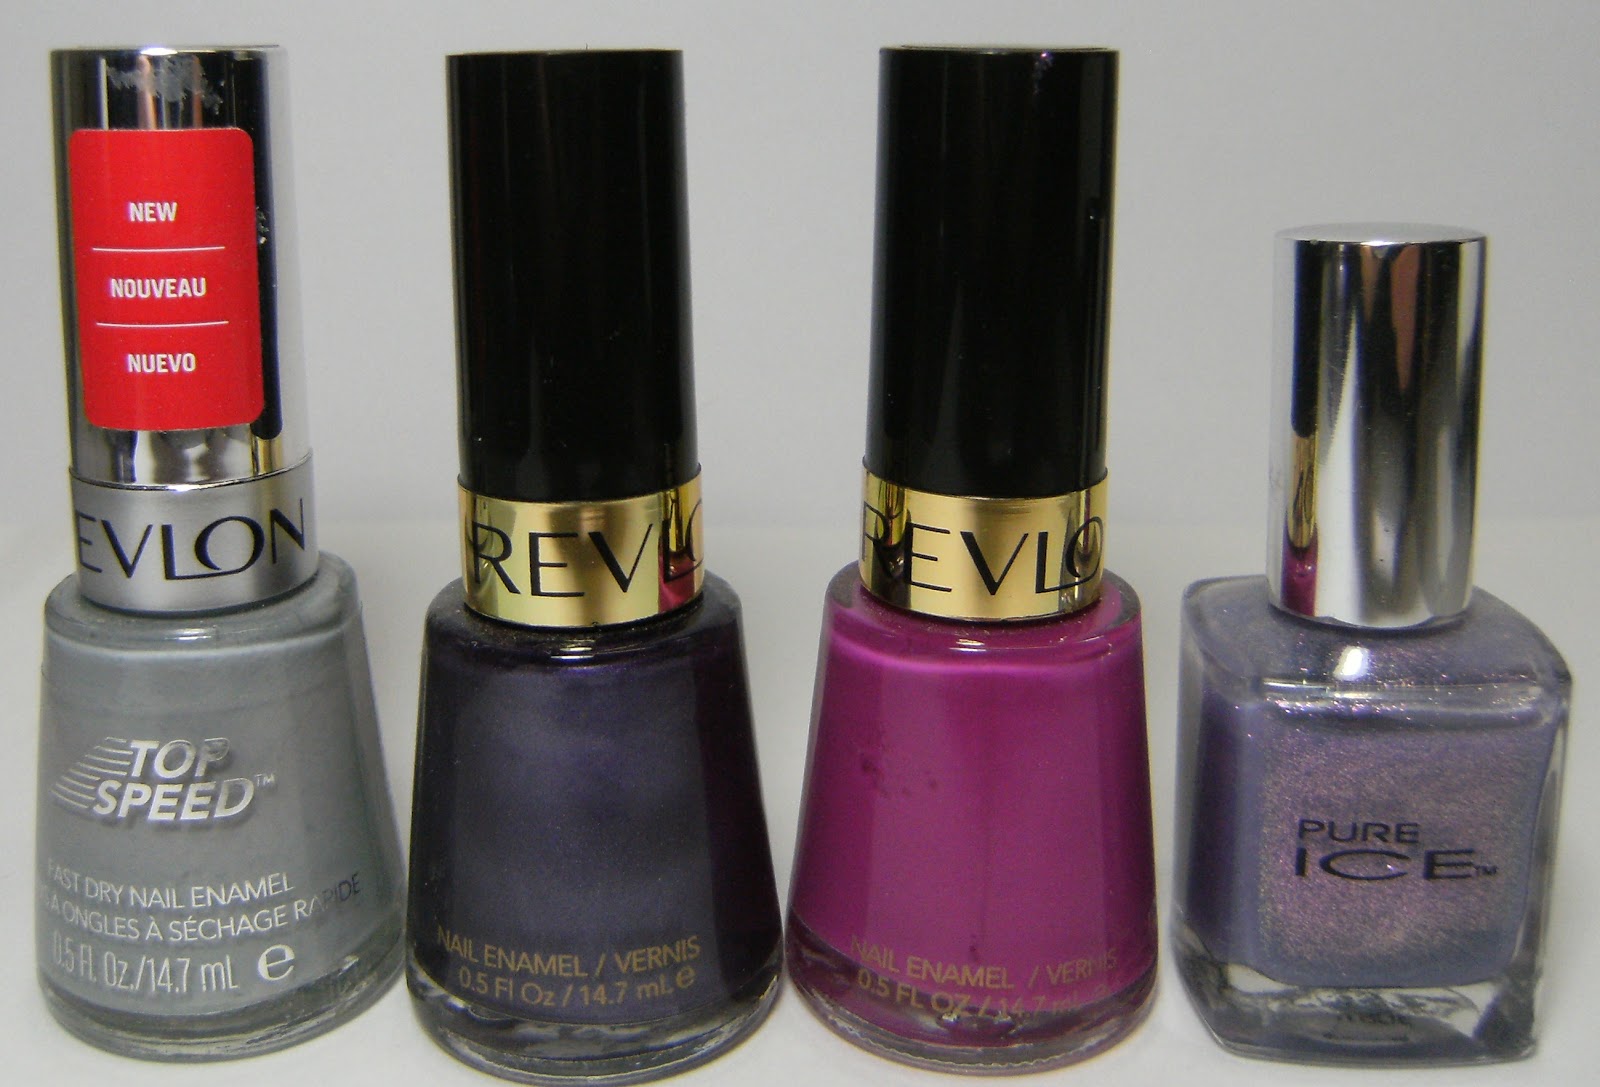
 stuff I used - Revlon Hazy, No Shrinking Violet, Plum Seduction, and Pure Ice Busted


  I found the fan brush at the DollarRama ( Canada ) I made sure to tape around my nails to prevent having to do an acetone clean-up later.

Revlon hazy - a grey creme and the only Revlon I have ever purchased that I can say I am happy with. If I purchase any more Revlon nail polish's in the future I will make sure they are either opaque creme polish's or heavy duty glitters.


Here is my right hand that turned out pretty crappy - but it is my first time and I am sure if I try this again I will get better!  It was hard to pick up the right amount of polish with the fan brush ..... I will definitly try to use a slower drying polish in the future as well.


I did a practice run with colours that I thought would look good together

a few more glamour shots.....


o


Saturday, March 16, 2013

Melted Celluloid nails (water spotted)


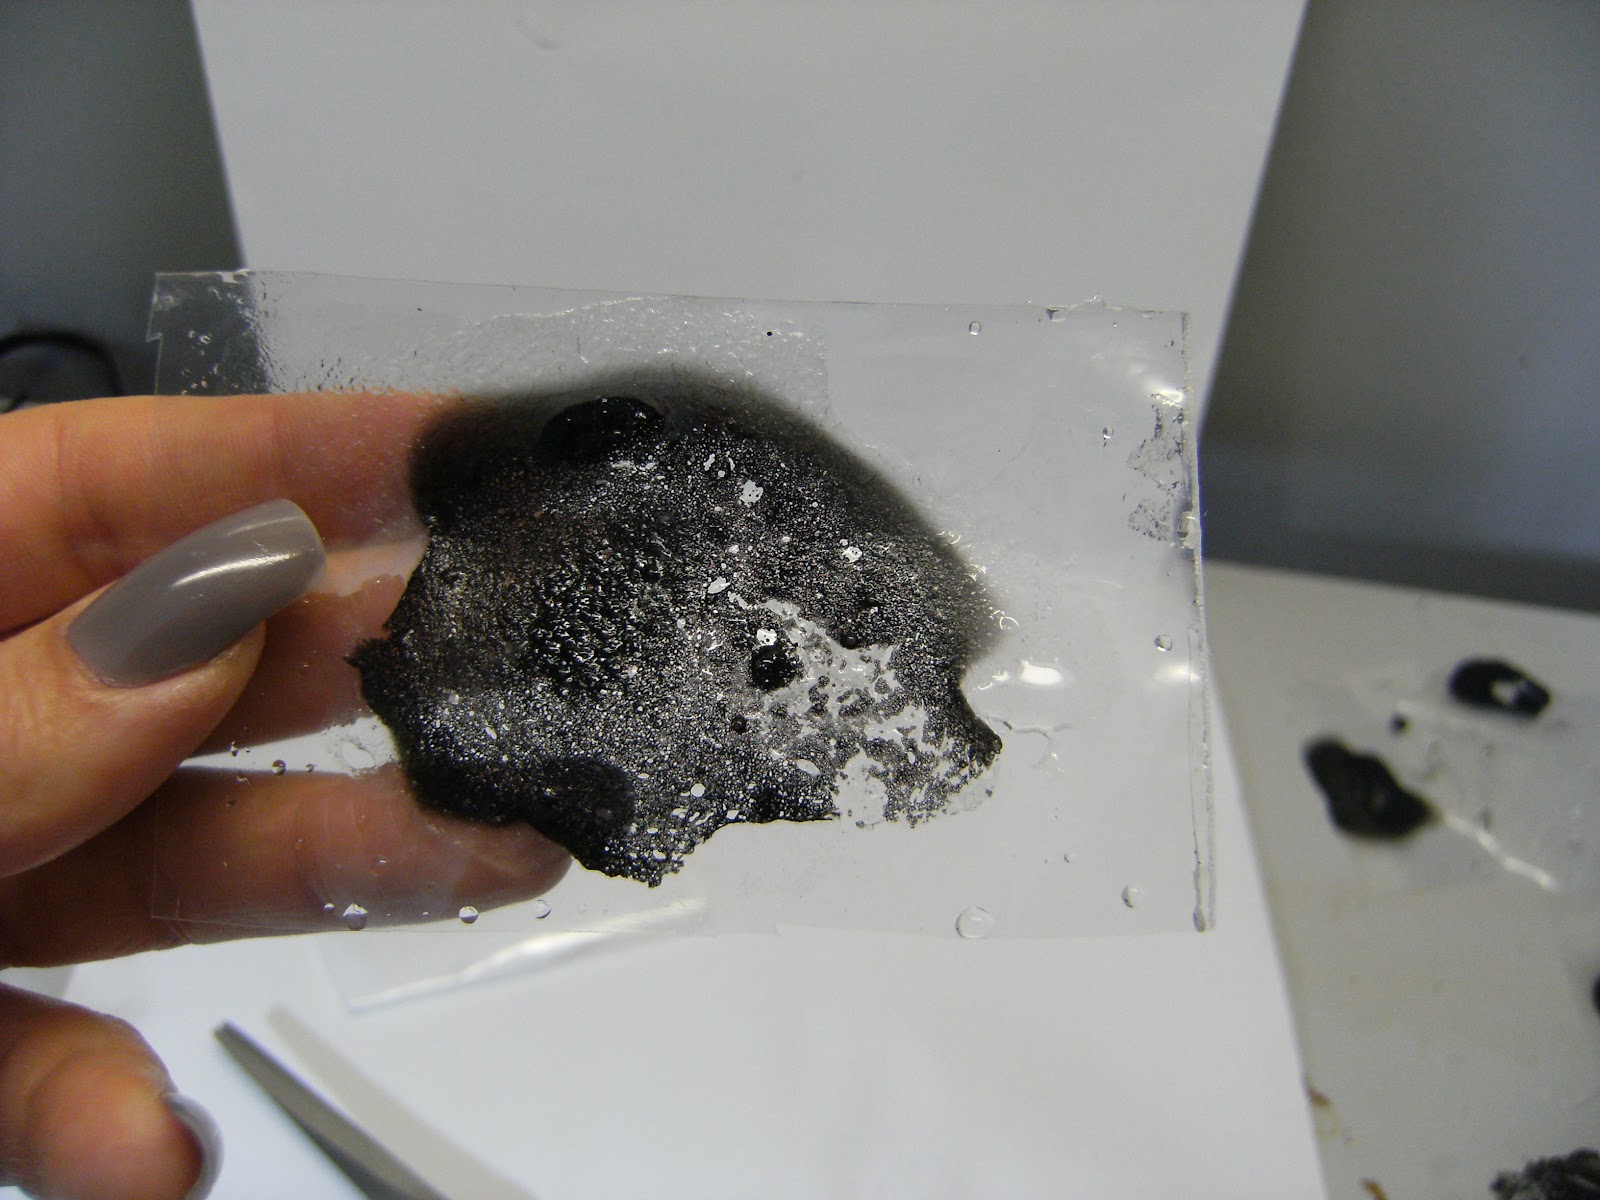
I am calling this water-spotted decals..... I have never been able to water-marble successfully, so I try to either make decals by dropping polish onto plastic and swirling it around, or doing a traditional water marble and dropping a cut up piece of zip-loc bag onto the design, letting it dry then affixing it to my nails......

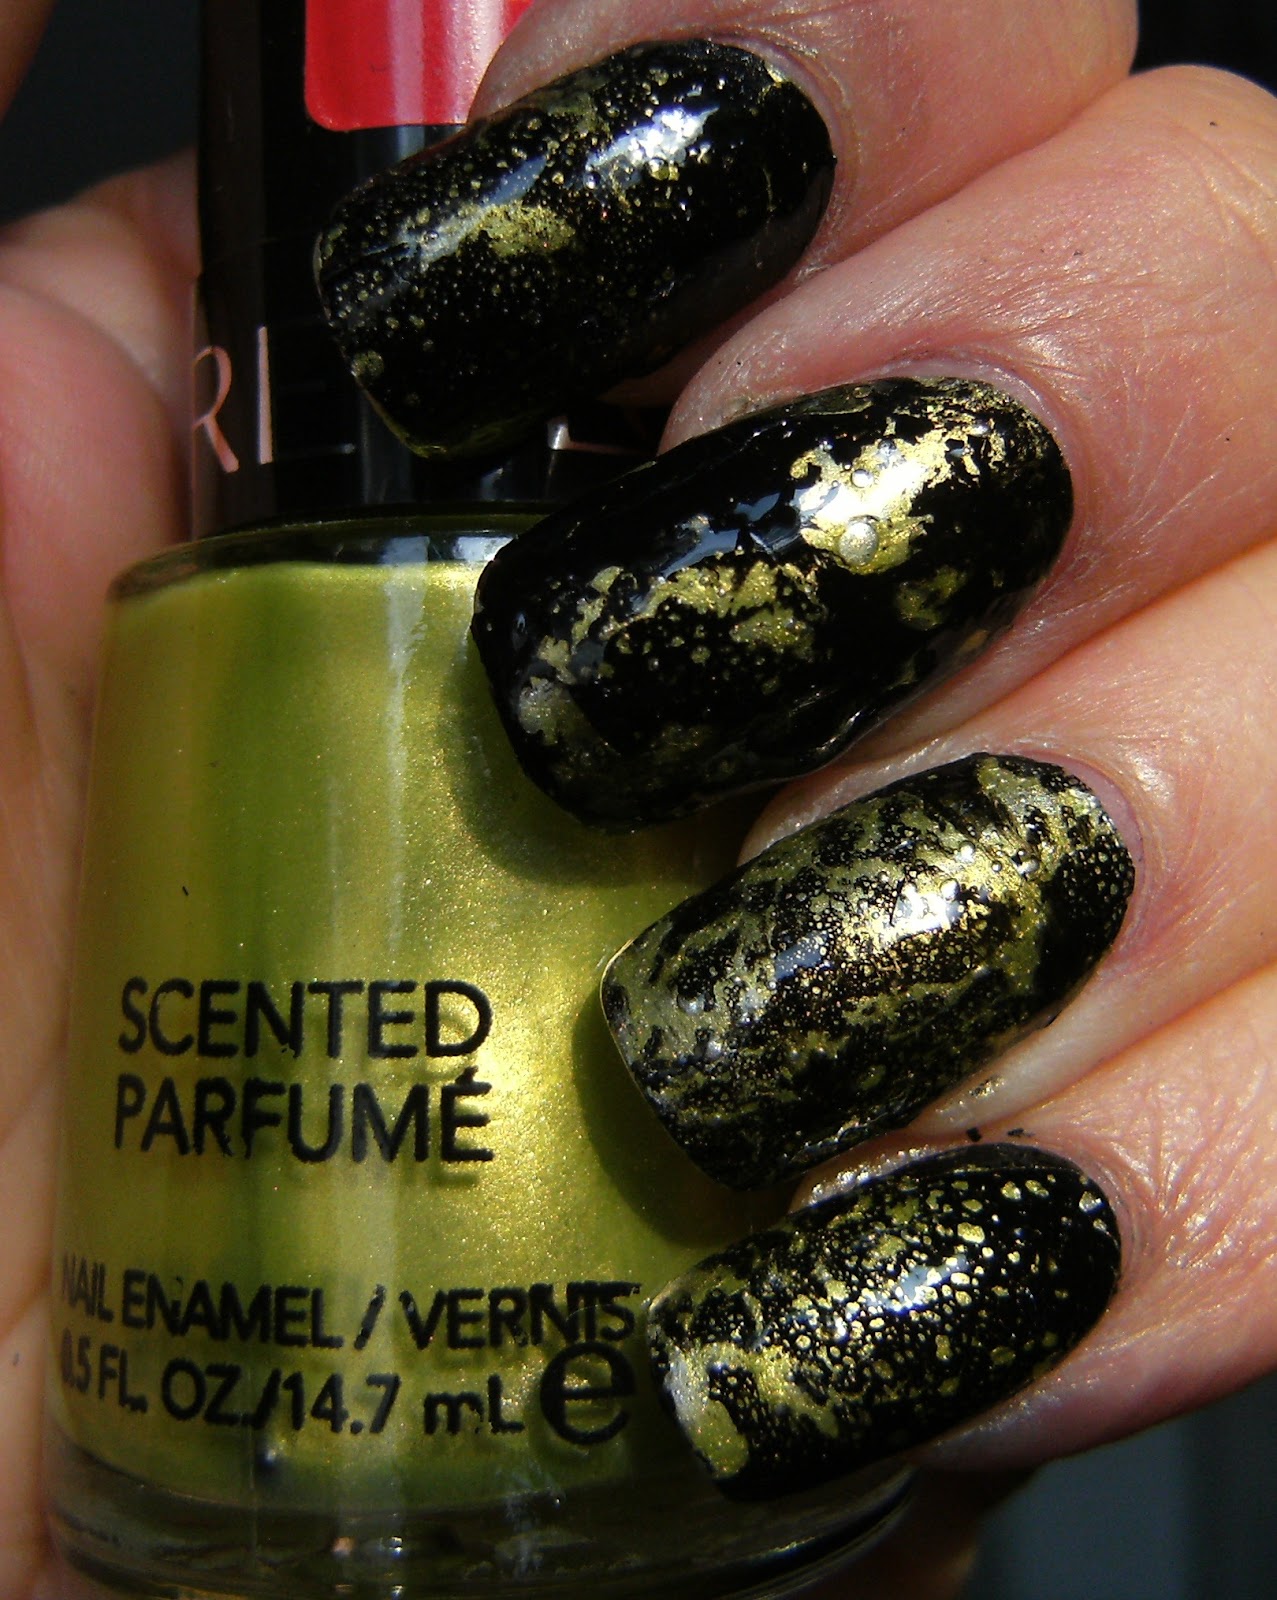
I saw this on Bella sugar and a few other places on the interwebs..... I dropped a few drops of a black creme polish into water then sprayed it with hydrogen peroxide to break up the polish and create 'holes' ( perfume worked too! ) then placed a small piece if plastic on top of the design to pick up the black spotted polish.....I didn't achieve the results that other people have with the big perfect 'holes' but I am happy with how this turned out.

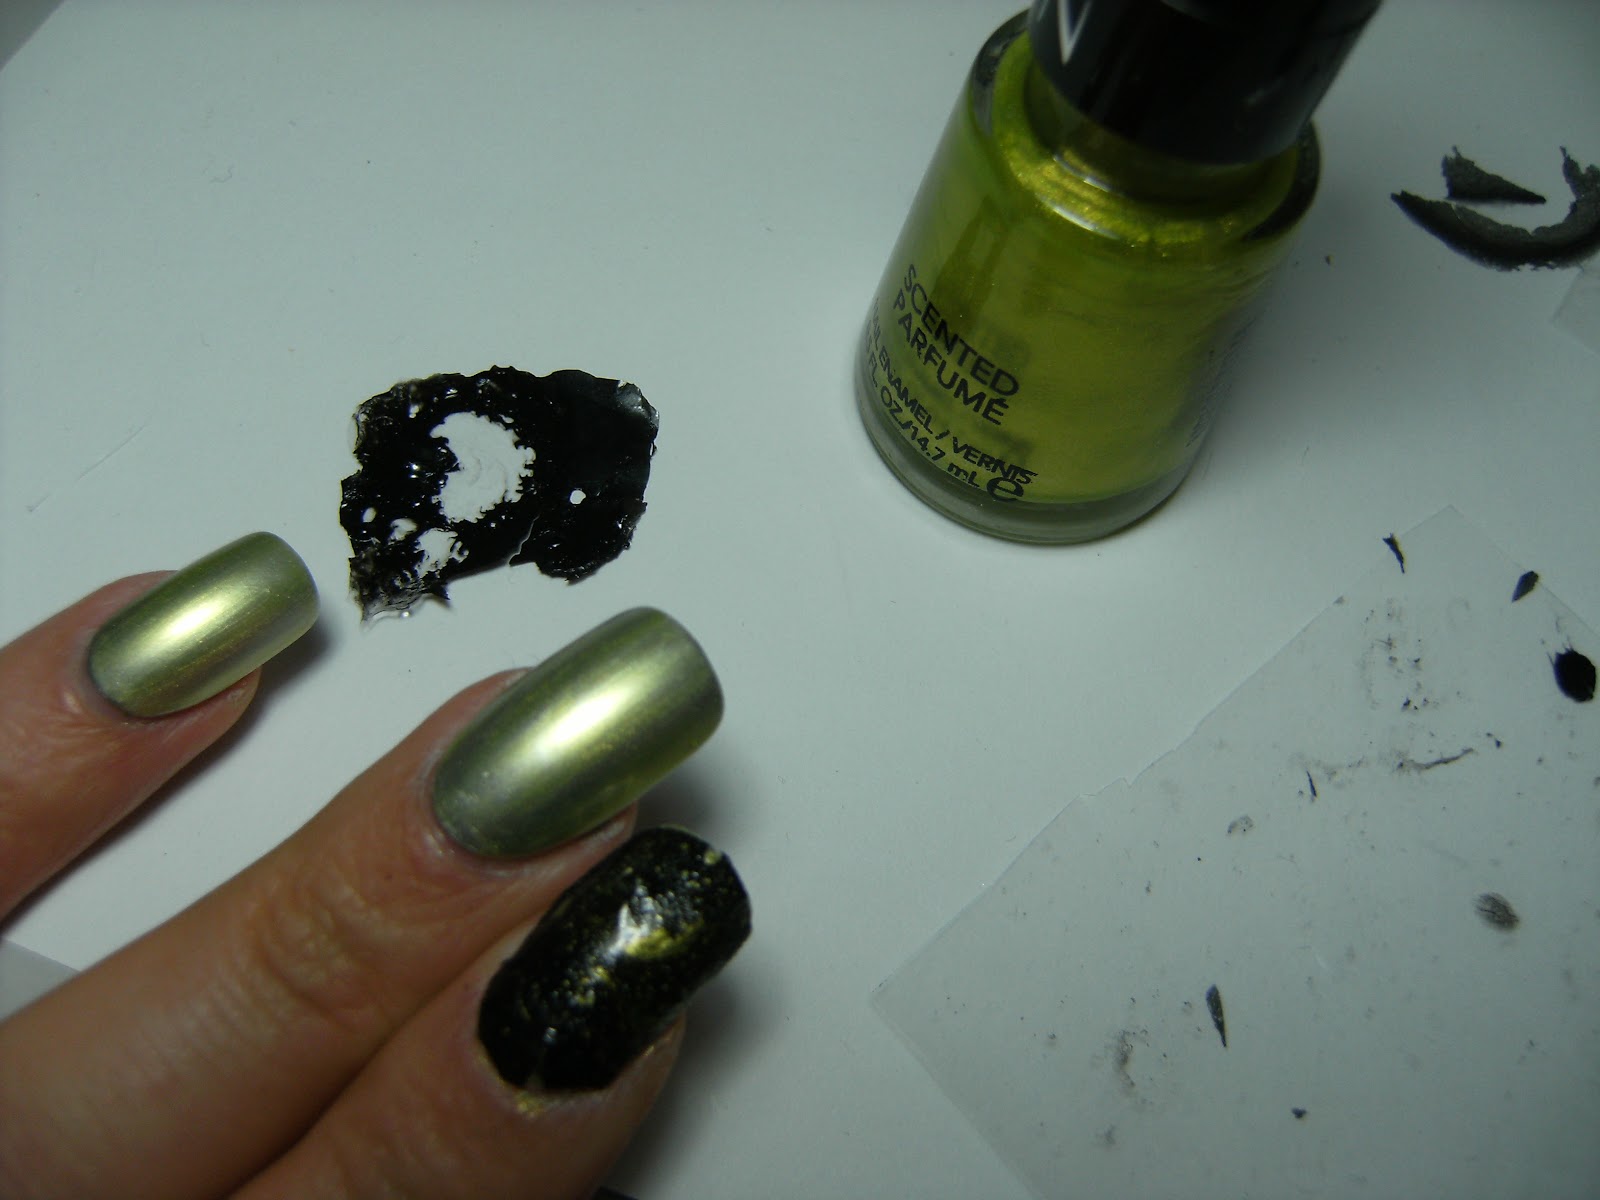
I let the polish things dry for a little while then affixed them to my nails, I filled in a few bare spots with a black Sally Hansen nail art pen, then added a coat of TC. Even thought there was some lumps and weird bulges, a thick coat of  TC smoothed them out.


I think an orange or reddish-orange base would have been better for this nail art  - I have enough of these black-spotted-water-marble-things to do this again....but honestly I wouldn't try to this again, I think I could get the same look with saran wrap or sponging in way less time.


I started with 1 coat of Sally Hansen Chrome in Diamond

 then I coat of Revlon scented polish in Beach - it smells really good!

 before I applied the sheet of 'spotted polish' to my nail I added another coat of the green Revlon polish so it had something to stick too and gently pressed it into my nails


 I used wet n wild black for some of these, but after I let them dry on my desk for  a while they started cracking..... I don't recommend using Wet and Wild for these types of water decals......


 these were super-duper thin so I dumped a pretty thick layer of clear nail polish over them. It made them way easier to handle when I was applying them to my nails.


 cutting these into smaller nail shaped pieces and using tweezers to place them on my nails made getting these onto my nails way easier.......


I can knock this off my list of neat nail art to try out.........

o