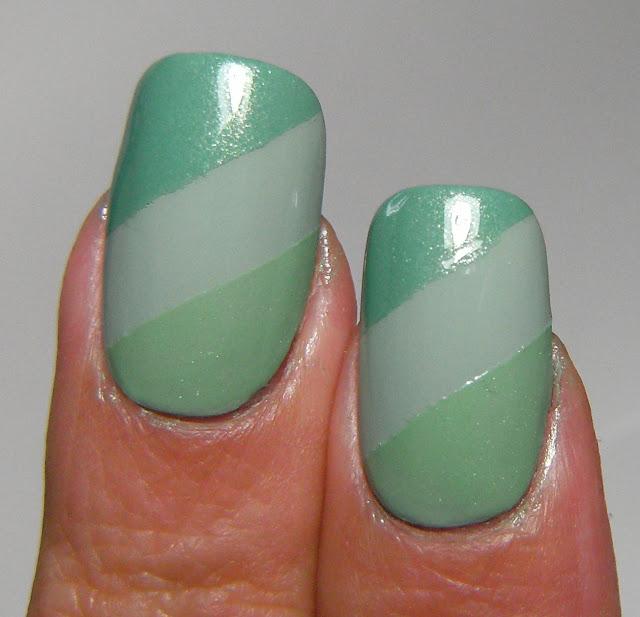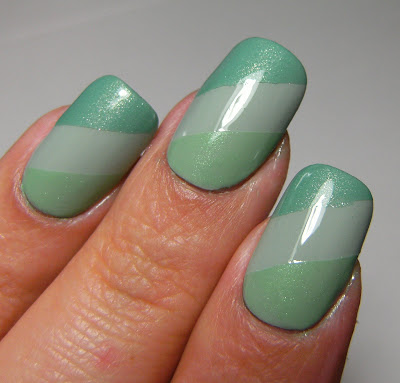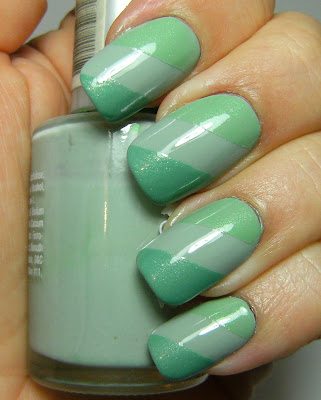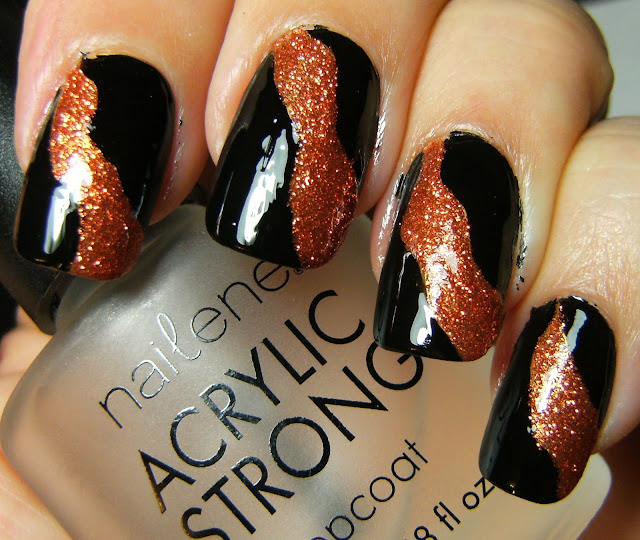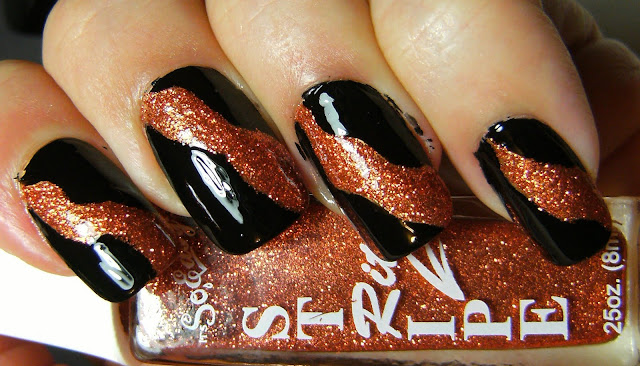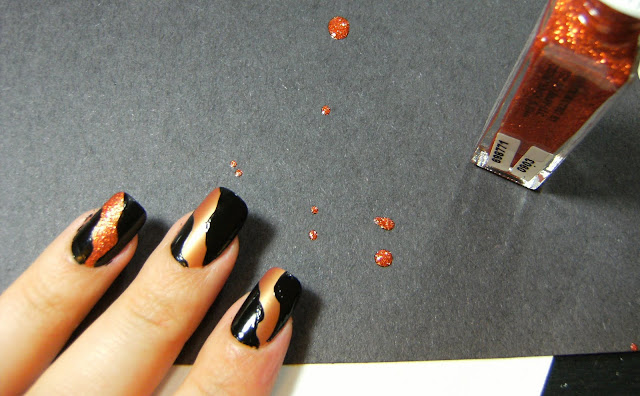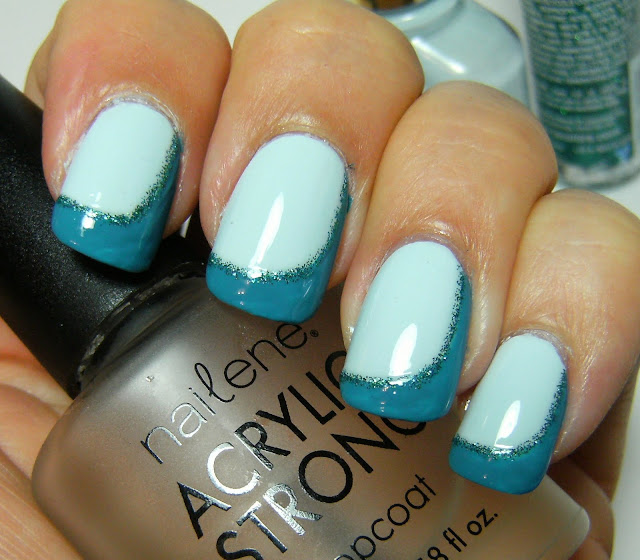
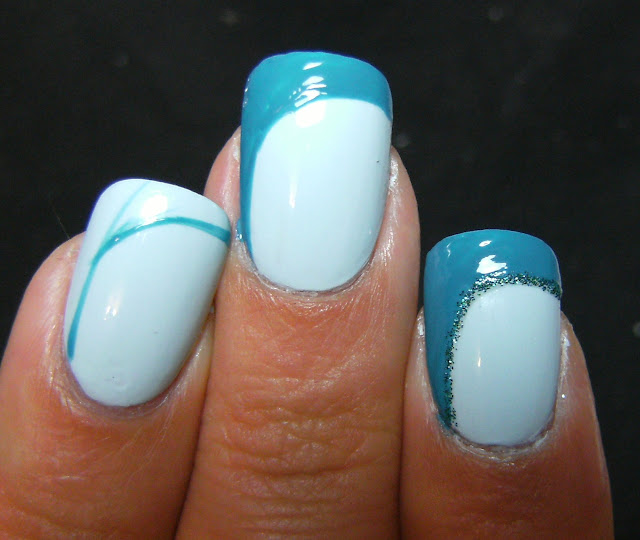
I started with 2 coats of an awesome franken I made using Wet n Wild Bijou Blue and a stark white creme. I added the teal stripe polish in a swoop started from my cuticle extending across the tip of my nail like a regular french mani. I traced the line with Art Deco green/teal glitter polish and added a coat of Nailene Acrylic Strong Top Coat.
This post started out as a blog & run, I planned on throwing up some photos, a few quick words, then catching up on my blog reading, but it has ended up as a long commentary on Top Coat. If you are in the market to meet your Top Coat needs, please read The Edge of Sanity Series on Top Coats.
--------------------------------------------------------------------------
I got a few letters this week about Nailene Acrylic Strong Top Coat. It is just a regular Top Coat. I suppose the name 'Acrylic Strong' is in regards to it's strength? I like it because it dries shiny and in a decent amount of time. It is also available at almost every store where polish products are sold in my town ( except Walmart - this product specifically which is strange ) and I never have tip pull or weird puckering or other issues. It is not a rapid dry Top Coat like Seche Vite where it dries ( or is supposed to dry ) instantly. I don't mind sitting still for 15 minutes to ensure my polish is set.
I am not a fan of Top Coats that are instant dry or rapid dry for my regular everyday manicure. My experience is the product in the bottle stiffens up and leaves alot of polish strings. I have not tried every available Top Coat out there ~ and will not ~ Below is my experience in the last few years.
CHINA GLAZE FAST FORWARD
Pros - dries fast, and hard. great for major glitter looks. FROSTY Bottle♥
Cons - holy frigg-digity. I could not use this indoors it stunk so bad. The product thickens to the point of unusable half-way through the bottle, as well as major polish strings. Polish thinner resolved this problem. Can now be found easily for me at beauty stores.
Final Thoughts = I was very, very happy with this but it smells sooooo awful, I haven't purchased it again.
SALLY HANSEN RED BOTTLE INSTA DRY
Pros -This is a fast drying top coat. easy to find at the grocery store, dept. stores etc.
Cons - bottle locked up on me, which is not bad as it is a fast drying top coat - but inconvenient and disappointing and a huge turnoff for even bothering to use Top Coat at all... Pricy for a grocery store product ( will check price )
Final Thoughts - I would re-purchase this in the future, and possibly try another Sally Hansen top coat product. I find that Sally Hansen is dipping into the 'high end' of nail care products and it is COMPLETELY UN-NECESSARY. They do have products at different price points which is smart but many of their Nail Care & treatment products are over priced in my opinion and NOT any better quality than another similar product at a lower price point.
NAILENE TOP COAT
Pros - dries in a fair amount of time - This is not an 'instant dry' product. easy to find for me. Inexpensive, FROSTY BOTTLE♥ It stayed shiny and did not show signs of wear and tear after extreme exposure
Cons - if it is sold out where I regularly purchase it ( Zellers for $6.99 ) then I have to purchase it from Shoppers Drug Mart where it is $9.99 or more. ( I will double check prices )
Final Thoughts - There are many reasons I like this product. It is easy to find, in-expensive compared to pretty much every other quality Top Coat. It stays viscous ( fluid/runny/ whats a better word? ) in the bottle, meaning that I did not have to add nail polish thinner to this. Polish strings appear when it there is approximately 1/4 of the product in the bottle, it doesn't smell nasty and the bottle is FROSTY which means it is an object I can hold and take flash photos, or photos in strong sunshine.
I often use a clear polish over my base polish colour when I do nail art. I ALWAYS use clear polish over my franken polish or heavy glitter looks because I have picked up glitter, shimmer and other polish tid-bits and deposited those into my top coat. I am heavy handed and haven't yet mastered applying polish without the brush meeting the surface of my nail.
So in conclusion, I will use products that serve my needs, have an acceptable price and are easily available. So If something better comes along that fills my needs.......... I'll probably stick with this, actually.
{ Shopping Commentary }The last time I purchased this Nailene Top Coat Zellers had all Nailene Products for 25% off - and at least once every year Zellers has all Nailene Products for 50% OFF! I used to avoid Zellers stores ( Hudson's Bay Company ) but now I avoid Walmart at all costs, even though Walmart has products for 10 cents less, I will purchase it somewhere else.
Whew! Also ~ computer issue solved; I have a few more backed up manis to edit and post - for now here is three looks I have recently worn.
...... and Please add you nail blog address to my comments, I barely did any 'new nail blog hunting' this week! If you are not already on my blog roll - pleas leave me a comment and I will add you♥♥♥
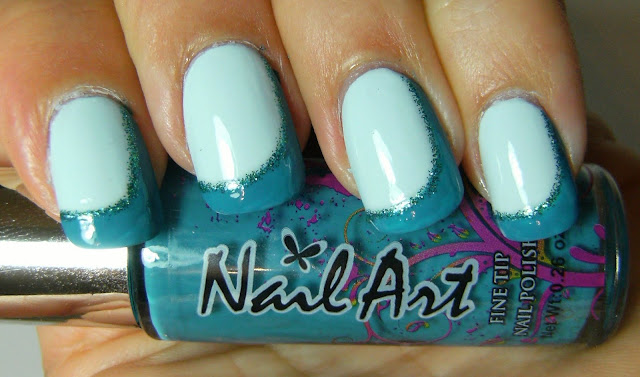
The pastel franken polish is a strong colour, it messed with my camera and made taking photos difficult. I have probably worn this franken polish 4 or 5 times on my nails. I definitely needed another coat of the teal stripe polish, there is bare spots on the tips of my nails and some visible texture as these stripe polish's from The Bargain Shop dried very, very fast.
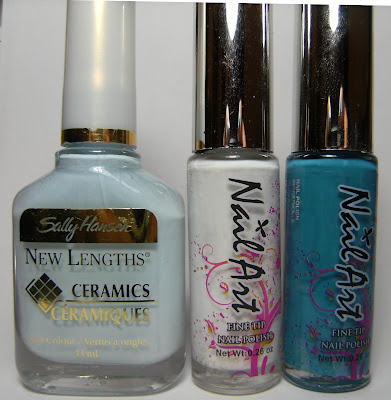
stuff I used for this mani; WnW Bijou Blue & White Franken, Teal stripe polish, Teal glitter stripe polish

outline - fill in - add glitter and Top Coat
with my franken made with WnW Bijou Blue and Billie Cosmetic's White Creme

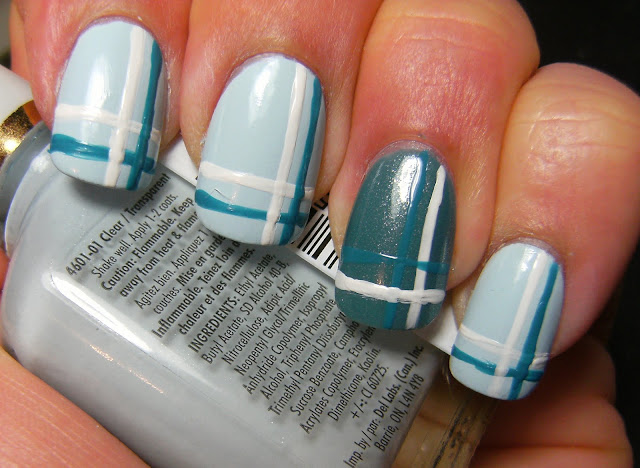
.... I had to try to do a plaid look. I used the same pastel blue franken, and white and teal stripe polish. It looked alright after top coat, I planned on layering a the sheer, sparkly polish Wet n Wild Blue Wants to be a Millionaire over this plaid nail art to disguise any wonky crooked lines - but decided to just leave it as is.
I don't think I would wear a look like this in the future, maybe with thicker lines and better line placement?

WnW Bijou Blue Franken, white & teal stripe polish
on my ring nail is an un-named franken
For this look, I used the same method as my first mani to create the partition, but I first did a light outline with the stripe polish, then filled it in with Wet n Wild Blue Wants To Be a Millionaire = then went over the line again with the stripe polish & added a coat of TC.
I prefer to have a glitter line, rather then the strip polish line.

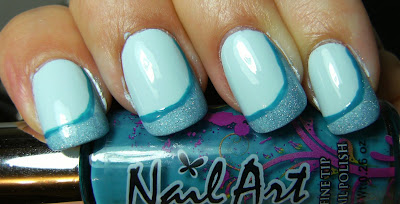

♥