
I am trying to experiment with something awesome I saw on More Nail Polish and Enamel Girl. I started out trying the water marble where you do a design like a normal water marble, then drop a cut out piece of plastic onto the marbled design to pick up the design, let it dry then affix it to your nails - but it turned out terrible!
So instead - I did a drag marble on a piece of plastic, let it dry then affixed it to a tacky nail polish base..... it turned out perfect.
I can see this being a great way to have my non dominant hand have intricate designs that I cannot do as well free-hand, My left hand ( model hand ) always looks better than my right hand.
This Sunday I will set aside some time to figure out how to do a real water marble - then pick up the design with plastic. If you haven't already check out this post from More Nail polish where she did a fabulous job with dry water marbling and a much better job of explaining how it is done...... Water marbles can be so beautiful but I find them to be so messy - and many of the times I have tried they looked awful.
In the mean time I will mess around with swirling nail polish onto zip-lock bags..... I only tried this on 1 nail and so far it turned out very nice.
I applied this to a still tacky nail polish base

here is with a coat of TC

and here is with 2 coats of TC and after an acetone clean up

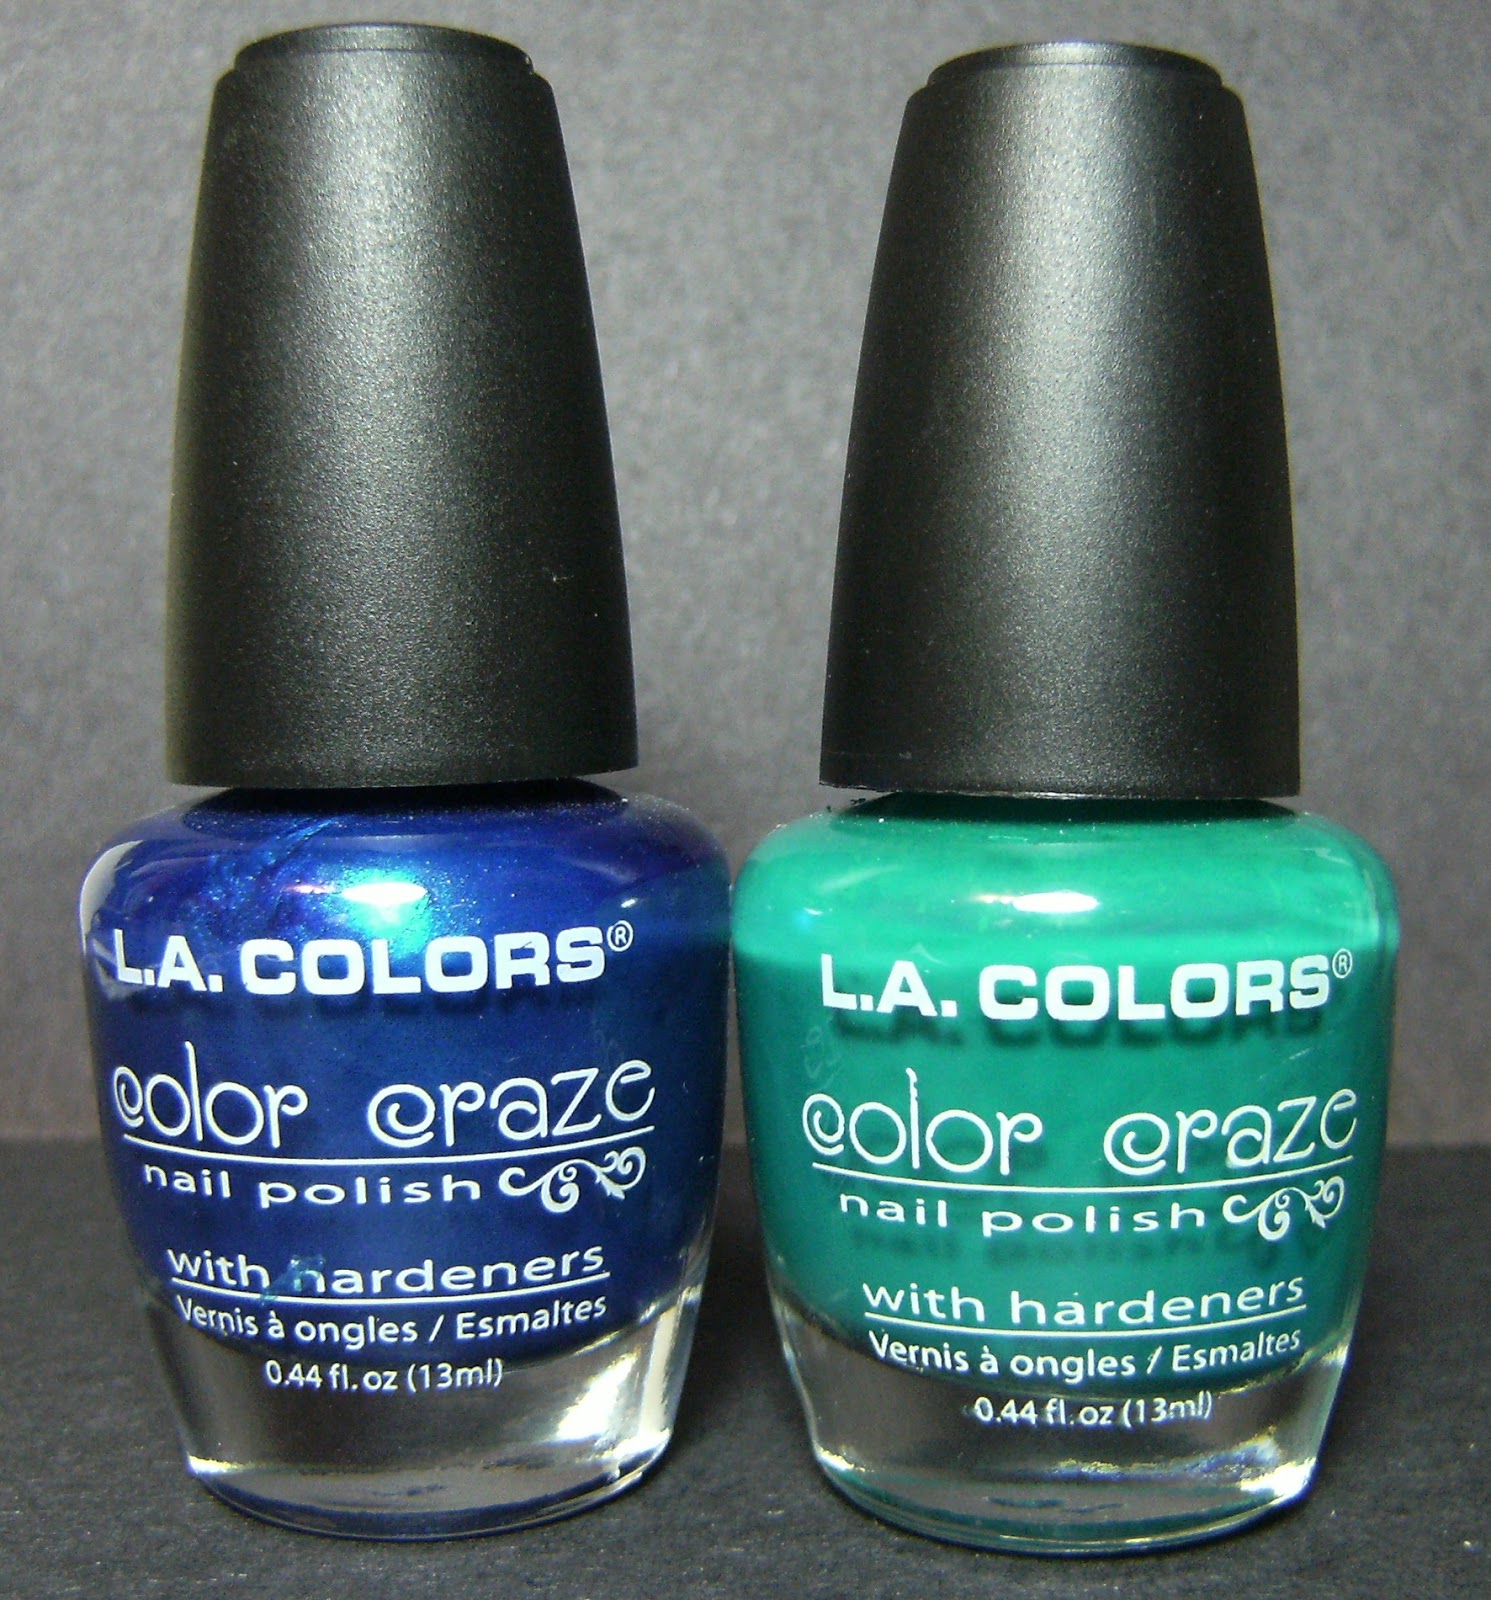
and here are the colours I used- LA Colors Static Electricity and LA Colors Atomic
~ o ~
.... and here is a mani I wore earlier this week, The base is Avon Bare Necessity, I made a chevron shape with LA Colors Black stripe polish, went over the line with LA Colors Metallic Pink stripe polish, then added Kiss pink Glitter over that line.... The pink glitter did not show up as much as I hoped it would. I added a coat of TC to my nails, smearing the black on my index - boooooooo!
and finally a few blogs I added to my blog roll - I have been lacking on my blogroll, sorry!
omgnoodles
A nail polish affair
nail passion
tip-top-nails
cosmetics freak
nail polish-addict
life and slight obsessions
nails and stuff
pistols and cobras
hold ur colour
As long as your blog has 86.342839 % nail polish related content I will add it to my blog roll- It may take a day or two ( or 2 weeks ) but I will get it up there!
I have taken a few blogs off that had questionable content but for the most part I like that there is almost 800 different nail polish related blogs on there I am very Happy that there are soooooo may people sharing all their mani's, shopping hauls and tips and ideas - - - Thanks everyone for posting all your stuff!
o
10 comments:
uuu:D nice nice both:D
wow this is really aweosme, i need to try it.. the Avon mani is cute
Great manis!!
I love them!!
But on your nail you put on the side of the plastic where there is the polish, or you fix the plastic side with polish? I'm not sure that's why I ask ^^" because if it's the polish why do you let it dry ><
amazing!
thats so neat! I've used the plastic bag trick myself but only to make shapes that are hard to do on nails.I never thought to do a whole nail design on one before! Genius!
What a great idea, did the same as Samantha only little shapes, but this is mutch neater.
Thx for adding me :-)
love the avon mani, so cute! :) btw thank you for adding me, I really appreciate that. ♥
Love the 1st!
this is so awesome! I really want to try this.
this is just awesome. Instead of a design, I layered a bunch of glitter polishes. Let dry over night and just applied to it to my ring finger as an accent.
Now I won't have to wait forever while the layers of glitter dry!
Now gotta work on making the marble design so I can have other fun designs~
Thanks for posting this!
Post a Comment