Pages

Saturday, November 26, 2011

Royal Sponge


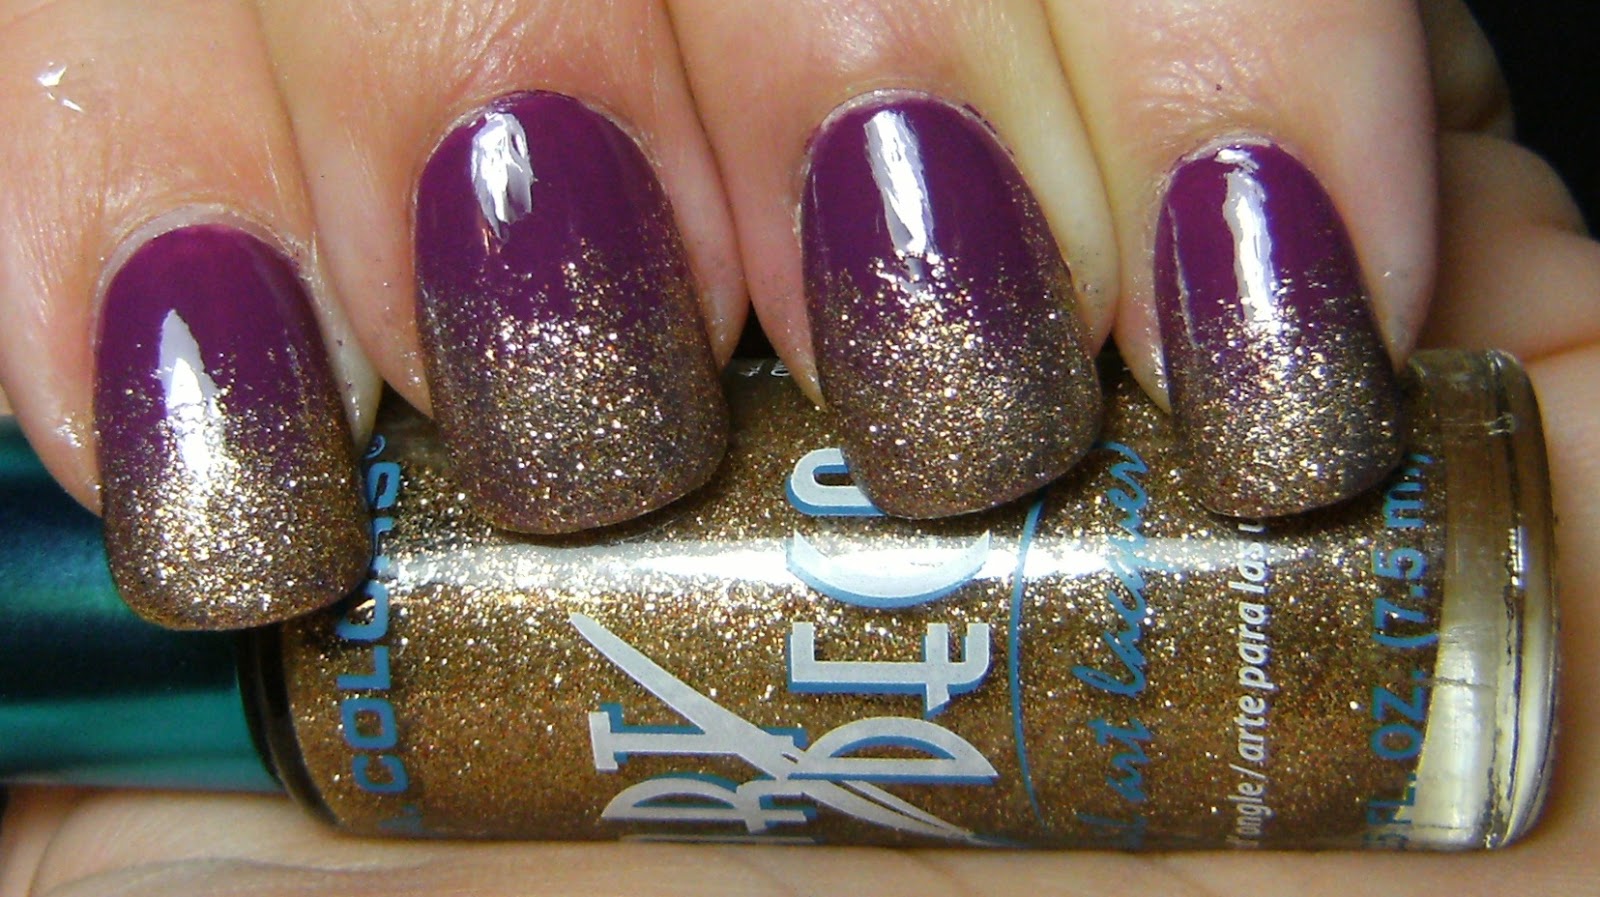
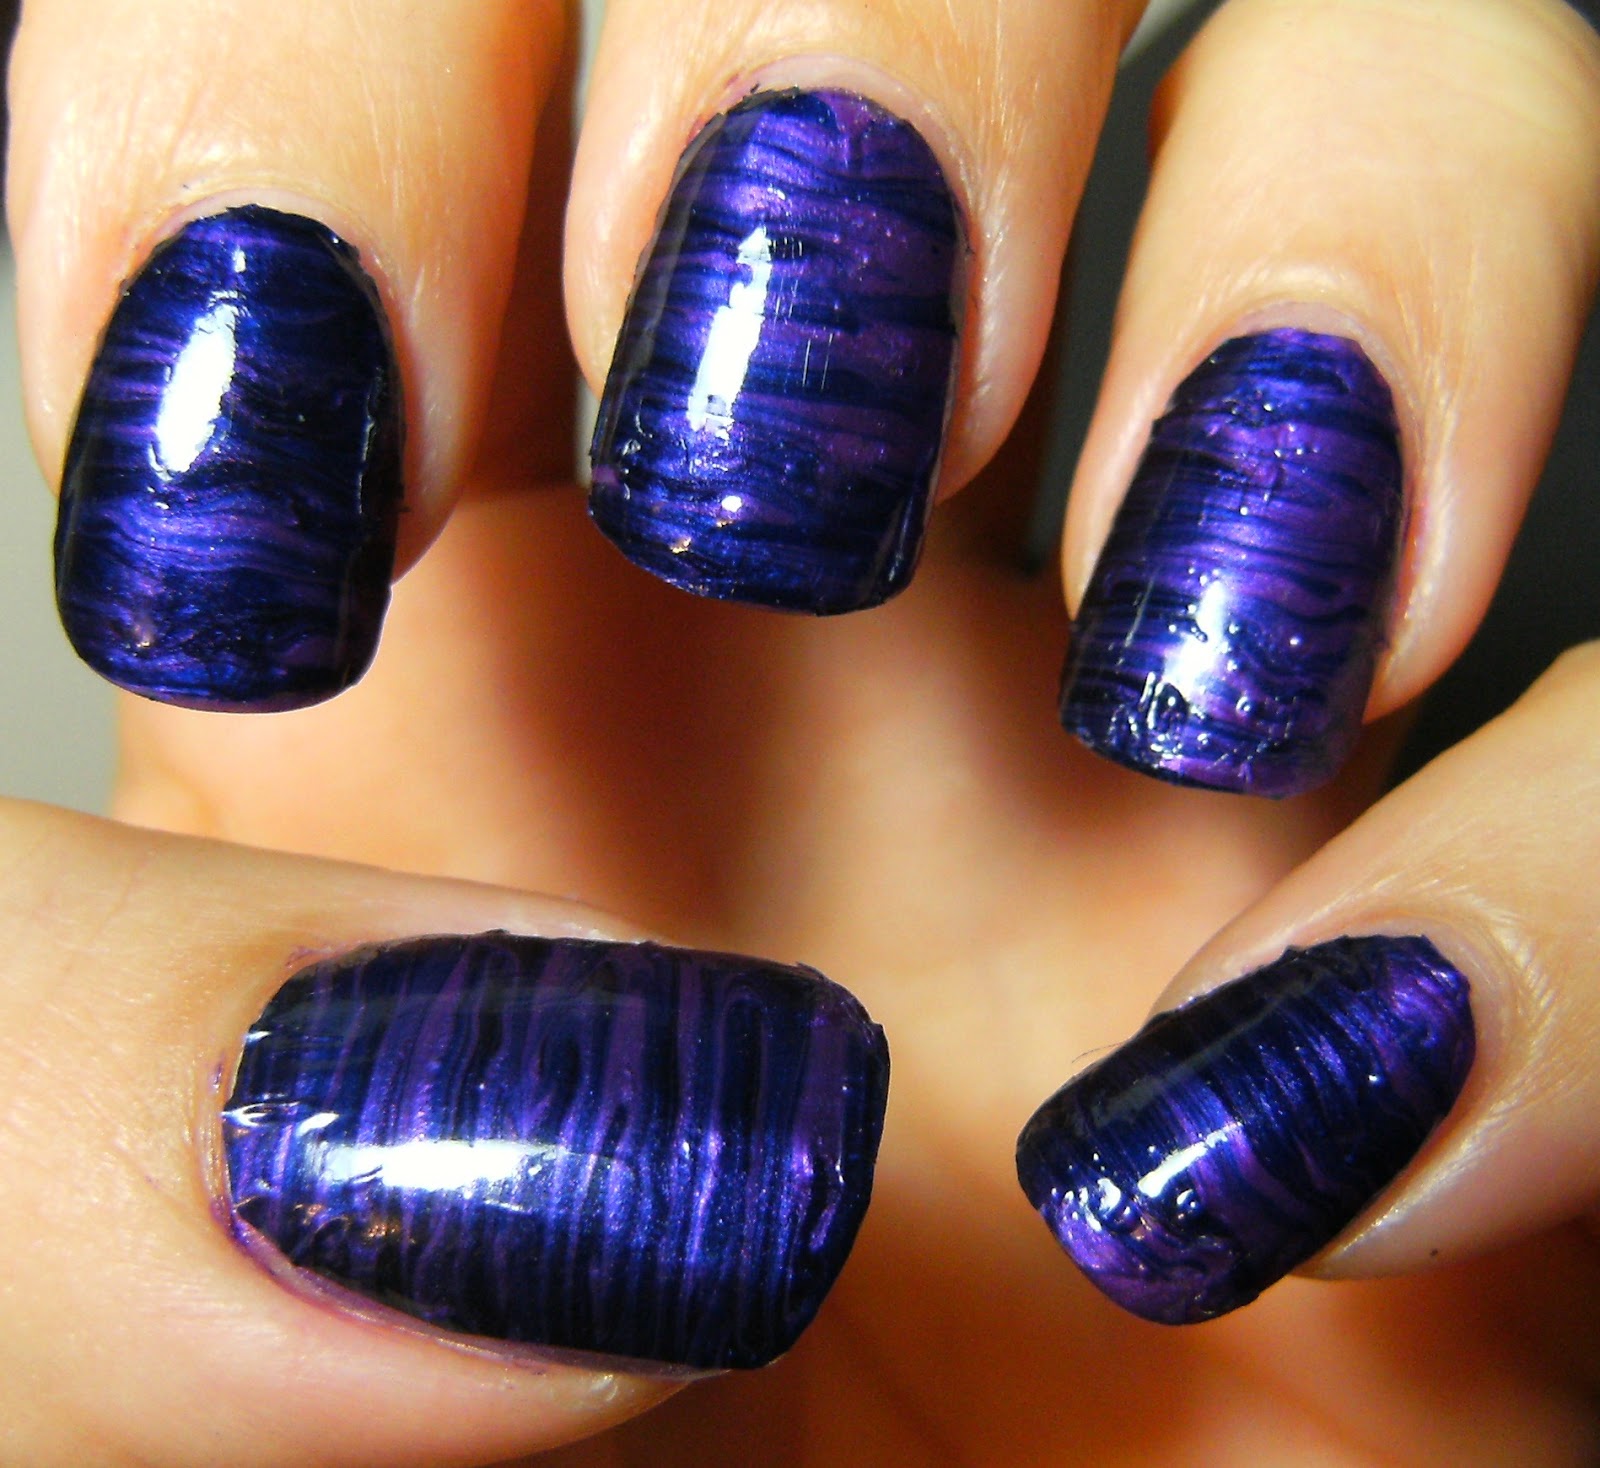
 3 coats of a no-name Icing purple creme, a sponging of another un-named Icing gold shimmery polish and Gold Glitter stripe polish from LA Colors.

 Whenever I add glitter to my nails, I try to sponge on a light layer of a similar polish, especially for a look like this. This gold glitter stripe polish from LA Colors was not grainy at all! LA colours - I LOVE U!!!!

Here is is from a previous mani

This LE set from Icing has no names, does anyone else have this, or did anyone else come up with names for this set? I think this came out in 2009..... I am wearing the polish second from the right.....

..... and a few more photos

stuff I used, no name Icing polish's and LA Colors Gold Glitter

I sponged on this shimmery light gold over 3 coats of a pretty purple creme

 then added the gold stripe polish... ( I slapped it on = lol )

  and added a coat of TC
o


Friday, November 25, 2011

DOTS!


Hmmmmm, the last time I tried this type of dotting it didn't turn out as nice. The base is 2 coats of Icing Putty Concrete, and dots made with Icing Sandy Beach, Hazelnut and Bordeaux and 1 coat of TC.

I made the dots with a dotting tool and tried to have various sized dots. The colours I chose are a nice reflection of the gloomy weather and dingy scenery outside today. I will be painting my nails in bright cheerful colours this evening - Happy Friday everyone!


Icing Putty Concrete, Sandy Beach, Hazelnut, Bordeaux

o


Wednesday, November 23, 2011

Nubbins! a blingy purple mani


Here's something you wont see from me often = nubbins!

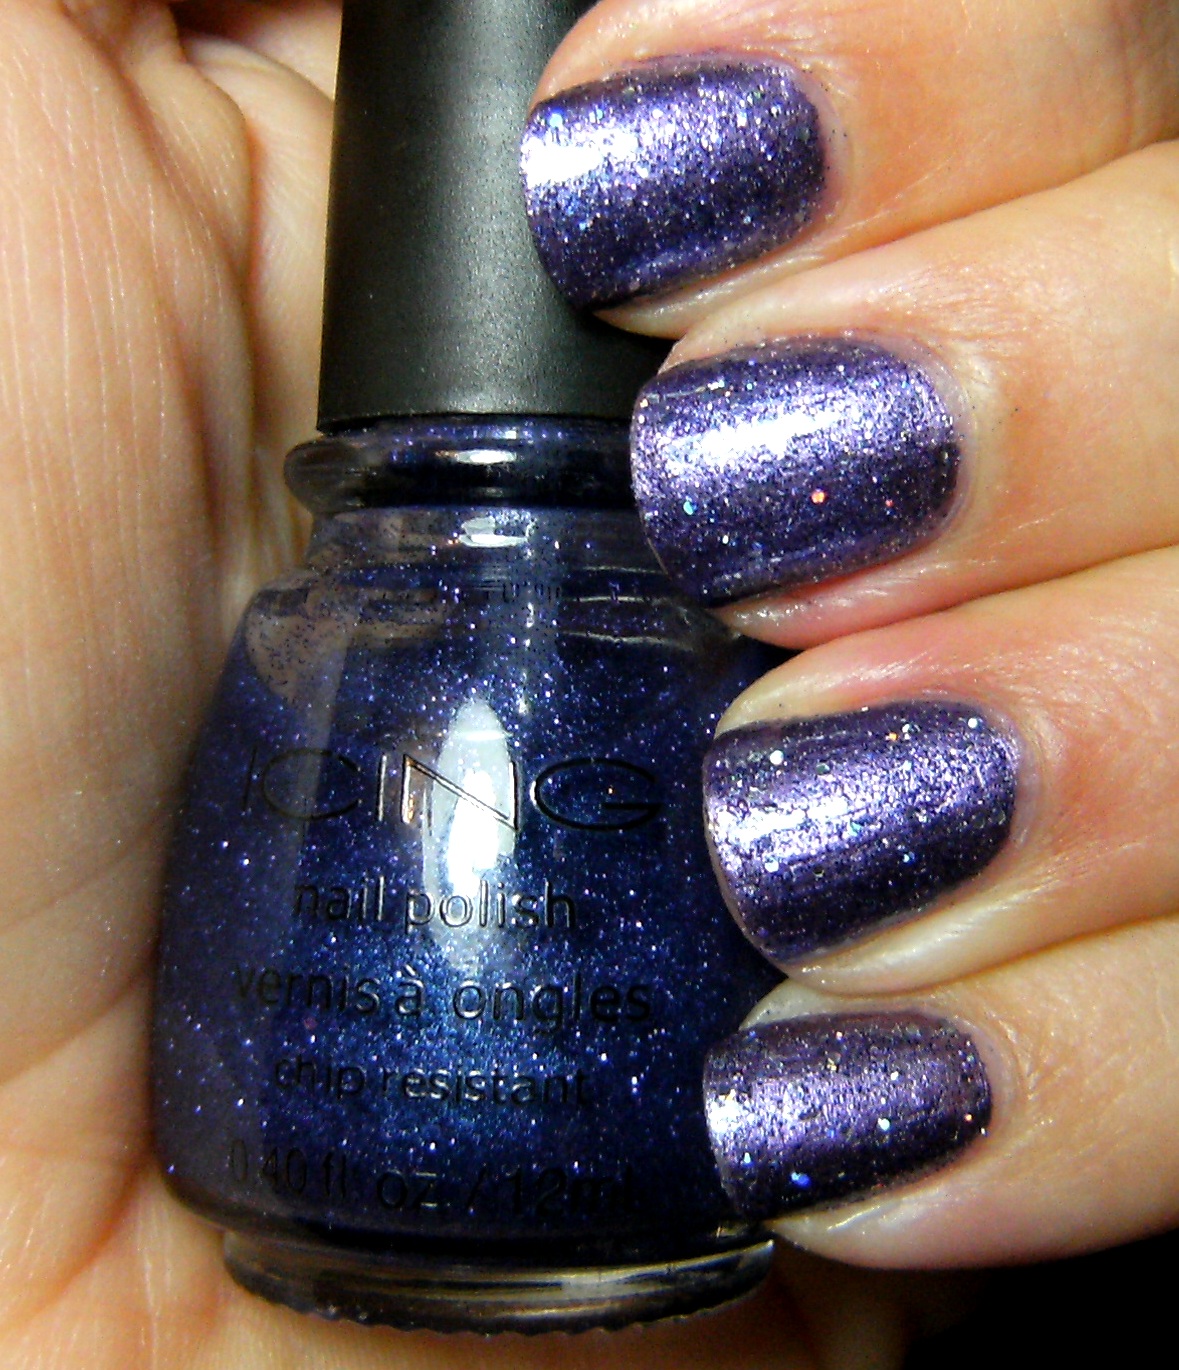
The base of this mani is Sally Hansen Naturistics Deep Purple, followed by a coat of Claire's Hollywood which I added a few drops of Claire's Magic to, then I added 2 coats of  blurple glitter from Icing.

The holographic glitter in Claire's Hollywood makes my photos fuzzy. I took a little break form artifical nails this week & needed to have somthing blingy on my nails.  Surprisingly this was very eay to remove with my regular NPR.


un-named Icing glitter

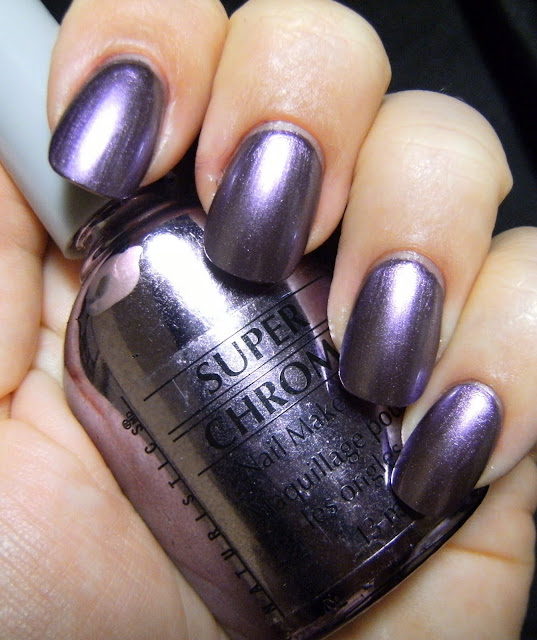
 Super Chrome Deep Purple.... this is a lovley purple chrome  ( discontinued )

o


Monday, November 21, 2011

LA Colors Red Glitter with Sinful Colors Rich in Heart


 This red glitter polish is sooooooo pretty -  I needed 3 coats of Top Coat but it was totally worth it!!!!! I looked at the LA Colors website and there is no comparable Color Craze polish to match this stripe glitter, I would love to see LA Colors come out with glitters just like this in different colours.

This LA Colors stripe polish is called Red Glitter and is a red translucent base with tiny red flecks, and two different sizes of round glitter.......

The base of my mani today is 2 coats of Sinful Colors Rich in Heart - I layered this over 1 coat of Wet n Wild Black Creme. I added the LA Colors Red Glitter to my nails in a gentle curve diagionally across my nails and used much more top coat then I care to admit - This pretty glitter polish is super grainy but totally worth it.

And here is a few more blogs I added to my blog list, I like it when other people do this 'blog roll link thingy', I feel like I never have enough time to hunt around for new nail blogs/tumblrs, but every week I find 5 or more = sooooo awesome.

Polish Obsession 

basecoat//topcoat

Esmalterapia

The nail movement


 stamp 'n' polish

 dare to be beauty 

 nailsymo

 nails on the cheap

Wickless and Polished


 o


Sunday, November 20, 2011

1/2 polish, 1/2 cement - dollar store crackle kit


I found this crackle kit at my local dollar store. It is a set if three polish's, a white base polish, a selection of other colours and a clear top coat. They had many different colour's to go along with the white base but I picked this hot pink colour.

I tried this pink crackle polish over Wet n Wild White and it crackled just fine ( on my index and ring nails ) so I will assume that these polish's will crackle over other brands of polish. The pink could be more pigmented, so I doubt I will be trying this over anything other than lighter polish bases. I used 2 coats of the whites, then 1 thick coat of the pink crackle.

While I really only dig black crackle, I had to try this kit out. At 5 bucks I will most definitely pick up another one of these.....  Next time I try this I will use a profane amount of the pink crackle over a base polish.

Also; removing this crackle polish was super-duper hard. Worse than glitter polish. I only used 2 coats of the clear top coat that came with this kit. I did not use base coat over my artificial nails, but I felt my polish remover could not break through the clear top coat..... also this was one of those odd smelling polish's.... you know; the ones that smell extra chemically?


While the nails with the Wet n Wild white base crackled much better than the white polish that came with this kit, the white polish that came with this kit was much more pigmented.......
 

o

Saturday, November 19, 2011

make your own nail stickers/decals?


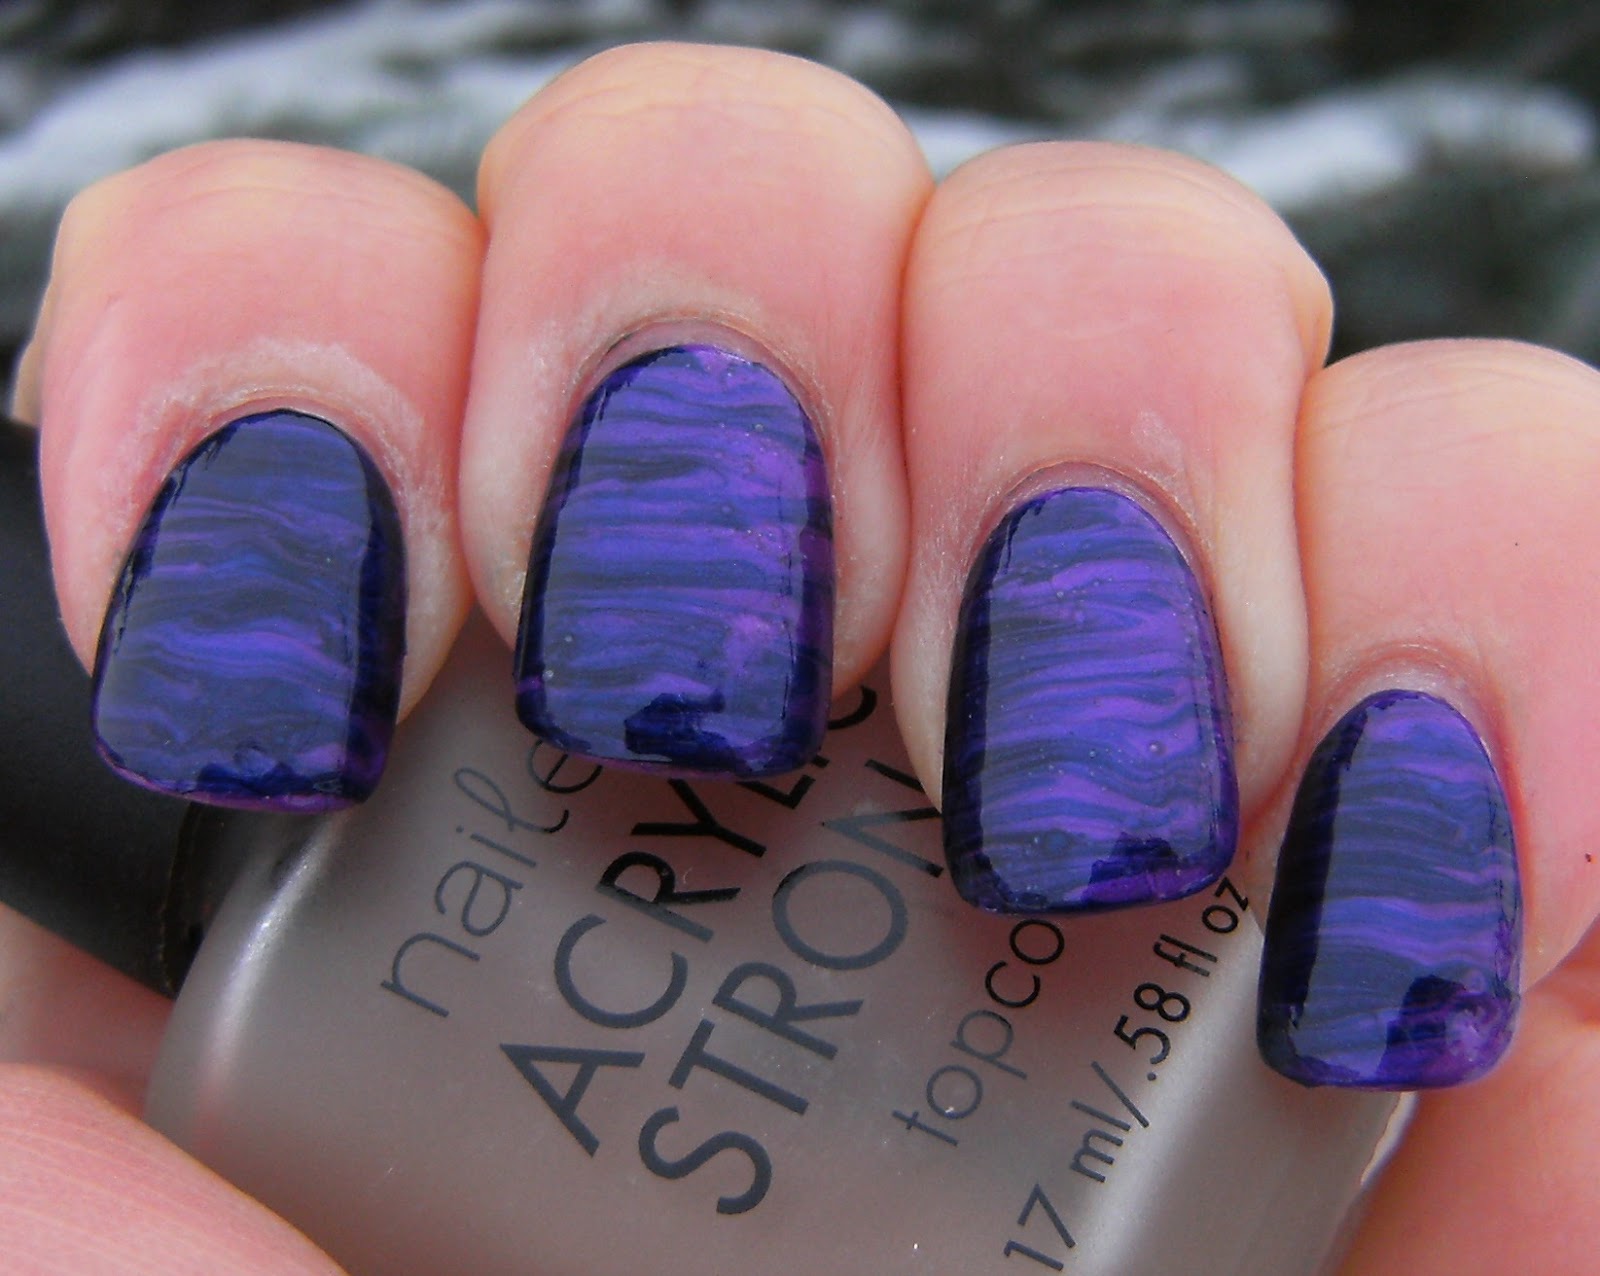
So the whole point of trying this dry-water marbling was to do just that - water marble without the mess. but I find that drag marbling is much easier to do. I still plan on messing around with dry water marbling when I have time tomorrow - but for today here is a very pretty drag marble nail decal nail art.

Even though I can do pretty drag marbles like this and other swirly nail looks on my non dominant hand - I find that they just are not as pretty as my model hand - and I always need crazy thick amounts of polish to get everything to blend properly. This is going to be a good way to ensure that my right hand and my model hand, and my other hand, have equally pretty nail art.

If you have looked over the posts from Enamel Girl and checked the link to CND's Butterfly effect nail decal, then you will have much better instructions then I have time to write. Also the dry water marble tutorial from More Nail Polish is really well explained.

I have found that the best way to apply this to my nails is to cut it out as close as possible to the shape of my nail. I tried to just apply a section of this to my nail and it did not turn out well - so I will definitly be cutting the decals to the shape of my nail, then applying. (but the other day when I tried it turned out fine ?)

I licked my finger tip and gently pressed the nail decal into my tacky nail polish base. I needed 2 thick coats of top coat to smooth everything out.

I wasnt really paying attention to the time it took to do this, but if I can create customized nail art designs, and have them handy to apply to all my nails in under 10 minutes then I will count this as a success.This will take some experimenting to perfect. I am not sure how long pre-made nail decals will last after I do the design and let it dry, I made this one 2 days ago and it was still pliable as I kept it in a sealed zip lock bag.

 Its kinda looks like the surface of Mars........ just purple and blue, not red and sand coloured.......


below - I used a sharpie marker to write ON THE WRONG side of my plastic to denote the width I needed for my various sized nails, then added 2 thick stripes of each polish in between the lines I drew with the sharpie. I used my dotting tool to drag both colours into each other.

The polish decal below is enough for both hands. I painted my nails with NYC Prince Street.


Below; I had cut a big piece and placed it on my nail - I would recommend not doing this and instead cutting it to fit the shape of your nail. I applied this to tacky - not wet - nail polish.

oh boy this looks bad - it turned out waaaaaaay better when I did this the other day -  TC did hide some of the wrinkles and puckering ......and bubbles.

below, a base of NYC Prince street - nail decal on my middle finger with 1 coat of top coat, and my index  nail decal with 2 coats of Top Coat

here I have cut the polish to fit my nail ( I cut it too small lol )

 NYC Prince Street and NYC West Village

 below - index and middle nail have 2 coats of TC, the rest of my nails are just the nail decals.

with 2 coats of TC
 o


Friday, November 18, 2011

dry marble - and a few new blogs to add to my blog roll.........


I am trying to experiment with something awesome I saw on More Nail Polish and Enamel Girl.  I started out trying  the water marble where you do a design like a normal water marble, then drop a cut out piece of plastic onto the marbled design to pick up the design, let it dry then affix it to your nails - but it turned out terrible!

So instead - I did a drag marble on a piece of plastic, let it dry then affixed it to a tacky nail polish base..... it turned out perfect.

I can see this being a great way to have my non dominant hand have intricate designs that I cannot do as well free-hand, My left hand ( model hand ) always looks better than my right hand.

This Sunday I will set aside some time to figure out how to do a real water marble - then pick up the design with plastic. If you haven't already check out  this post from More Nail polish where she did a fabulous job with dry water marbling  and a much better job of explaining how it is done...... Water marbles can be so beautiful but I find them to be so messy - and many of the times I have tried they looked awful.

In the mean time I will mess around with swirling nail polish onto zip-lock bags..... I only tried this on 1 nail and so far it turned out very nice.

I applied this to a still tacky nail polish base

here is with a coat of TC

and here is with 2 coats of TC and after an acetone clean up 

and here are the colours I used- LA Colors Static Electricity and LA Colors Atomic

~ o ~


.... and here is a mani I wore earlier this week,  The base is Avon Bare Necessity, I made a chevron shape with LA Colors Black stripe polish, went over the line with LA Colors Metallic Pink stripe polish, then added Kiss pink Glitter over that line.... The pink glitter did not show up as much as I hoped it would. I added a coat of TC to my nails, smearing the black on my index - boooooooo!


 and finally a few blogs I added to my blog roll - I have been lacking on my blogroll, sorry!

  omgnoodles

 A nail  polish affair 

 nail passion 

 tip-top-nails

 cosmetics freak

 nail polish-addict 

 life and slight obsessions 

 nails and stuff 

 pistols and cobras 

 hold ur colour 


As long as your blog has 86.342839 % nail polish related content I will add it to my blog roll- It may take a day or two ( or 2 weeks ) but I will get it up there!

I have taken a few blogs off that had questionable content but for the most part I like that there is almost 800 different nail polish related blogs on there I am very Happy that there are soooooo may people sharing all their mani's, shopping hauls and tips and ideas - - -  Thanks everyone for posting all your stuff!

o