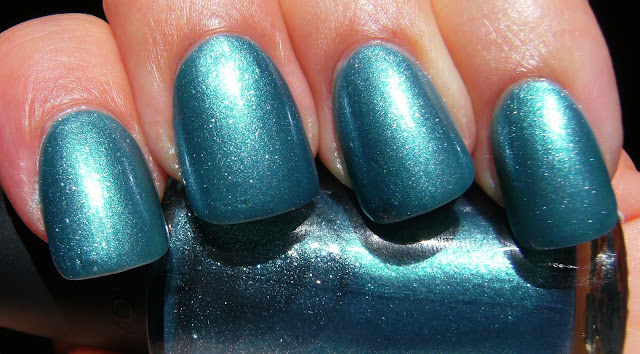
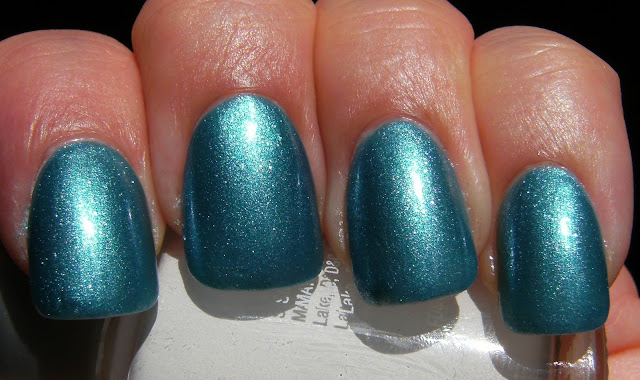
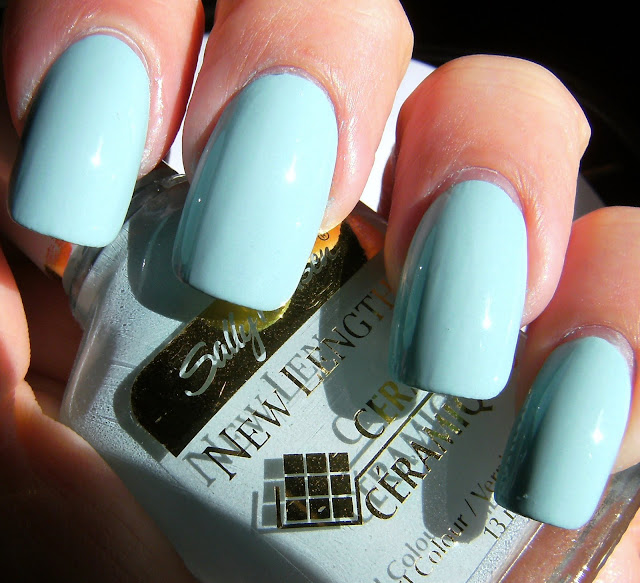
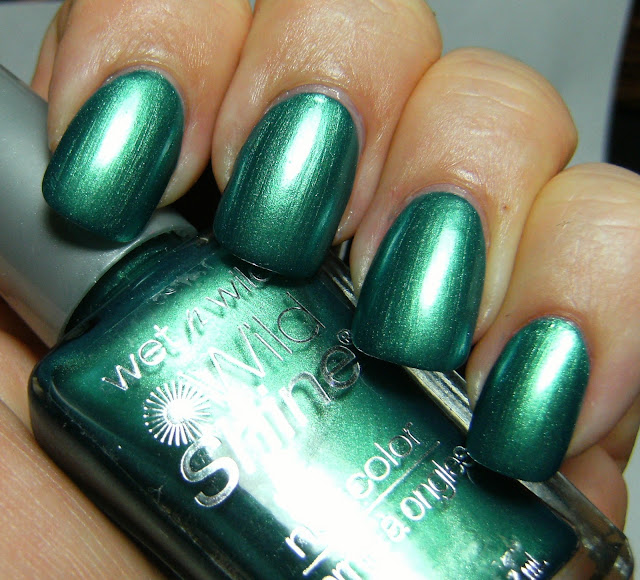
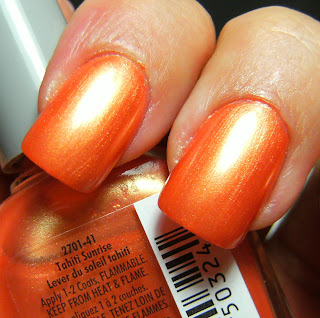
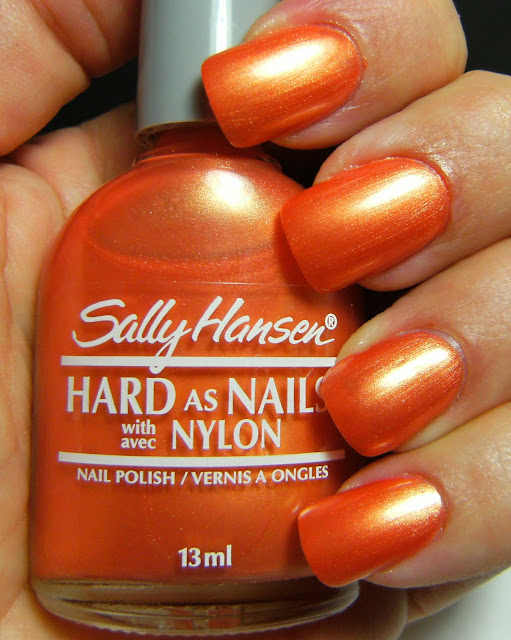
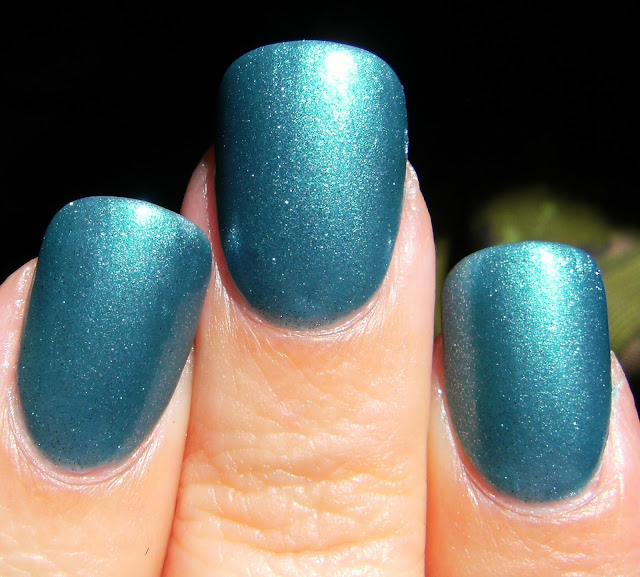
Sally Hansen hard as Nails Tahiti Sunrise 3 thin coats without TC
But First - I found a blog - AGAIN - with many photos from different blogs and places around the web.
What are these 'mirror' blogs? what is the purpose of them? There is no comments or contact info, so I don't understand what the point is.
( EDIT) Thanks again stompy boots.... i thought it some shenanigans and tomfoolery was afoot, but wanted some input)
moving along.................
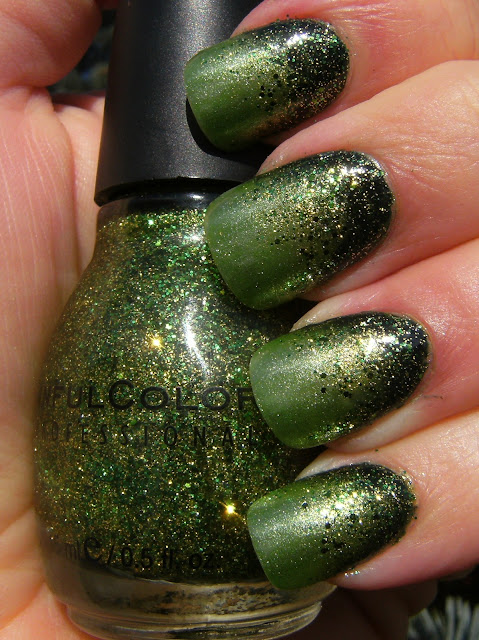
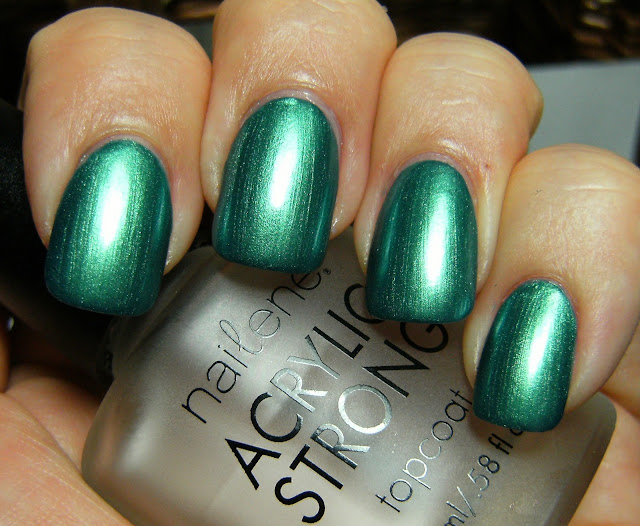
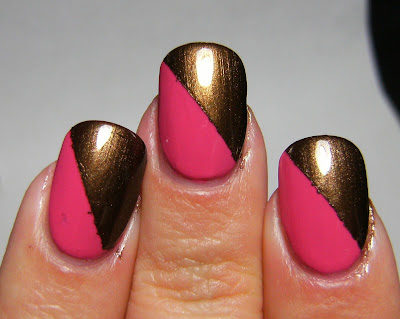
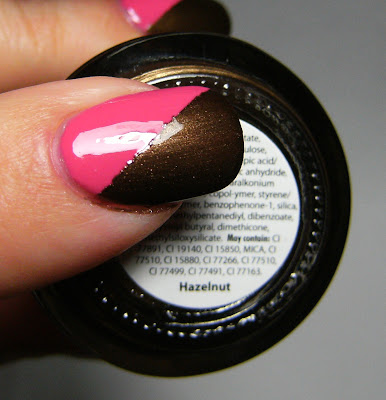
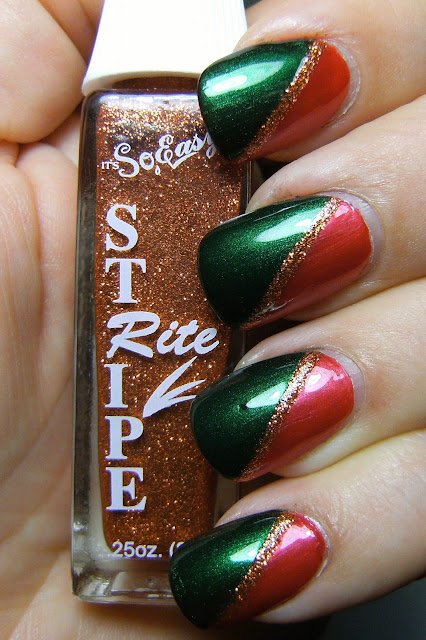
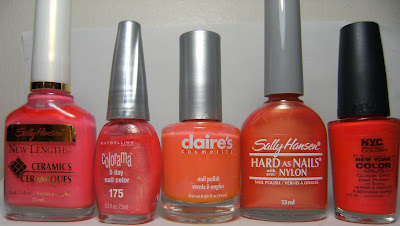
These Hard as Nails polish's are being discontinued in Canada, pretty sure that they are on sale everywhere. I picked up a few at a little drug store in my town on clearance. This is a shimmery orange with some subtle lite gold flash. It took a bit longer to dry then the X-treme Wears, which was disappointing - but it is a pretty colour. I did not apply TC as I had some fun nail art plans......
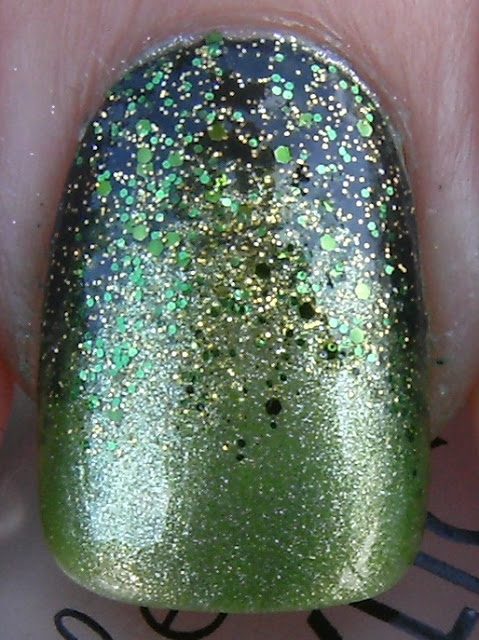
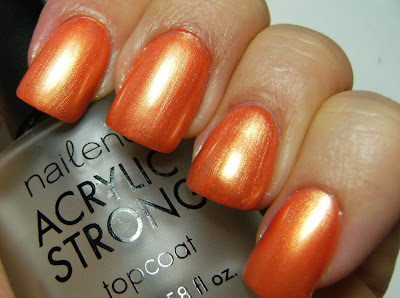
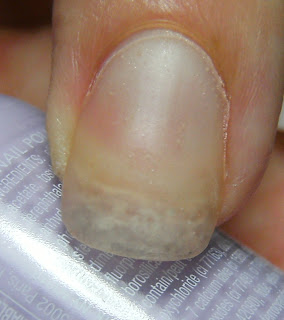
My ring nail is an acrylic kit that I applied over my natural nail. I did not grind it down so there is a 'hump' towards the tip of my nail. Acrylic kits are not hard to work with but the are stinky! Normally I would do this the normal way by applying a 'tip' over the tip of my nail extending the length, then apply the acrylic kit. I find that using the sticky guide to form an entire nail is way to hard and takes too long. This is a test run to see the longevity of this product in regards to
my application and activities.
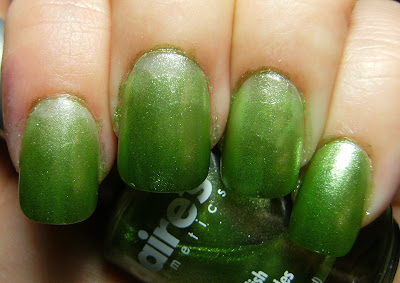
indoor sun
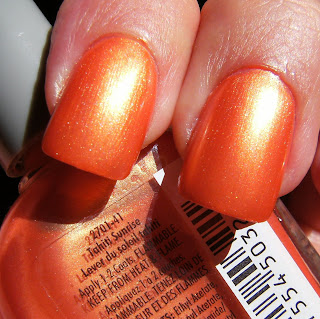
indoor flo
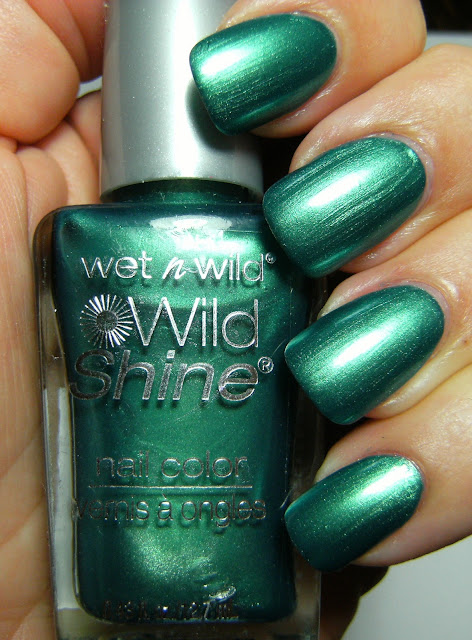
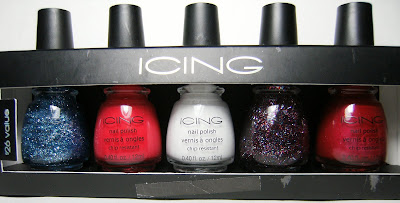
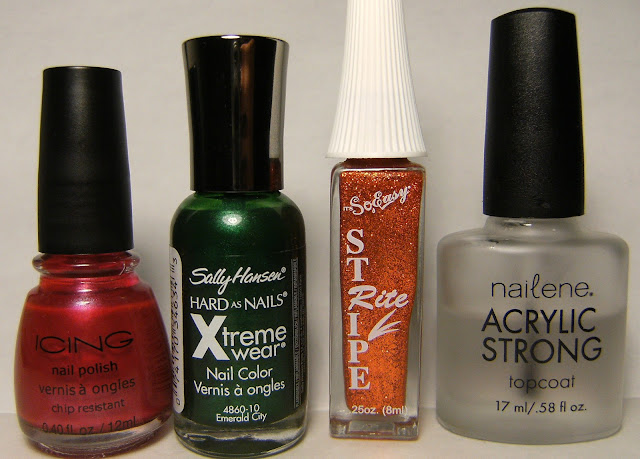
I do not have alot of Orange shades of polish. Here is the few I have with some links. A few of these are technically not orange but more on the coral side ~ I lump these into the same category.
I know I have a few more oranges somewhere.... these few were easy to spot in my deez-elmer.
♥
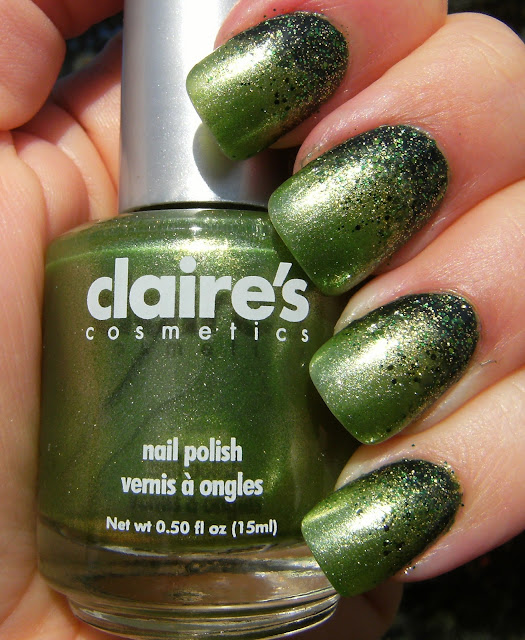
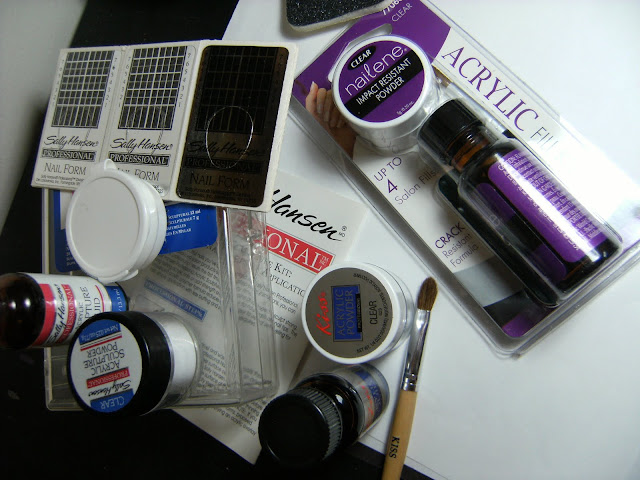
... and here is a quick experiment I did with acrylic. There is many great tutorials on
you tube so if you want great video tutorials check it out!
...........a few different acrylic kits
Oh
now I remember why I don't use these often.... they smell terrible! I can hang my head over multiple bottles of polish for hours and acetone does not bother me but these are soooooo strong - even with the windows open & fans going.
It is easy to do, and when used with nail tips can get some decent results - but for me the scent is a huge deterrent - so I just use glue on artificial nails - they are way easier.
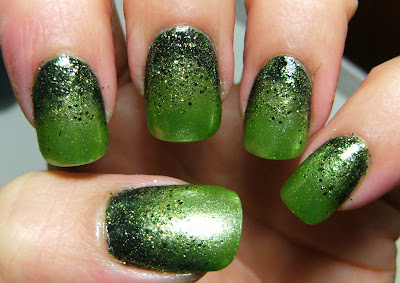
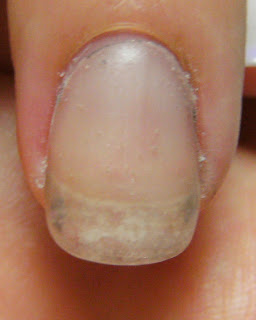
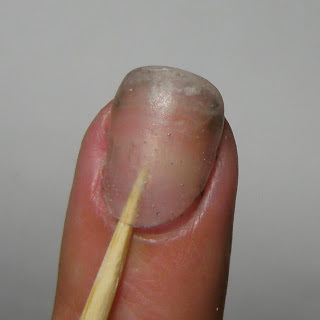
So - on my ring nail I did the two part acrylic kit, there is many videos on you-tube on how to do this, I will get some nail tips and do a picture tutorial in the future but for now I have just applied the acrylic on my ring nail. I did 4 polish changes and the acrylic hung on like no-ones business! I pried it up and added some acetone into the separated area- the acetone helped to release the acrylic from my natural nail. I still had to pry it off (which you shouldn't do).
I did not do a stellar grinding job- so there is a malformed area towards the tip of my nail, I did not want the dust floating around after inhaling the acrylic liquid lol.
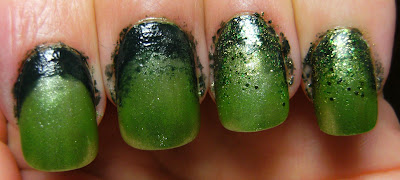
here is what it looked like when I first applied it over my natural nail.
I did not file this or buff it to a high shine - I always keep my nails painted so putting the effort in to having a clear acrylic nail is not for me. I used acetone to prep my nails and this acrylic hung on through dish-washing, and around the house stuff. I changed my polish 4 times, too.
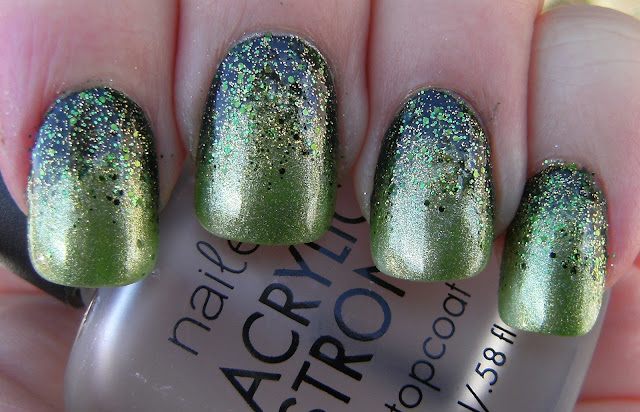
after 2 polish changes
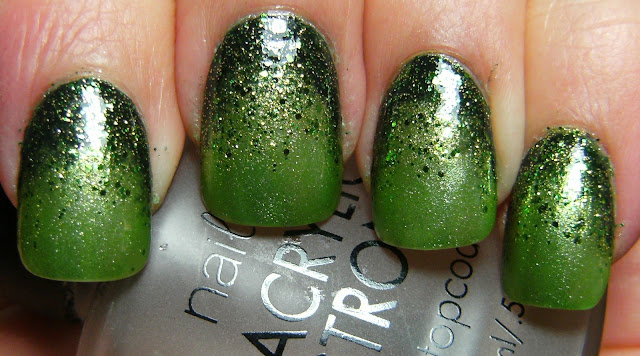
after 3 polish changes
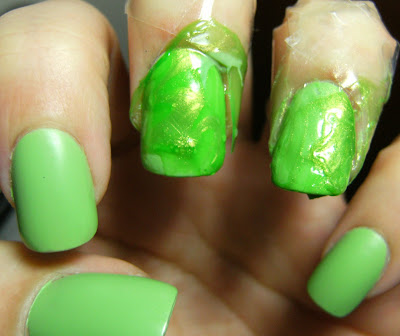
I used a toothpick to gently pry the already loose acrylic nail from my natural nail. I dipped a small brush into acetone and let the acetone drip in between my natural nail and the artificial nail.
I wear artificial nails because my natural nails are thin, sharp and dangerous. Even when they are short I still run the risk of hurting myself, so I keep them covered up with artificial nails.
For whatever reason that I may not be wearing my artificial nails this summer, I may do a test run of the acrylic kit on my shorter natural nails just for fun. Though I do prefer to use basic artificial nails that can be found at drug stores and department stores.
♥
.JPG)
.JPG)
.JPG)
.JPG)


.JPG)