Pages

Thursday, July 12, 2012

S.M.A.R.S. DIY nail stickers


While the colour combo on this feels wrong, the pattern turned out exactly as I had hoped it would.  This mani is from around christmas time, but it is worthy of a post as I get alot of hits to my blog from people searching 'make your own nail stickers' or 'make your own nail decals'.

I wanted to see how clear nail polish and a dolour polish would work to make my own nail sticker. 

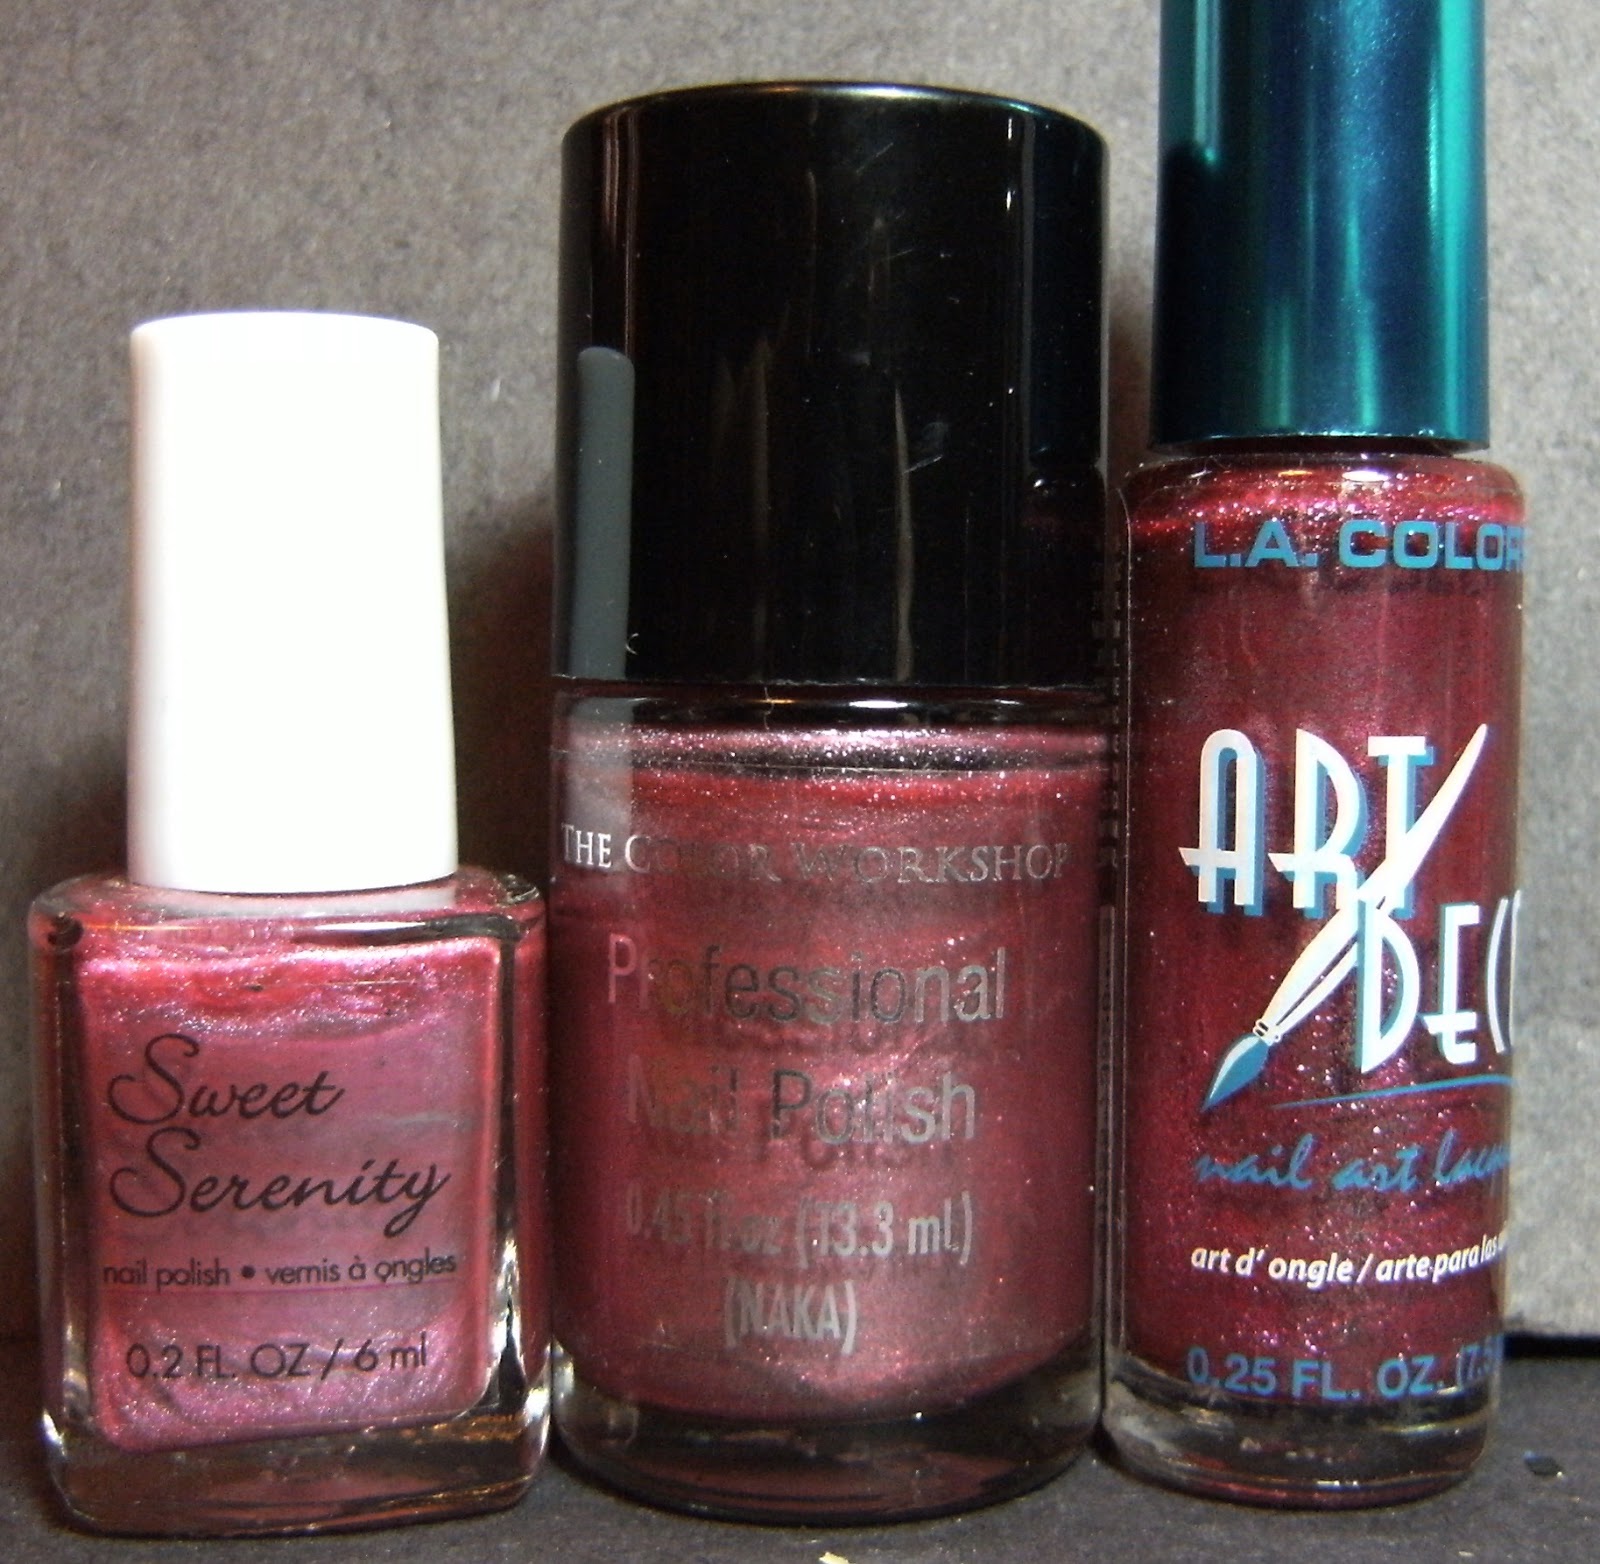
I cut up a plastic zip-lock bag and used a marker to create a template the width of my nail. I applied a generous amount of  clear polish, then a red shimmery polish and used a rounded dotting tool to swirl the polish around on the plastic. I let it dry overnight then stored it in another zip lock bag. When I was ready to do my nails I gently lifted the dry nail sheet off the plastic and snipped off a small section, applied it to tacky-ish base polish, gently pressed it onto my nails and sealed it with TC. Alot of the wrinkles dissappeared after TC.

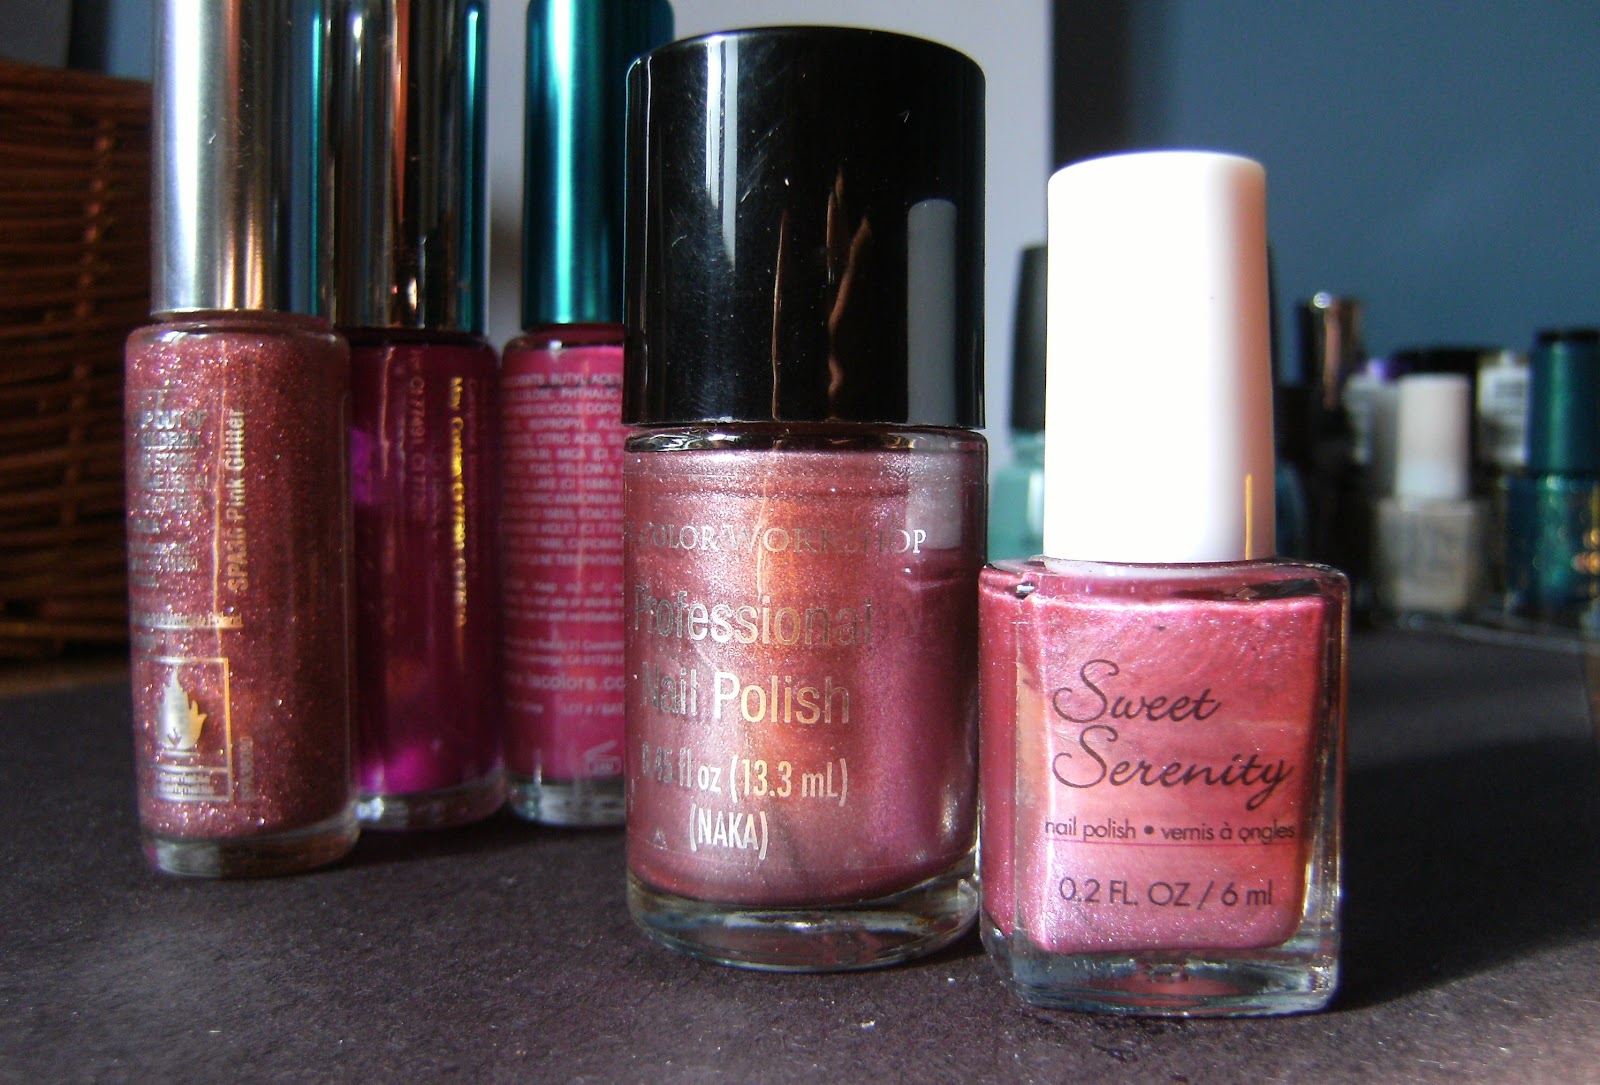
also;  I have alot of this left over. I wanted to ensure I had enough to do all 10 nails, with extra in case I messed it up.

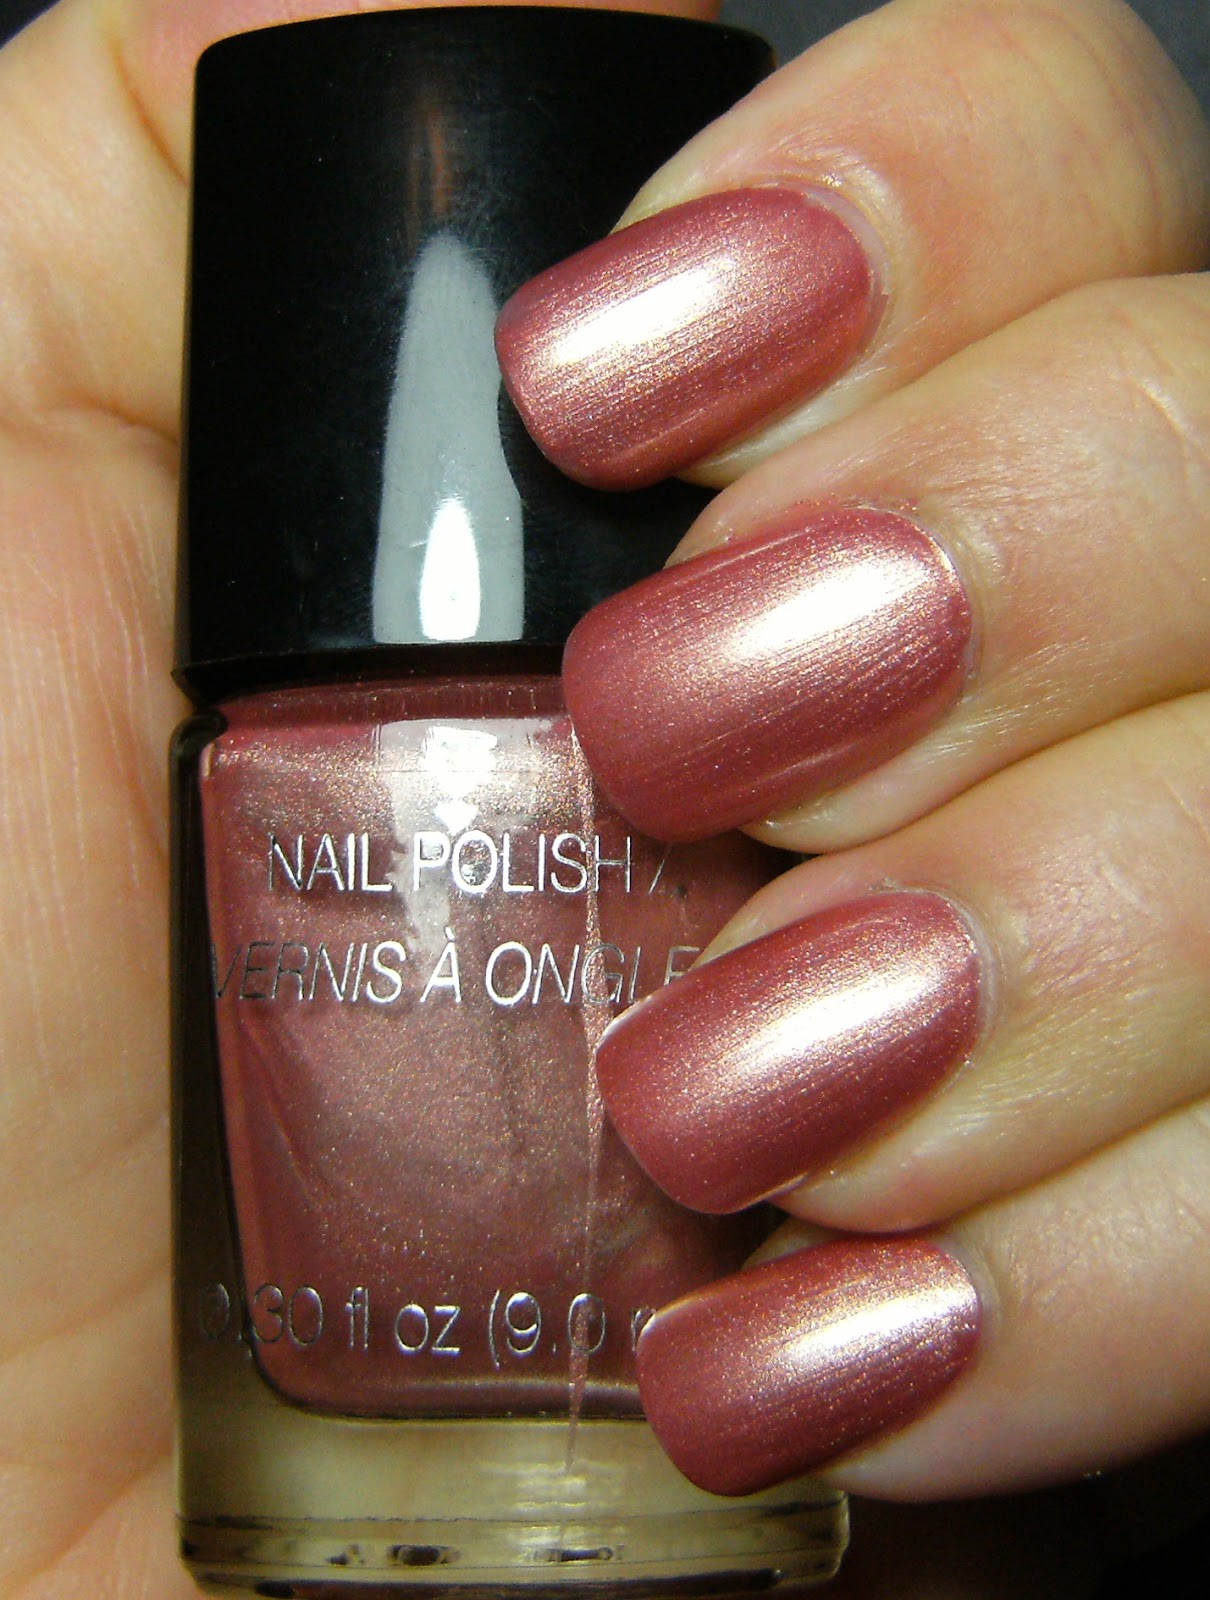
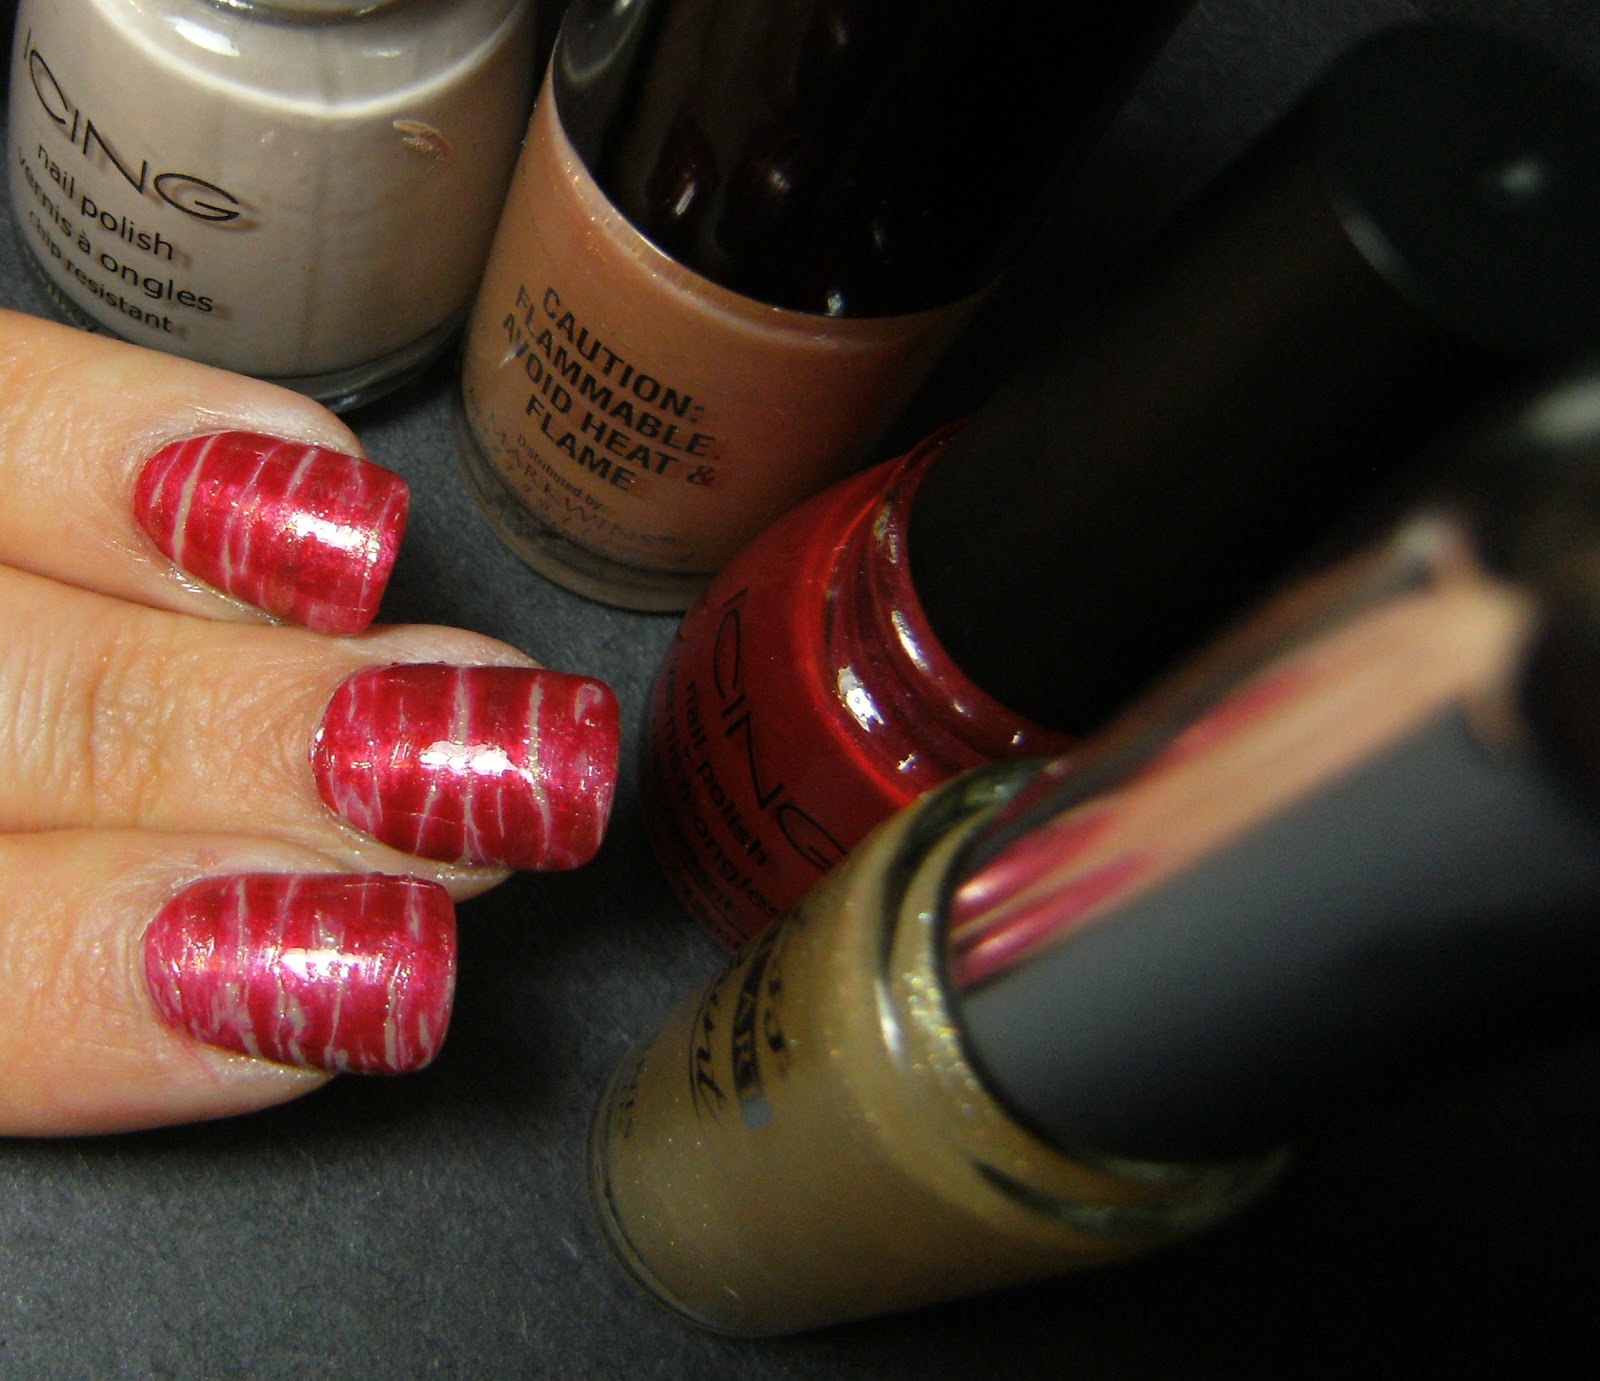
My base polish is Icing Sandy Beach, followed by a pretty peach based gold shimmer found at The Dollar Tree USA. While my polish was still tacky - but not totally wet - I cut out a piece and placed the dry nail sheet on my nails and trimmed the excess, gently pressed it in and added TC.

This was the base of this mani

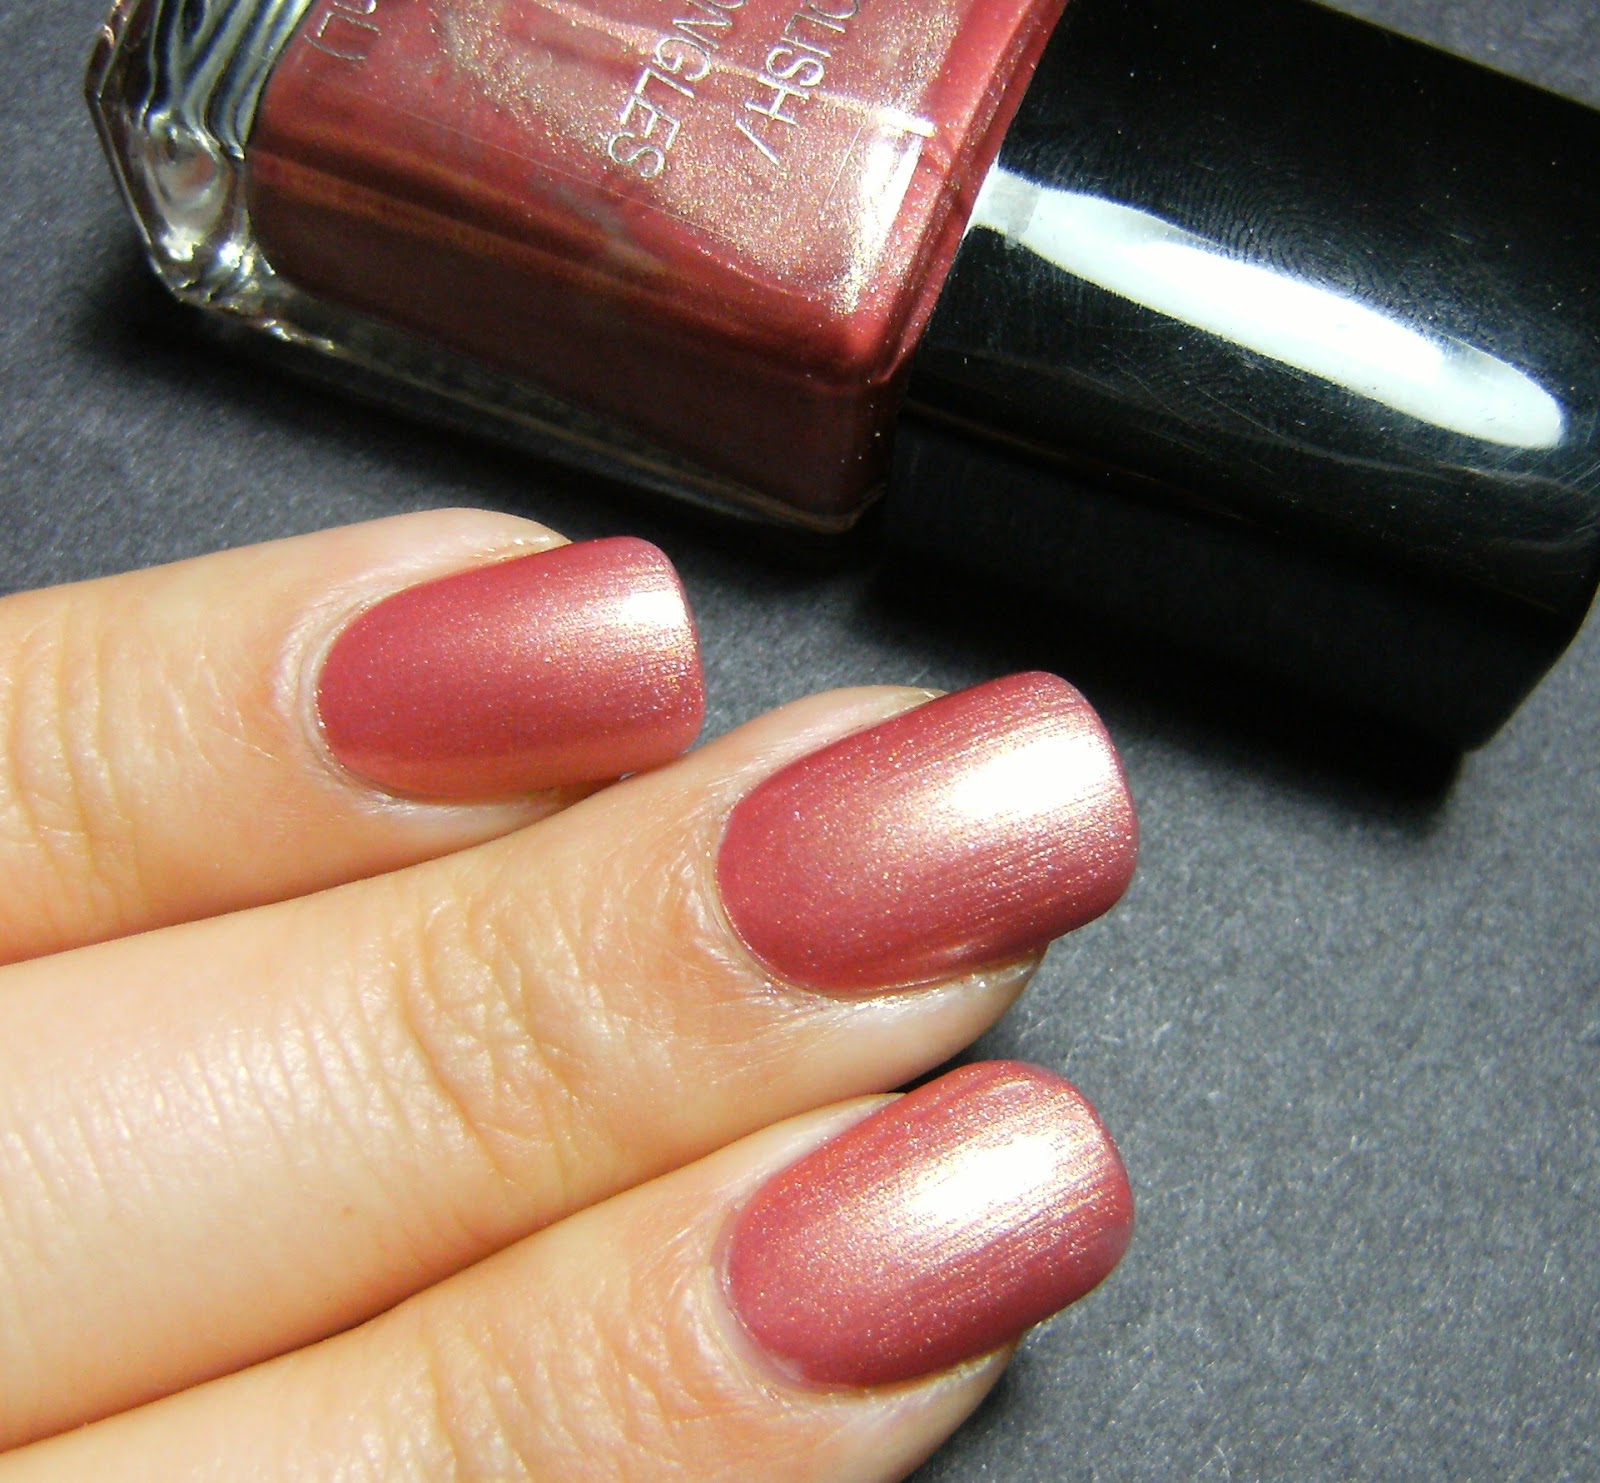
tada ( I added a few strokes of a shimmery kiss nail art stripe poilish )
o

Wednesday, July 11, 2012

Subtle Shimmer - Claire's Magic Franken


I don't know how this slipped into my blog drafts..... not to be read for months, because I really, really like htis shade of lilac with the subtle shimmer. I used Claire's Magic and Billie Cosmetics White to make this franken. This was 2 coats that I added the Origional polish - Claire's Magic - in a chevrone french tip.

Claire's Maguc and my Franken made by adding a white creme

I was pleased when the sun peeked out and I could grab some photos that shocased the subtle shimmer in my franken.

o


Suprise! Pinky french mani


I very rarely choose pink shades like this, but I have had these 2 polishes for a while and wanted to test their application and wear.

When I first started buying these Sweet Serenity polishes from the Dollar Rama - they had the consistency of lumpy Elmer's school glue, never dried and had a weird smell. however I have since purchased 4 new sets and am very happy with the quality. This is a lovely metallic pink that was good in 3 coats, application and dry time were fine. these come ion sets of 3 for $1.25 CAD and Dollar Rama has new shades every so often.


I stretched this mani with a funky French using a no name shimmery polish form the Dollar Tree USA, and LA Colors metallic pink stripe polish


It soooooooo girly - I started to add glitter to my pinky but thought this mani could hold its own without glitter

.....and here is just a weird artsy shot that I thought was cool


and finally, here is another pretty pink that I had worn but never posted. This is from a polish set I got from my Mom at Christmas. None of these polishes have names. This was very similar in formula and application tot he Sweet Serenity polish above


o

Tuesday, July 10, 2012

N.Y.C. High Line Green


WOW! This is an awesome polish. I love N.Y.C. In a New York Minute polish's - Most have great pigmentation, the have decent brushes and they dry fast. They are smaller than most drugstore polish's but that is reflected in the price.

This is an eye-catching colour  - I used 2 thick coats of N.Y.C. Highline Green, and a sponging of N.Y.C. Flat Iron Green with a coat of TC.

2 coats of N.Y.C. In a New York Minute Highline Green


o


Monday, July 9, 2012

Sure about that? 4th of July nails fails X2


Above is Sally Hansen Diamond Chrome with Love my Nails Glory. 2 coats of each and a coat of TC. That's what I ended up wearing for the real Independence day. Below is another 4th of July attempt that did not turn out as planned. 

I started with 3 coats of Wet n Wild White, then added a coat of Clear and sprinkled on a mix of some pretty red and blue bar glitter that I found at Micheal's Crafts store.... The glitter bled into the clear polish - boo - but I will work with this and try again with another glitter/polish combo. It does have an interesting look to it but I was hoping for some stunning red and blue bar glitter on a pure white base.

On my ring nails I added some silver stars..... that turned out all right. Also these are my real nails, I was doing some fun paper mache projects during the holiday weekend as well as digging in the garden.

 Index nail ( far right ) has a coat of Clear polish - which made the glitter bleed....

glitter I used

and the finished Mani ( lol )
o


Sunny Side up!


Here is a cheery orange mani using glitter from the Dollar Tree. This is 3 coats of Wet n Wild Sunny Side up, I used a nail art brush from a stripe polish that I dont use often to make whispy stripes with Billie Cosmetics Burning Hot and NYC Spring Street. I added a coat of Tc and sprinkled on some orange translucent glitter.

I did find that the glitter had a rough texture to it, even with clear polish and another coat of TC, so I probally wont be trying this again any time soon.... The color did not bleed when I added a small amount to Billie Cosmetics Clear polish..... so thats a good sign.

stuff I used


.......and a few more photos


o

Sally Hansen Lacey Lilac and Grey Area


2 coats of Sally Hansen Lacey Lilac, and 2 coats of Grey Area..... followed by a coat of TC. I am not happy with my line - it's not as crisp as I would like it - but sometimes that happens!

I have probably used Sally Hansen Lacey Lilac 10 times, on my nails and toes. It is a beautiful colour and I can usually get away with 2 thick coats ( and sometimes 1 thin extra coat ). I kinda wish I picked up Sally Hansen Mint Sorbet = I think that with Sally Hansen Lacey Lilac would be a lovely colour combination.


o